Milky (Semi-Opaque) Finish: How to Create a Soft, Elegant Manicure
A practical Sofia K. technique tutorial on milky (semi-opaque) finish: how to create a soft, elegant manicure.
Here is a complete article and tutorial that matches the style of your previous technique series.
Milky (Semi-Opaque) Finish: How to Create a Soft, Elegant Manicure
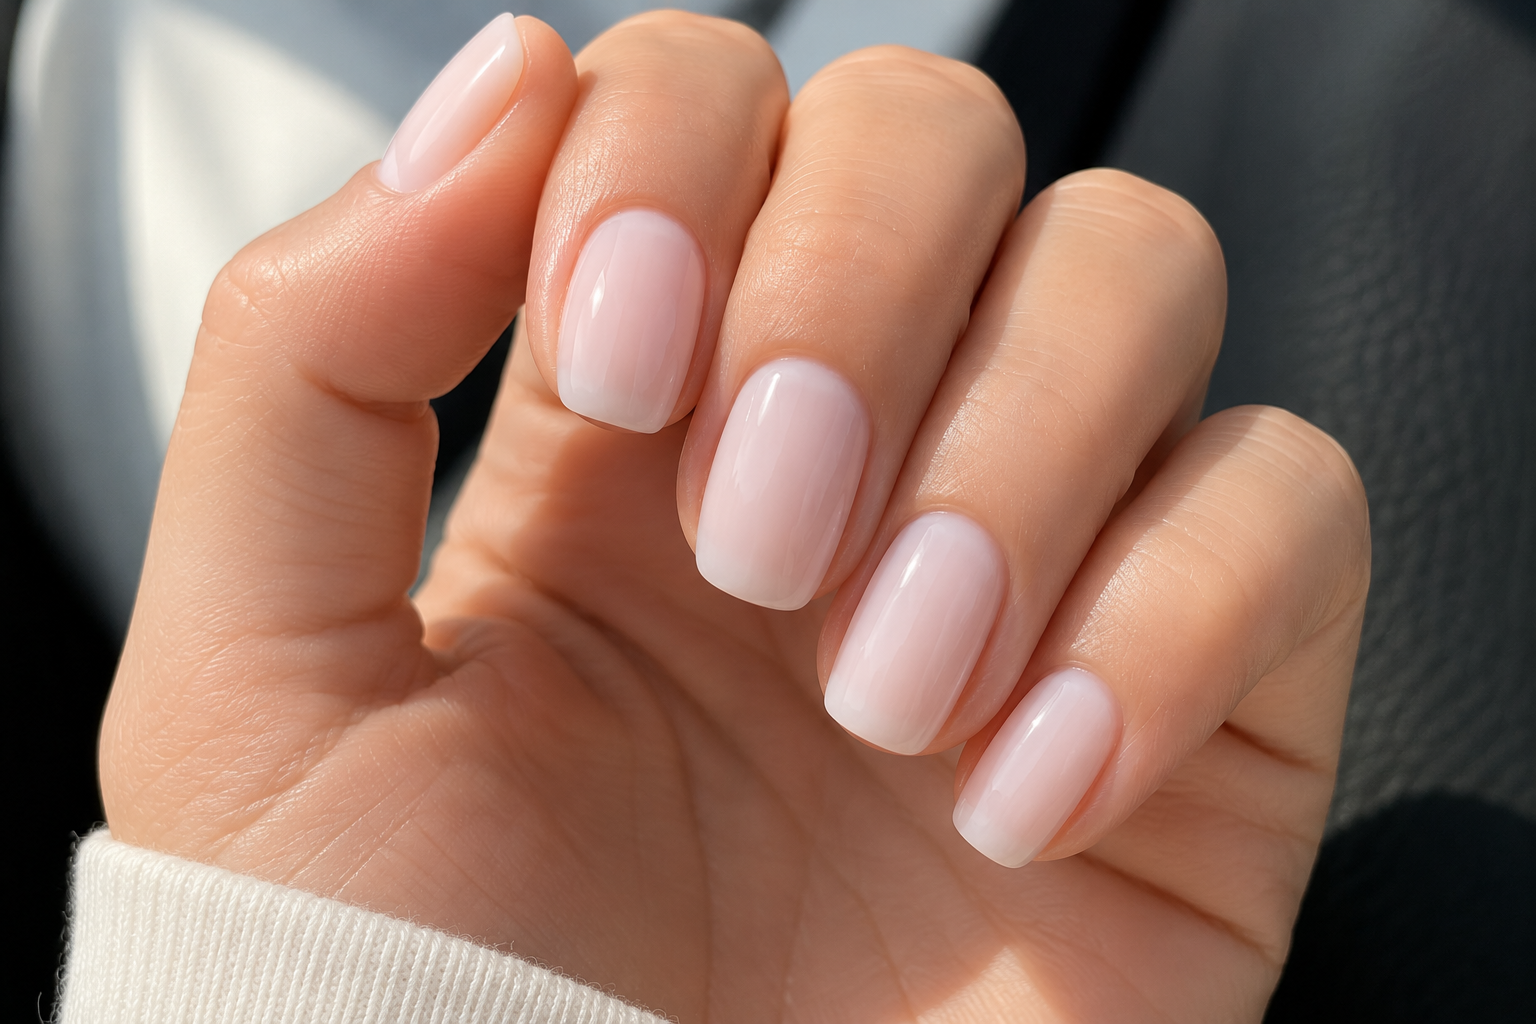
A milky manicure is one of those finishes that never seems to go out of style. It is clean, sophisticated, and incredibly versatile. Unlike a fully opaque polish that completely hides the natural nail, or a jelly polish that remains highly transparent, a milky finish sits beautifully in between. It softly blurs the natural nail while allowing just enough of it to shine through.
I often recommend a milky finish to clients who want something timeless. It looks just as beautiful for everyday wear as it does for weddings, professional environments, or special occasions. The result is polished without looking heavy, making it one of the easiest manicures to wear throughout the year.
The beauty of a milky manicure lies in its softness. Light passes through the layers, creating a delicate glow rather than a solid block of colour. Soft white, milky pink, creamy nude, peach, and ivory shades are among the most popular choices because they complement almost every skin tone.
The secret is knowing when to stop layering. Too few coats can appear patchy, while too many coats turn the finish into a standard opaque manicure. The perfect milky finish creates balance between coverage and transparency.
Step 1
Prepare the Nails
A beautiful milky manicure begins with careful preparation.
- Remove any previous polish.
- Shape all nails evenly.
- Push back the cuticles gently.
- Remove any loose or dead skin.
- Lightly buff the nail surface if necessary.
- Clean the nail plate thoroughly using nail cleanser or isopropyl alcohol.
Because the finish is soft and natural, every small imperfection underneath can become visible.
Step 2
Apply a Thin Base Coat
Apply one thin, even layer of base coat.
Keep the application smooth and avoid flooding the cuticle area.
Allow the base coat to dry according to the manufacturer's instructions before applying colour.
Step 3
Apply the First Milky Layer
Apply the first coat using thin, controlled brush strokes.
Do not worry if the colour looks streaky or too transparent. This first layer simply creates the foundation.
Most nails can be covered using three strokes:
- One through the centre.
- One down the left side.
- One down the right side.
Allow the first coat to dry before continuing.
Step 4
Build the Soft Coverage
Apply a second thin coat.
At this stage, the colour becomes softer and more even while still allowing the natural nail to remain slightly visible.
The manicure should begin to look smooth and gently diffused rather than fully opaque.
Step 5
Decide if a Third Coat Is Needed
Some milky polishes naturally require three thin coats.
Apply another layer only if you want a little more softness and coverage.
The natural nail should still create a gentle shadow beneath the polish. If it disappears completely, the finish is no longer truly milky.
Step 6
Apply a Gloss Top Coat
Finish with one thin layer of gloss top coat.
The glossy surface enhances the soft appearance and gives the manicure its elegant, healthy-looking shine.
Remember to cap the free edge to improve durability.
Step 7
Allow the Manicure to Dry Completely
Even though the surface may feel dry after a short time, the layers underneath still need time to harden fully.
Avoid pressure, water, and heavy use of the hands until the manicure has completely dried.
Common Mistakes to Avoid
- Applying thick coats.
- Trying to achieve full opacity.
- Rushing between layers.
- Choosing uneven brush strokes.
- Skipping the base coat.
- Applying too many colour layers.
- Forgetting the gloss top coat.
My Professional Tips
A milky manicure is all about restraint. I always remind myself that the goal is softness, not complete coverage. Every thin layer should gently improve the appearance without hiding the natural beauty of the nail.
I also pay close attention to the lighting while I work. Looking at the nails under natural light helps me decide whether another layer is really necessary. Often, the manicure looks perfect after the second coat, and adding more would only make it lose its delicate character.
If you are new to milky finishes, choose shades with soft pink, ivory, creamy white, or warm nude tones. These colours are forgiving, elegant, and suit almost every client.
A well-executed milky finish is proof that simplicity can be incredibly beautiful. With careful preparation, thin layers, and patience, the result is a manicure that feels fresh, refined, and effortlessly timeless.
Share

Continue reading