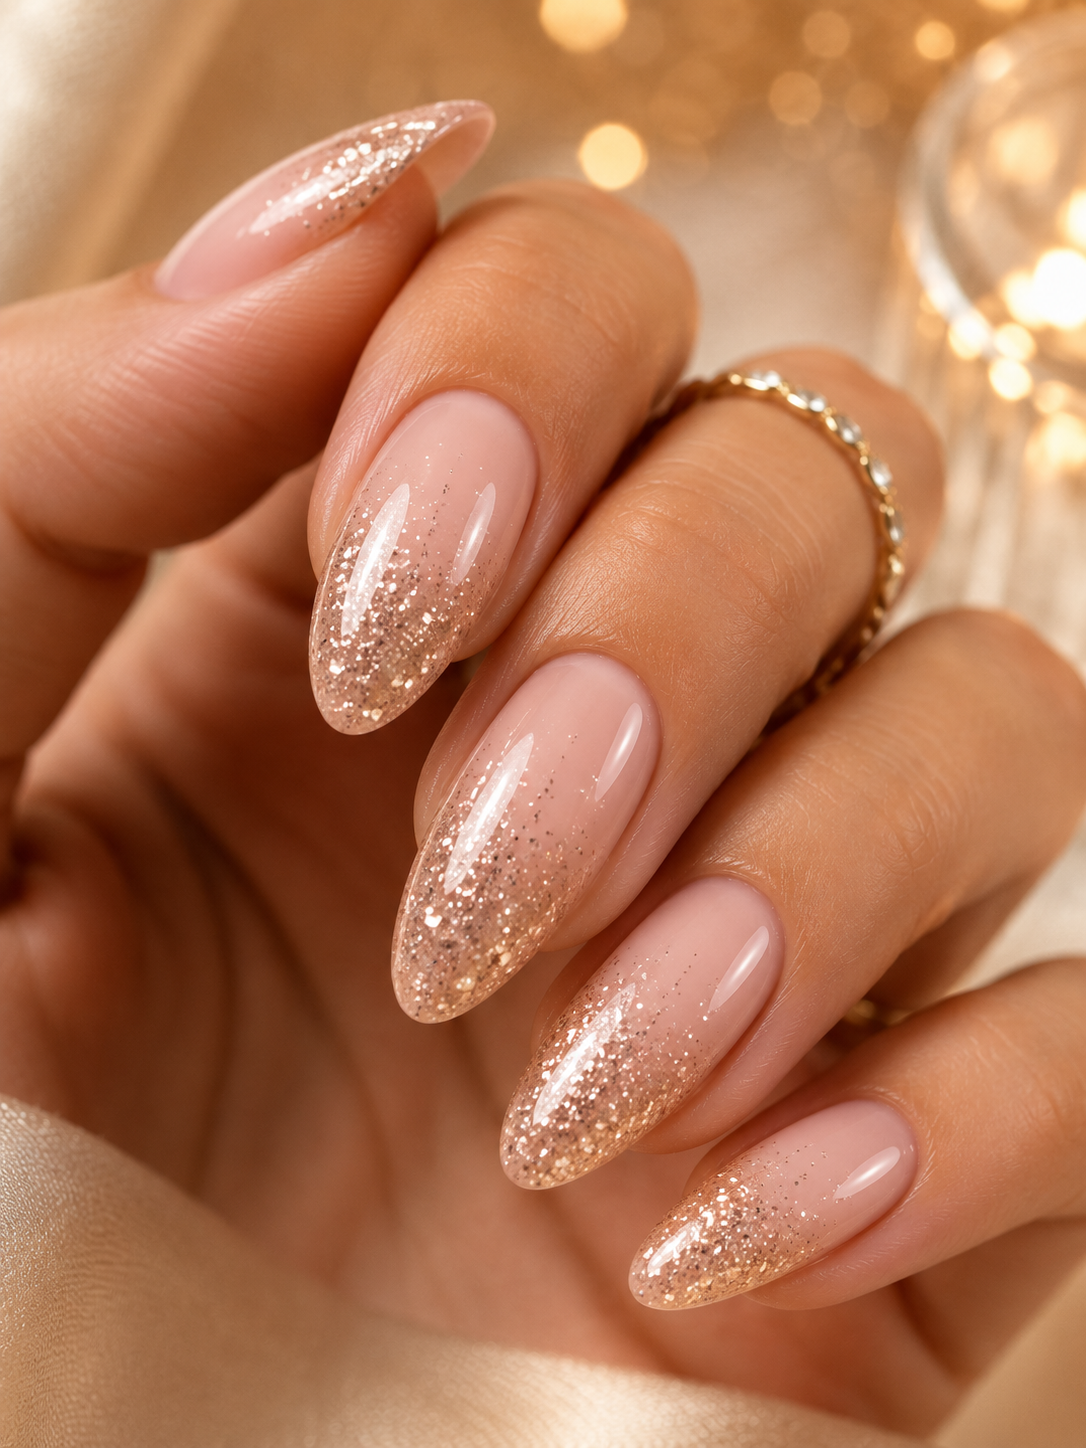
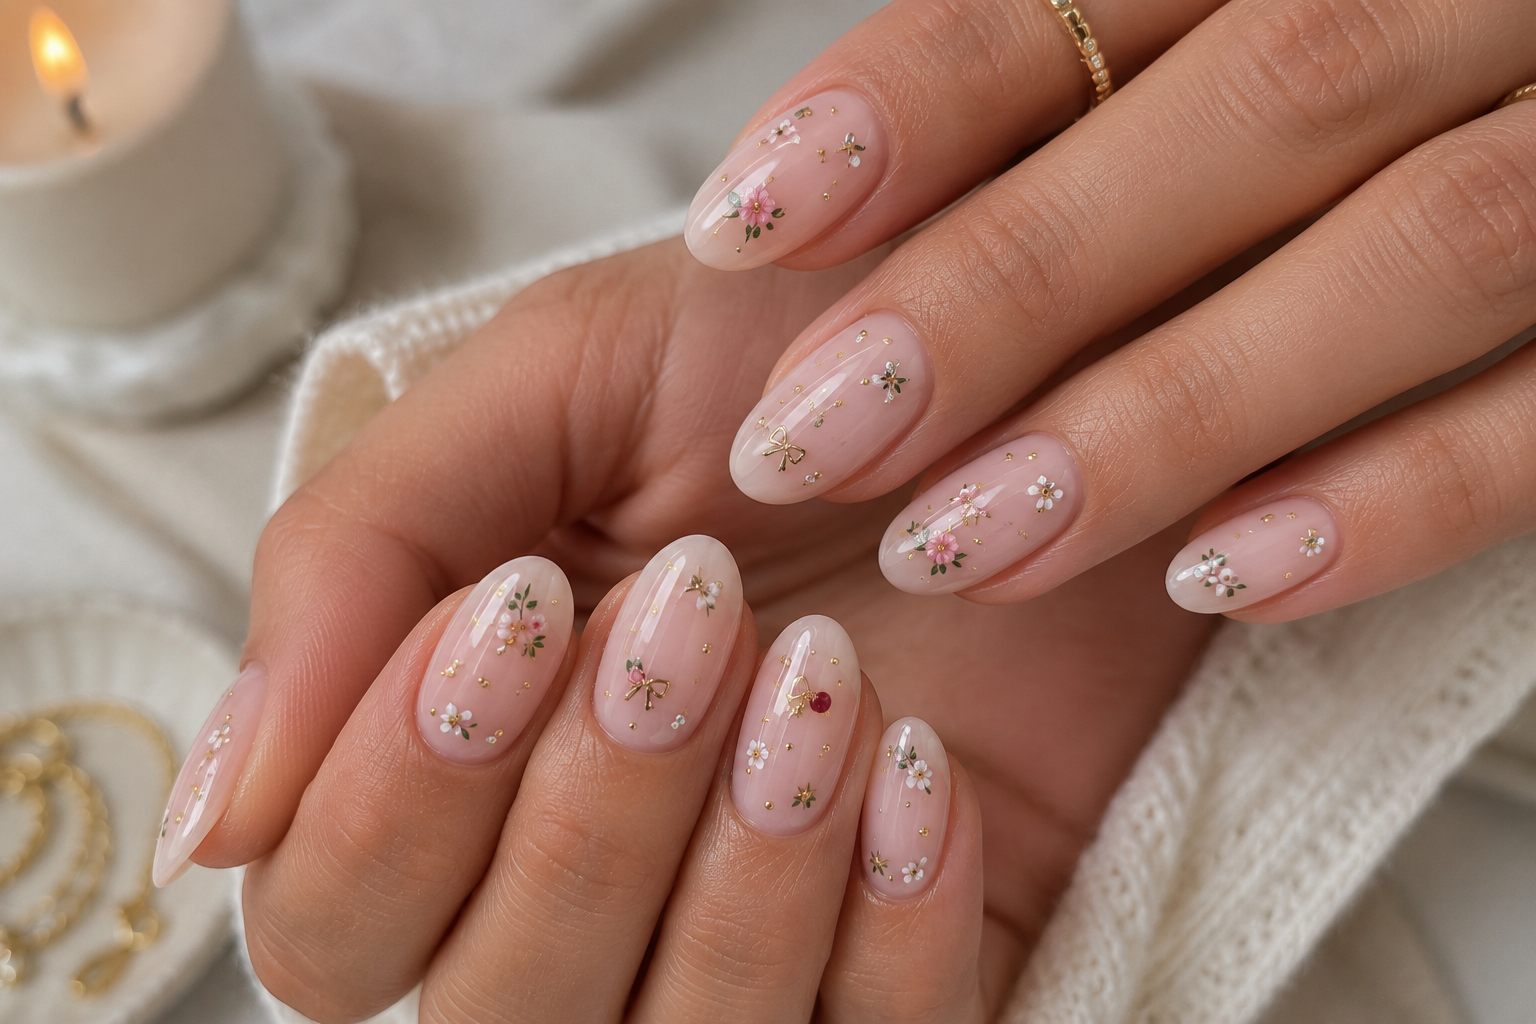
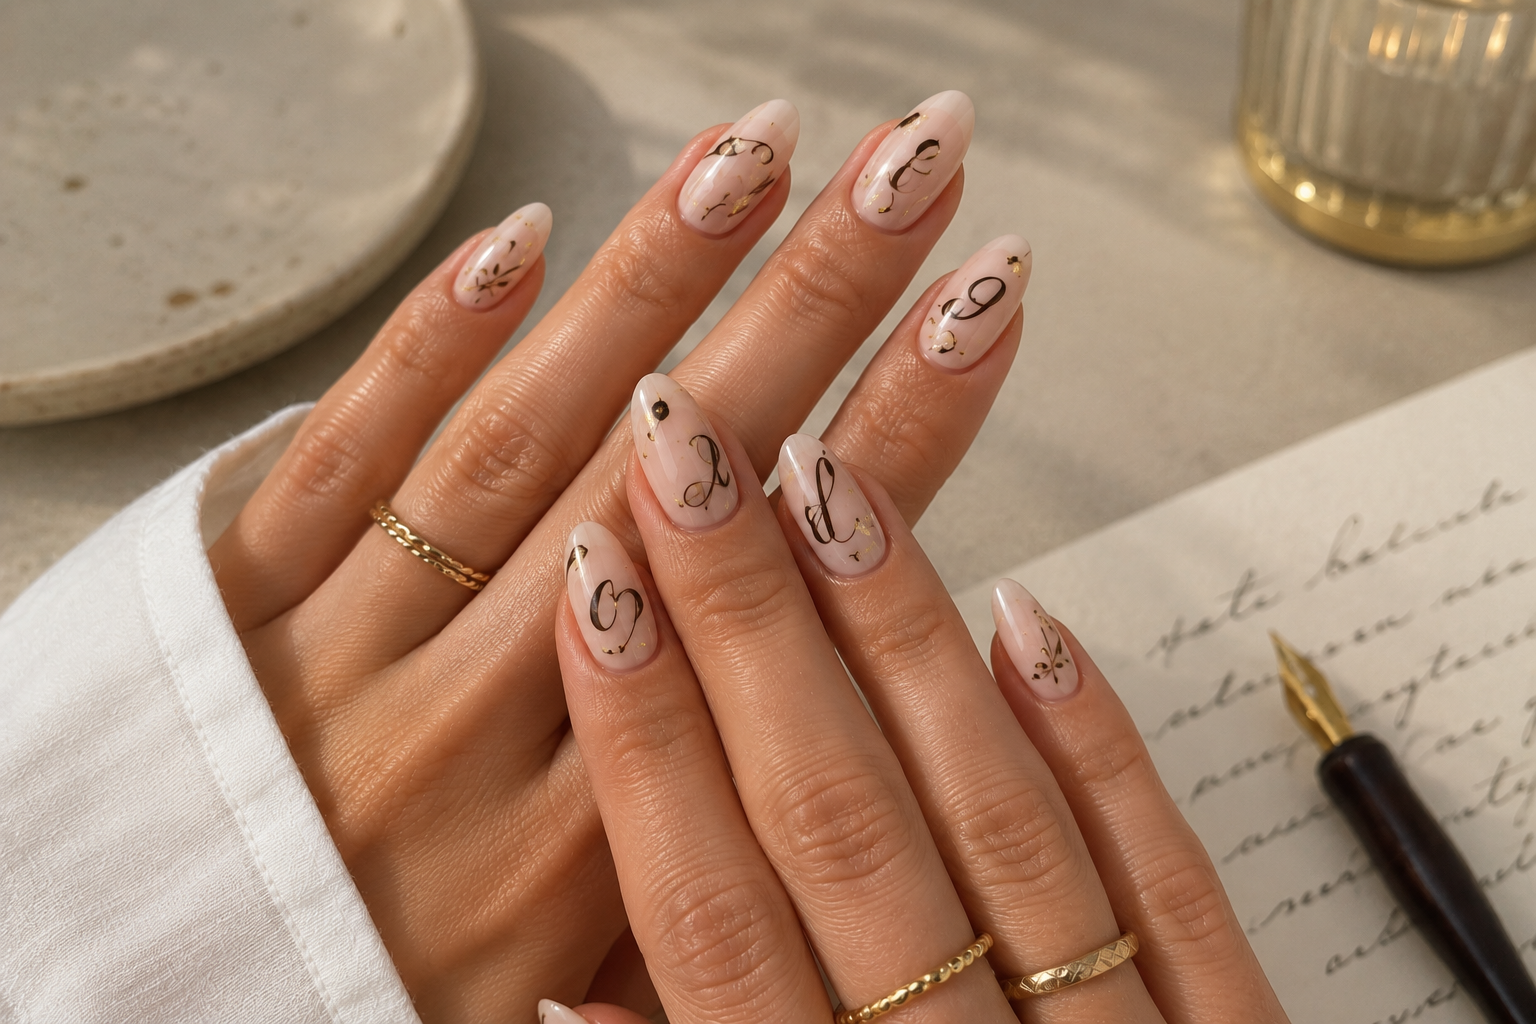
Sponge Blending: The Little Makeup Sponge That Creates Big Nail Magic
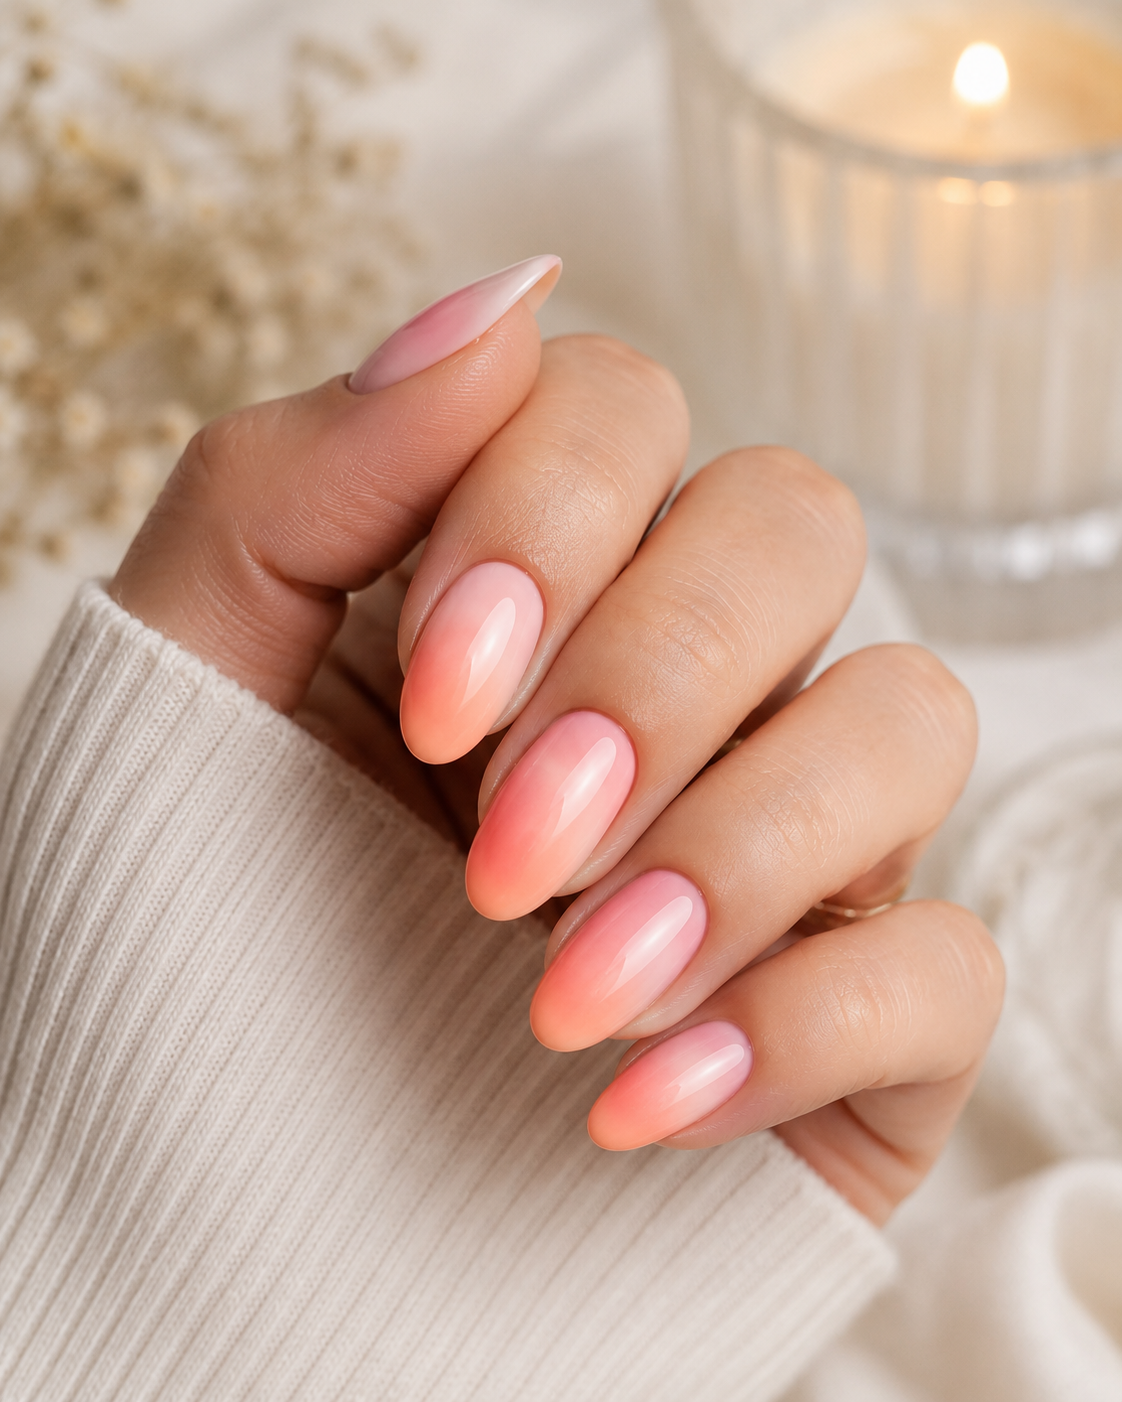
A practical Sofia K. technique tutorial on sponge blending, soft ombré gradients, and smooth colour transitions.
Let's give a tiny makeup sponge the applause it deserves.
Seriously.
This little beauty tool has probably created millions of gorgeous ombré nails around the world, and yet it rarely gets the credit. While brushes often steal the spotlight, sponge blending is the quiet hero behind some of the softest, dreamiest gradients you'll ever wear.
The best part?
You don't need to be a professional nail artist to master it.
As makeup legend Bobbi Brown once said:
"Beauty is about being comfortable in your own skin. Or a great lipstick."
We think she would happily add, "...or a really good sponge ombré."
What You Need
- Base coat
- Two or more nail polish colours
- Small cosmetic makeup sponge
- Tweezers (optional, but they save messy fingers!)
- Palette or aluminium foil
- Liquid latex or tape (optional)
- Top coat
- Cuticle oil
- Small clean-up brush
- Nail polish remover
Step 1 – Prepare Your Nails
Shape your nails and tidy your cuticles.
Apply your base coat and let it dry completely.
A smooth foundation helps every colour blend beautifully.
Step 2 – Paint Your Base Colour
Choose the lightest colour in your design and apply it over the whole nail.
This gives the sponge something to blend into and helps brighter colours pop.
Think of it as preparing the canvas before painting.
Step 3 – Prepare the Sponge
On a small piece of foil or directly onto the sponge, paint your chosen colours in horizontal stripes.
Allow each colour to touch the next one slightly.
This tiny overlap helps the colours blend together more naturally.
It might look a little messy...
That's perfectly normal.
Beautiful gradients usually begin with organised chaos.
Step 4 – Dab, Don't Scrub!
Now comes the fun part.
Gently tap the sponge onto the nail.
Notice the word tap.
Not press.
Not rub.
Not attack.
Soft, bouncing motions build the smoothest fade.
If you scrub back and forth, the colours often become muddy faster than a child jumping into a puddle!
Step 5 – Repeat for a Soft Blend
Reload the sponge with polish and continue dabbing.
Most beautiful sponge gradients need two or three rounds before they become rich and seamless.
Don't rush.
Every gentle tap makes the transition softer.
Step 6 – Clean the Edges
Let's be honest...
Your fingers will probably look as though they've joined the painting as well!
That's completely normal.
Use a fine brush dipped in nail polish remover to clean around the cuticles.
Suddenly, everything looks crisp and professional.
Magic!
Step 7 – Add the Top Coat
Here's a little secret that surprises beginners.
As you apply the glossy top coat, the colours often melt together even more.
It's one of those wonderfully satisfying moments where the manicure suddenly looks twice as expensive.
Finish by massaging cuticle oil into the skin.
Your hands deserve the treat after all that artistic work.
Why Sponge Blending Works So Well
Unlike a brush, which moves polish across the nail, a sponge leaves behind thousands of tiny dots of colour.
These tiny dots naturally overlap, creating an incredibly soft transition that our eyes see as one smooth gradient.
That's why sponge blending remains one of the easiest ways to create beautiful ombré nails at home.
Fun Facts About Sponge Blending
- Cosmetic wedges are the most popular choice because their fine pores create smoother fades.
- Many professionals slightly dampen the sponge before using it, helping it absorb less polish.
- Sponge blending works beautifully with glitter, neon colours, chrome bases, and even French ombré designs.
- Almost every classic sunset, galaxy, cotton candy, or mermaid manicure begins with a sponge.
One tiny sponge...
Hundreds of creative possibilities.
Sofia's Little Secret
This technique always reminds me of watching waves reach the shore.
No two waves arrive exactly the same, yet together they create something peaceful and beautiful. Every gentle tap of the sponge leaves behind its own little pattern until suddenly the colours seem to flow into one another without effort.
The first time you try sponge blending, don't chase perfection.
Chase softness.
Perfection usually arrives while you're having fun.
As artist Henri Matisse beautifully said:
"Creativity takes courage."
So don't be afraid if your first sponge looks more colourful than your nails.
We've all been there.
And somehow, that's part of the fun.