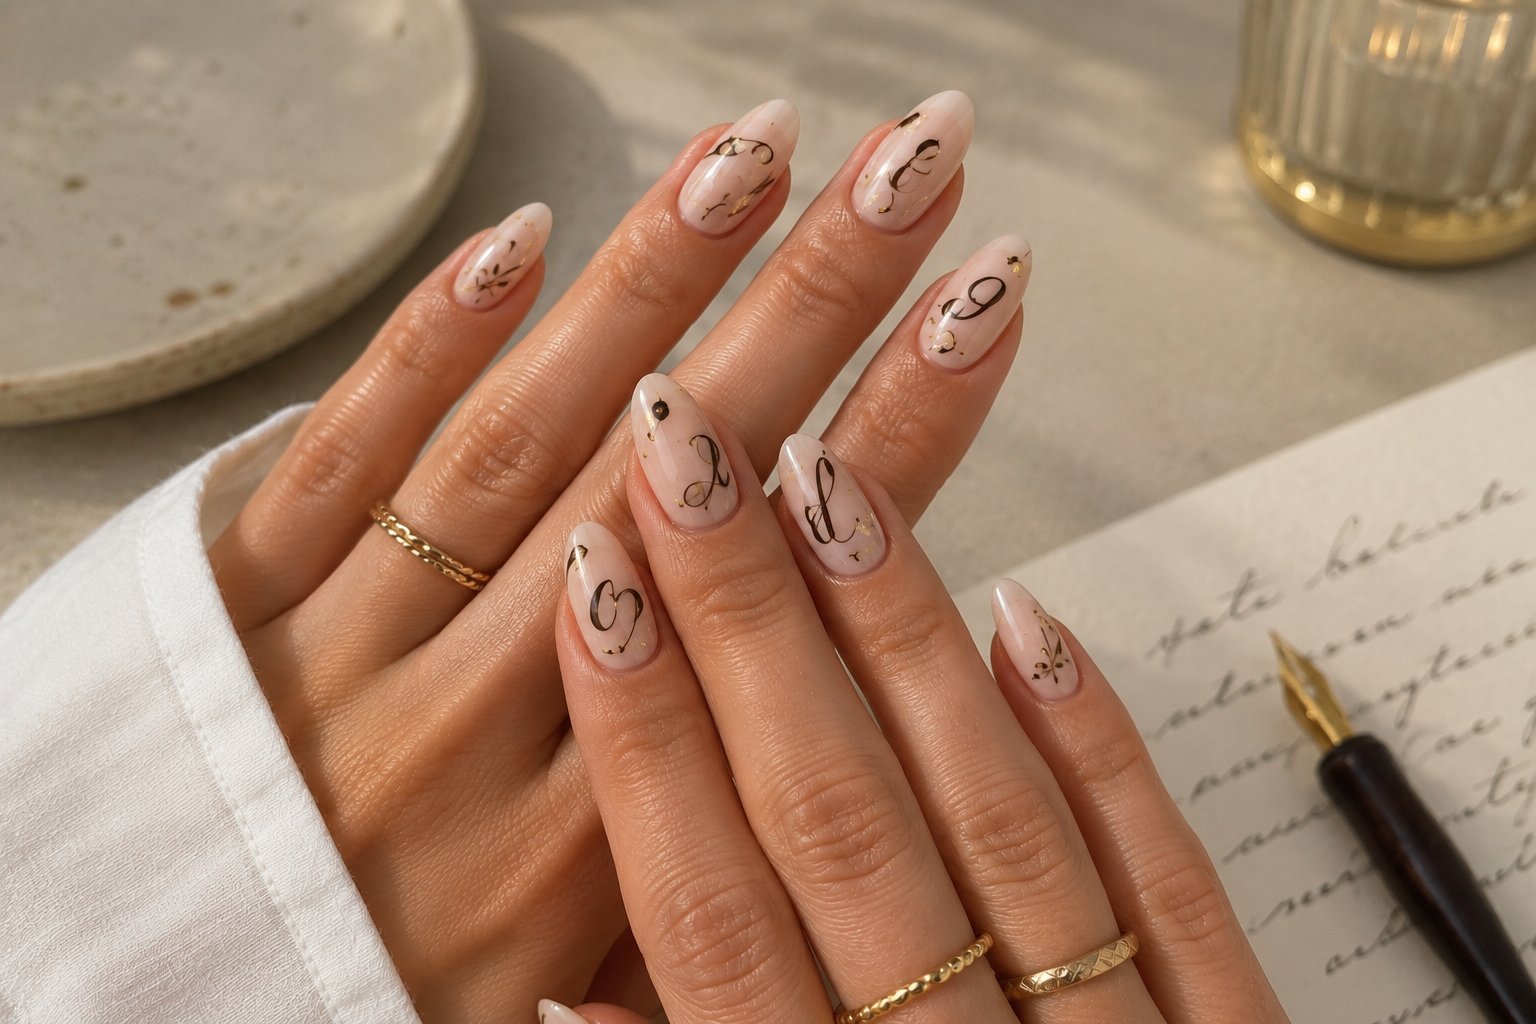
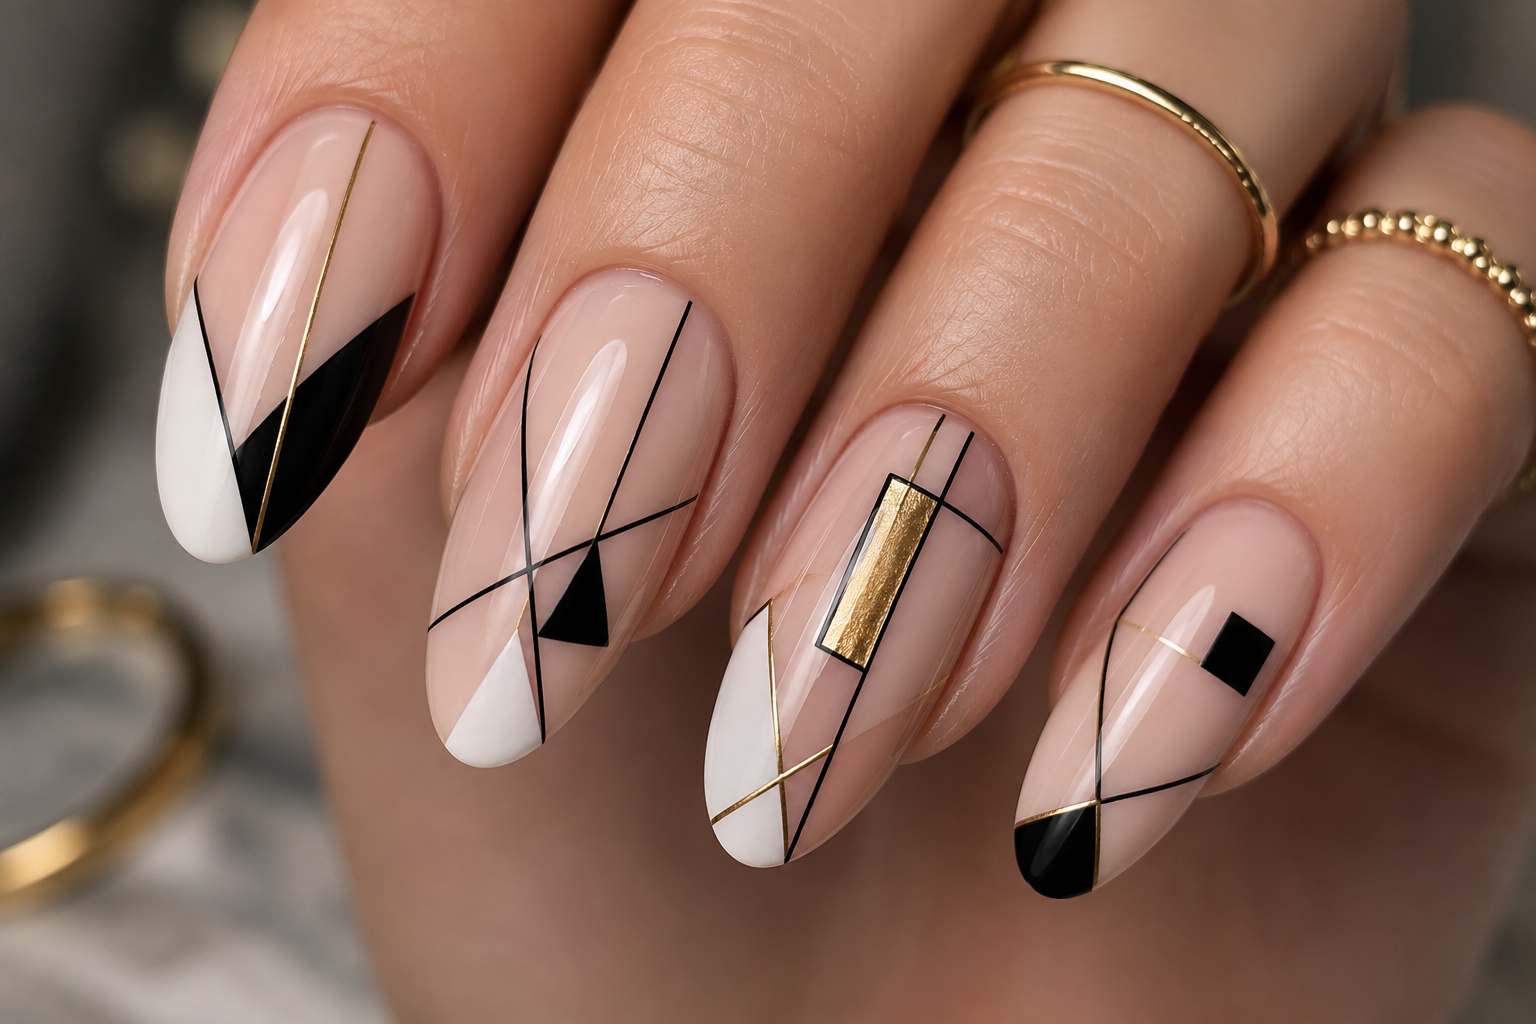
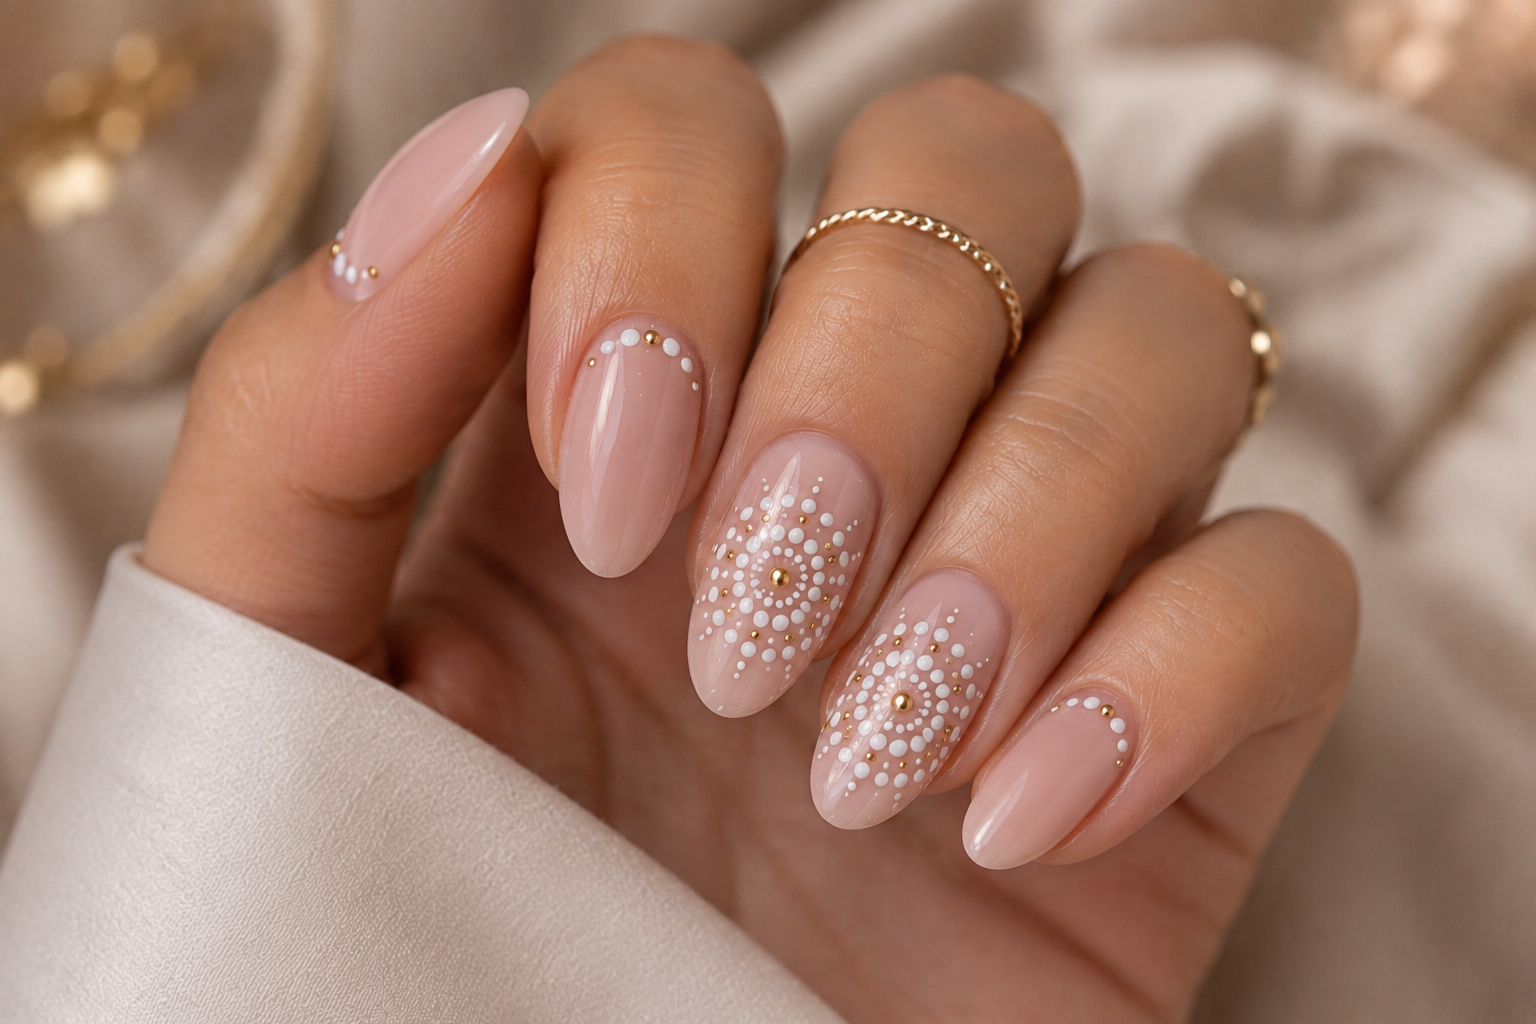
Micro Detailing: The Tiny Nail Art That Makes Everyone Lean In for a Closer Look
A practical Sofia K. technique tutorial on micro detailing, tiny flowers, miniature accents, and precision nail art.
Some nail art is designed to be seen from across the room.
Micro detailing is the complete opposite.
It invites people to come closer.
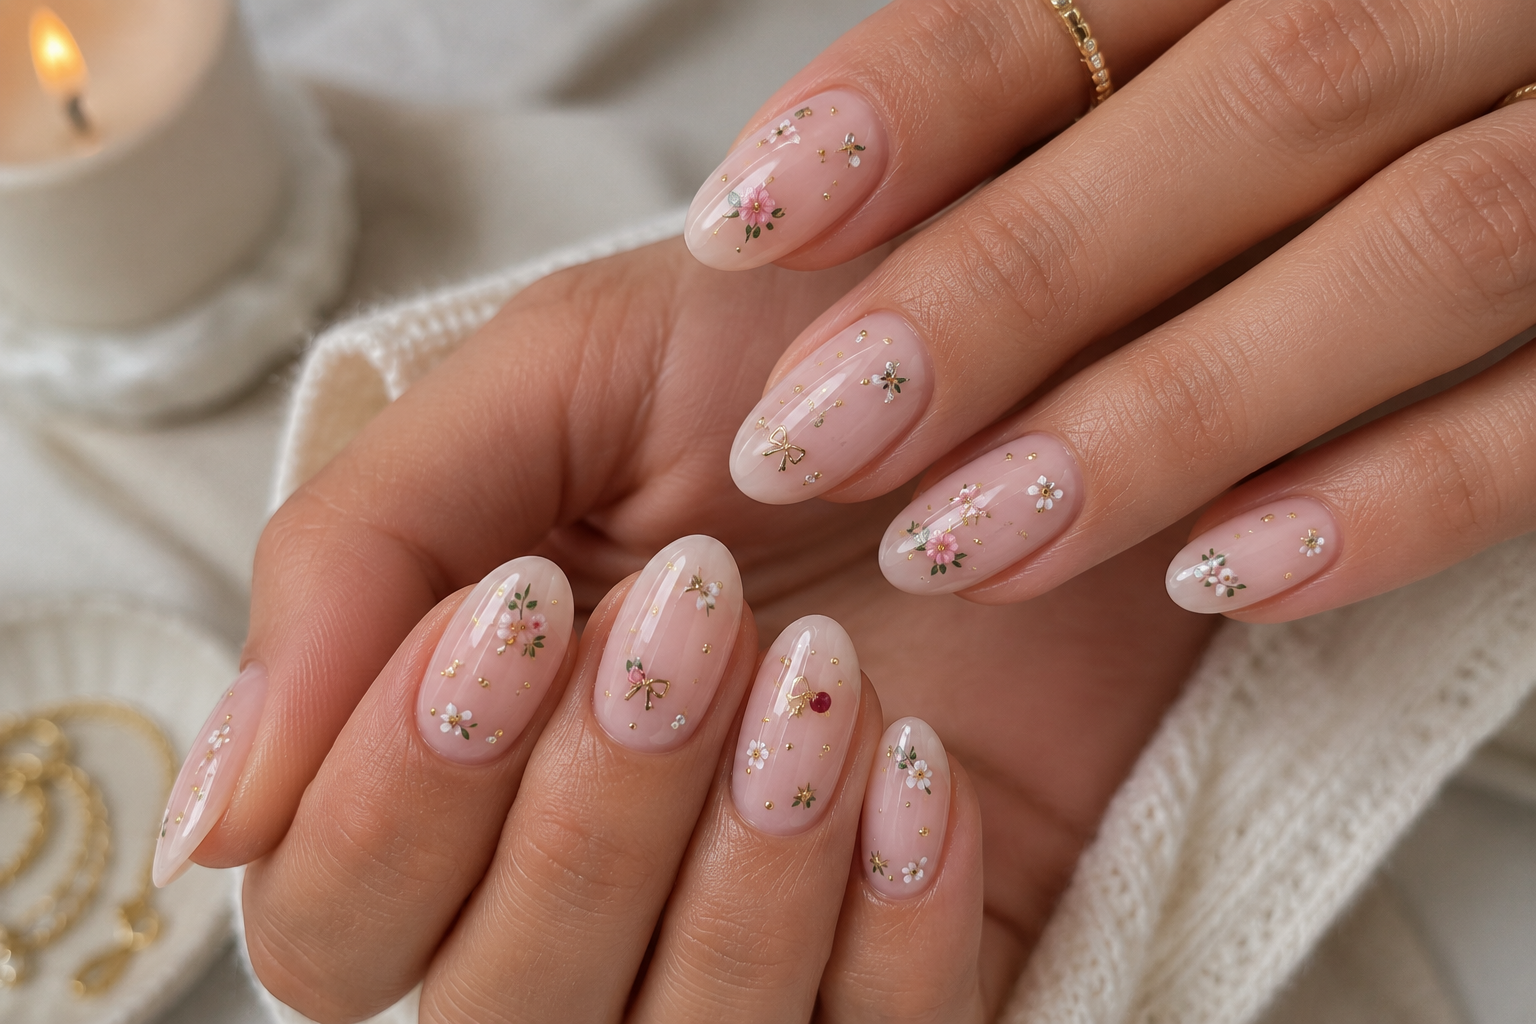
Tiny flowers no bigger than a grain of rice. Miniature stars, delicate bows, little butterflies, elegant leaves, fine lace, tiny pearls and the smallest golden accents imaginable. These details may be small, but together they create a manicure that feels wonderfully luxurious.
There is something almost magical about micro detailing. From a distance, the manicure looks beautifully elegant. Up close, it reveals dozens of thoughtful little surprises.
Girls know exactly what happens next.
- Someone reaches for your hand and says,
- "Wait... let me see your nails!"
Mission accomplished.
What You Need
Base coat
Your chosen base colour
- Ultra-fine detailing brush (5–7 mm)
- Dotting tool (extra small)
- Highly pigmented gel paint
- Magnifying lamp (optional but helpful)
- Top coat
- LED/UV lamp (for gel)
Keep the Base Beautifully Simple
Micro details deserve the spotlight.
- Choose soft backgrounds such as:
- Milky nude
- Soft pink
- Ivory
- Sheer beige
- Light grey
- Cream
The cleaner the base, the more impressive the tiny artwork becomes.
Cure completely.
Think Tiny
This technique is all about restraint.
Before painting, ask yourself,
"Can I make this even smaller?"
The answer is usually yes.
Tiny details often look more elegant than larger ones.
Remember...
Luxury lives in precision.
Hold Your Brush Like a Pencil
Support your little finger against the table or your client's hand.
Load only the very tip of your brush with paint.
You aren't painting a picture.
You're placing tiny moments of beauty.
Slow, gentle movements make all the difference.
Build One Detail at a Time
Rather than decorating the whole nail at once, create one miniature element first.
Ideas include:
Tiny blossoms
- Little hearts
- Mini bows
- Delicate stars
Small butterflies
Fine leaves
Tiny cherries
- Petite pearls
- Mini gemstones
- Microscopic gold dots
Complete one detail before moving to the next.
Patience creates perfection.
Leave Plenty of Space
Micro detailing works because every tiny feature has room to shine.
Avoid overcrowding.
One tiny flower can often attract more attention than ten larger ones.
Empty space becomes part of the artwork.
Add One Unexpected Luxury Touch
To elevate the design, add just one refined accent.
Try:
A tiny crystal.
One gold foil flake.
A miniature chrome dot.
A pearl smaller than a pinhead.
A delicate shimmer highlight.
Small doesn't mean ordinary.
Small means intentional.
Protect Every Tiny Detail
Apply your top coat with a floating motion.
Don't press the brush onto your artwork.
Seal everything carefully so every miniature detail remains crisp and beautifully visible.
Common Beginner Mistakes
Making the details too large.
Loading too much paint onto the brush.
Trying to finish the whole nail at once.
Filling every empty space.
Forgetting to clean the detailing brush frequently.
Rushing because the artwork looks "almost finished."
Micro detailing rewards patience every single time.
Sofia's Little Secret 💕
There is something wonderfully charming about tiny things.
A handwritten note tucked into a handbag.
A little lucky charm on a bracelet.
A quiet compliment that someone remembers for years.
Micro detailing feels exactly the same.
Not everyone will notice every little flower or tiny star at first glance.
But the people who do...
They'll remember it.
And perhaps that's a lovely reminder for life too.
You don't always need grand gestures to leave a lasting impression.
Sometimes it's the smallest details—the thoughtful ones, the carefully chosen ones—that people never forget.
Just like the most beautiful manicure isn't always the loudest one.
Sometimes, it's the one that rewards a second look. 💕