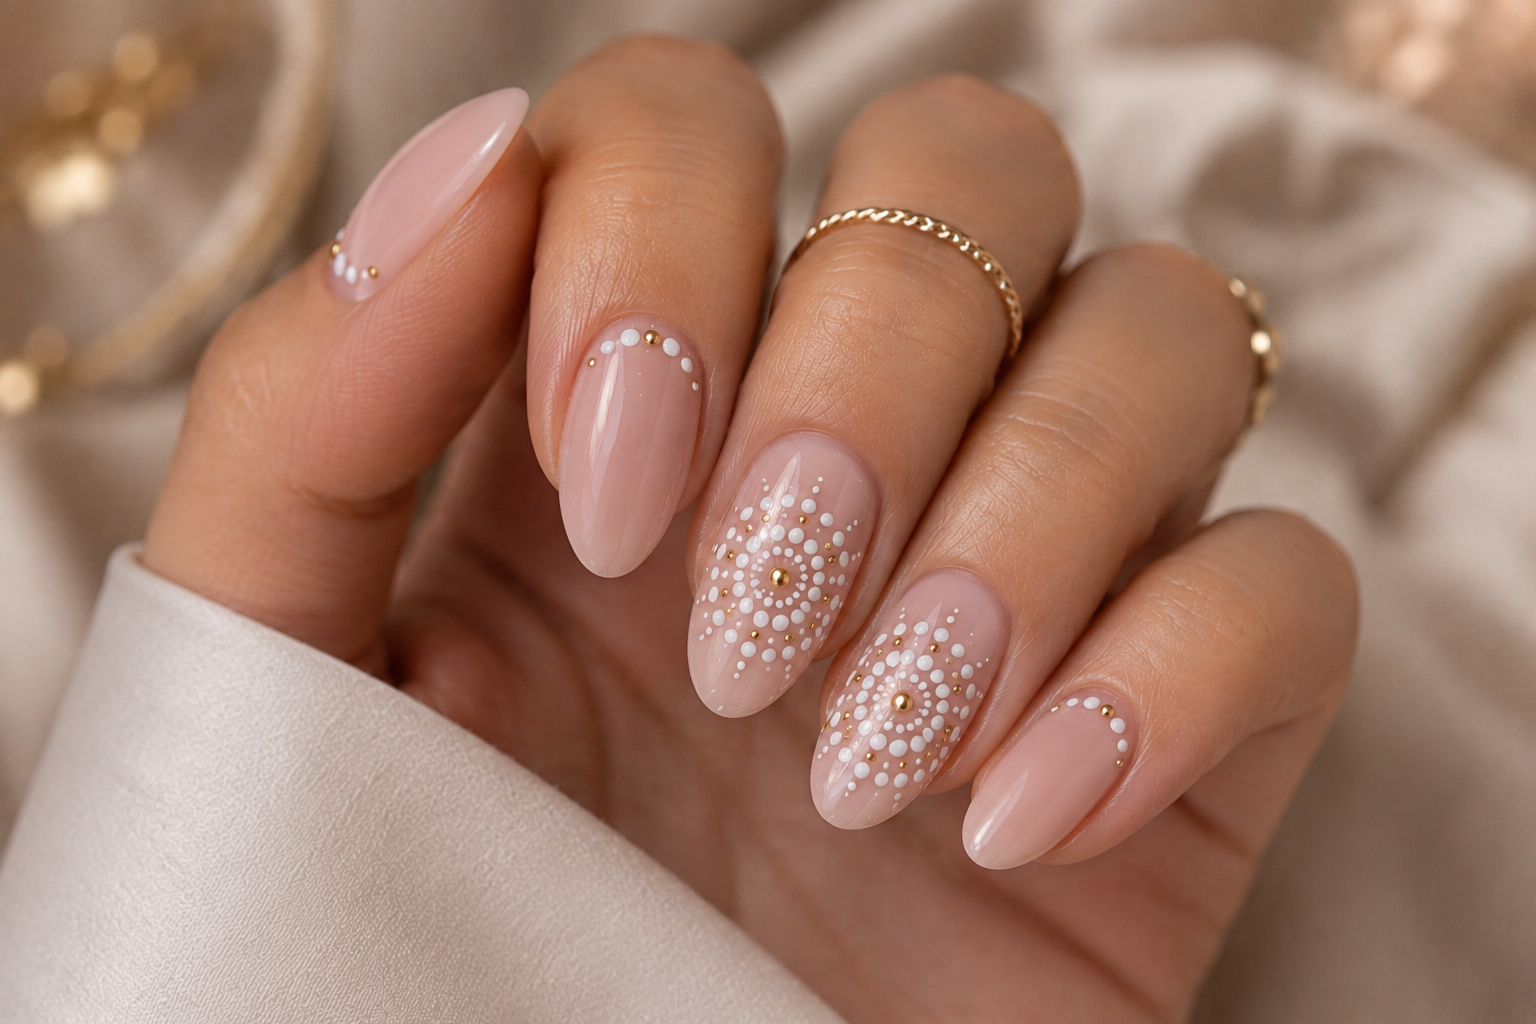
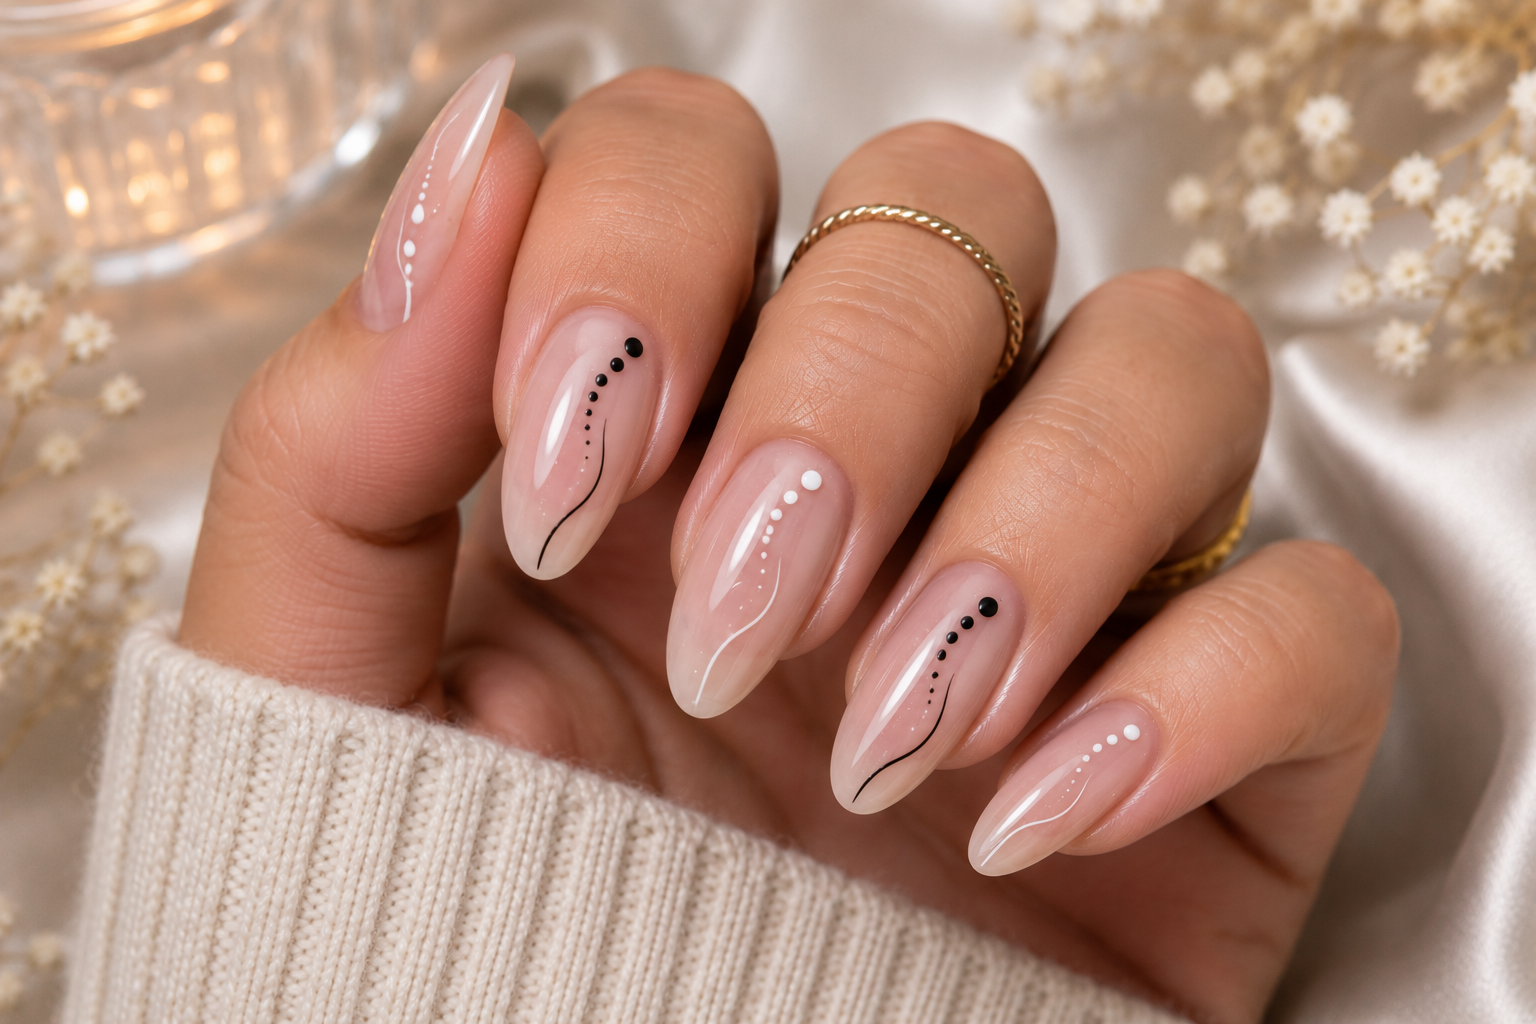
Geometric Lines: The Nail Art That Says "I'm Organised"... Even If My Handbag Says Otherwise!
A practical Sofia K. technique tutorial on geometric line nail art, clean planning, sharp shapes, and balanced modern detail work.
Let's be honest, girls.
Some of us have colour-coded calendars, matching notebooks and perfectly organised desks.
The rest of us have seventeen lipsticks, three hair ties, yesterday's receipts and absolutely no idea where the car keys disappeared.
Thankfully, geometric line nail art works beautifully for both.
This modern technique transforms simple straight lines into eye-catching designs full of balance, symmetry and personality. It feels fresh, fashionable and surprisingly versatile. Whether you're wearing trainers, heels or your favourite oversized blazer, geometric nails always seem to look polished.
And here's a little secret...
Even when your life feels wonderfully chaotic, geometric nails somehow make people think you've got everything under control!
What You Need
- Base coat
- Neutral or solid colour polish
- Fine liner brush
- Striping tape (optional)
- Black, white, gold or silver gel paint
- Top coat
- LED/UV lamp (for gel)
Choose a Clean Background
Geometry looks best when the base colour isn't competing for attention.
Beautiful choices include:
- Milky white
- Nude pink
- Soft beige
- Light grey
- Cream
- Sage green
- Matte black
- Chocolate brown
Simple colours make sharp lines stand out beautifully.
Cure your colour.
Plan Before You Paint
Unlike abstract art, geometry loves planning.
Take a moment to imagine your design.
Think about:
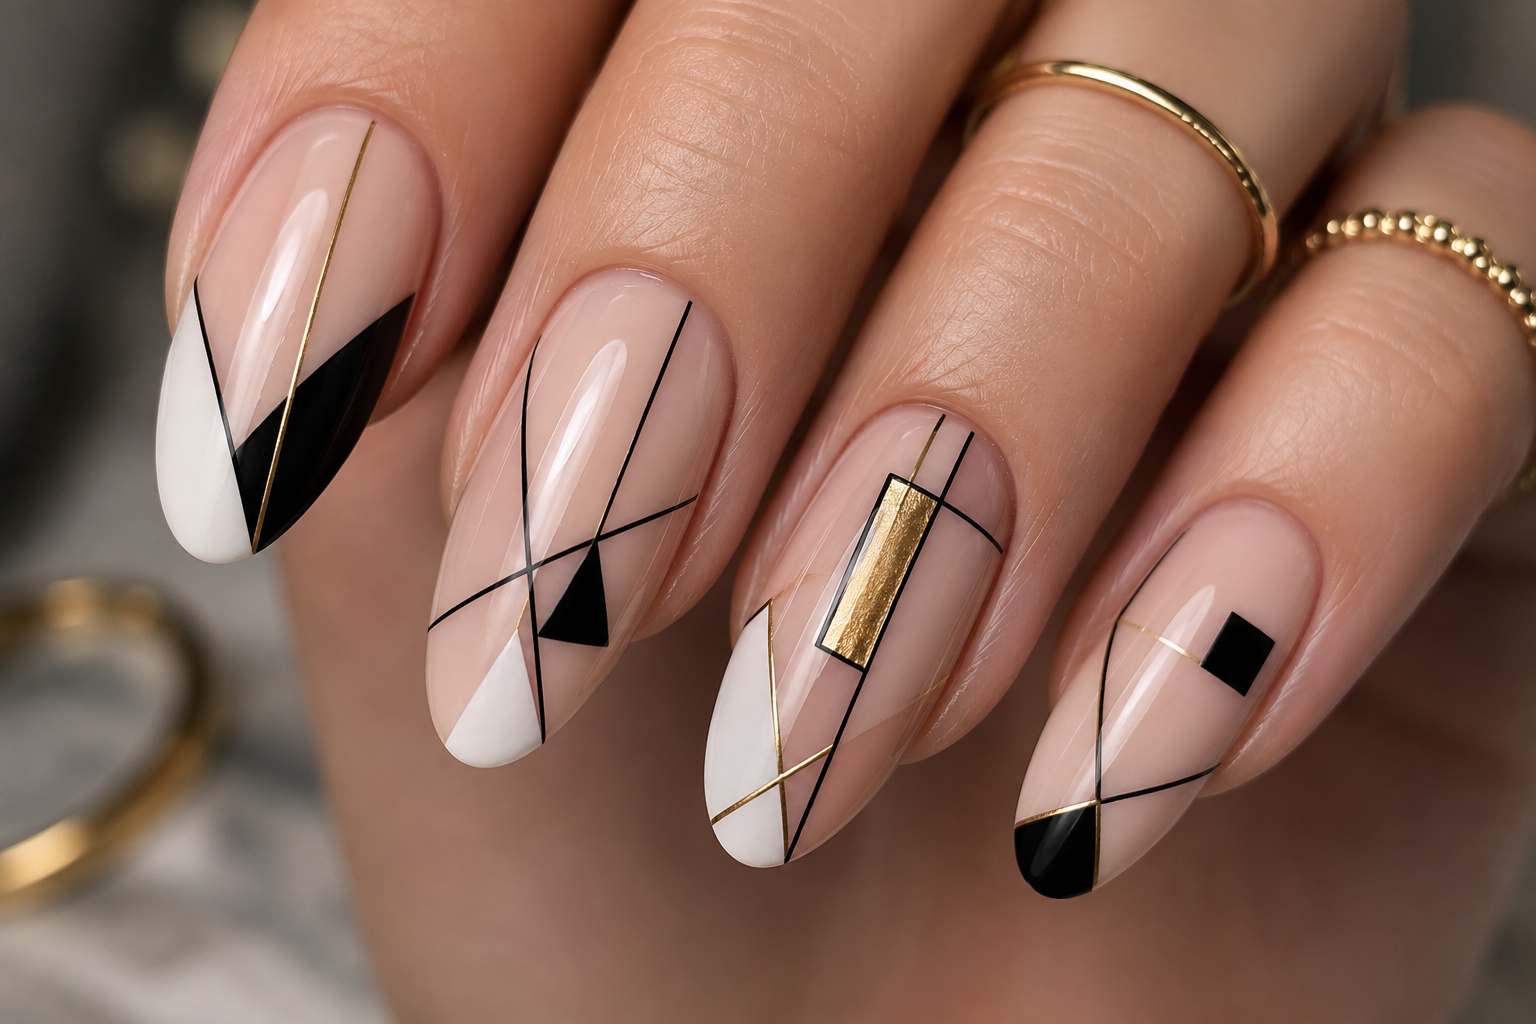
- Diagonal lines
- Triangles
- Squares
- Diamonds
- Parallel lines
- Tiny rectangles
- Half sections
- Asymmetrical blocks
Don't worry.
This isn't a maths exam.
Nobody is measuring your triangles.
Draw Your First Line
Load only a tiny amount of paint onto your liner brush.
Pull one smooth stroke.
Keep your wrist supported.
If you're nervous, breathe out slowly while drawing.
It's amazing how much steadier your hand becomes.
Build the Pattern
Now begin connecting your lines.
Try combinations like:
- Three parallel diagonals
- One large triangle with tiny accents
- Criss-cross patterns
- Half-and-half designs
- Offset squares
- Floating rectangles
- Angular corners
Remember...
The spaces between the lines are just as important as the lines themselves.
Add a Pop of Luxury
Once your pattern is complete, choose one elegant accent.
Ideas include:
- One gold line
- Tiny silver foil
- Matte and gloss contrast
A chrome triangle
- One glitter section
- Delicate metallic dot
You don't need much.
Geometry already creates enough interest.
Keep the Whole Hand Balanced
Not every nail has to become a masterpiece.
A beautiful arrangement might be:
- Two detailed geometric nails
- Two simple accent lines
- One plain glossy nail
This makes the overall manicure feel expensive rather than busy.
Think of your nails as a well-designed room.
Every corner doesn't need decoration.
Finish With Top Coat
Apply your top coat gently over every line.
Float the brush without pressing.
Seal your artwork and enjoy the beautiful glossy finish.
Common Beginner Mistakes
Making every nail completely different.
Using thick, uneven lines.
Overcrowding the design.
Mixing too many colours.
Forgetting symmetry across the whole set.
Trying to create tiny shapes before mastering straight lines.
Sofia's Little Secret 💕
There is something wonderfully satisfying about geometric nails.
Maybe it's because life is rarely perfectly organised. Meetings run late, coffee goes cold, phones won't stop ringing and somebody always chooses the longest supermarket queue.
Then you glance down at your manicure.
Everything is balanced.
Every line knows exactly where it belongs.
And somehow... that tiny bit of order feels surprisingly calming.
So if today feels a little chaotic, don't worry.
Your handbag can stay messy.
Your geometric manicure will keep pretending you've got your whole life beautifully figured out—and honestly, we girls are perfectly happy to let it tell that little white lie! 💕