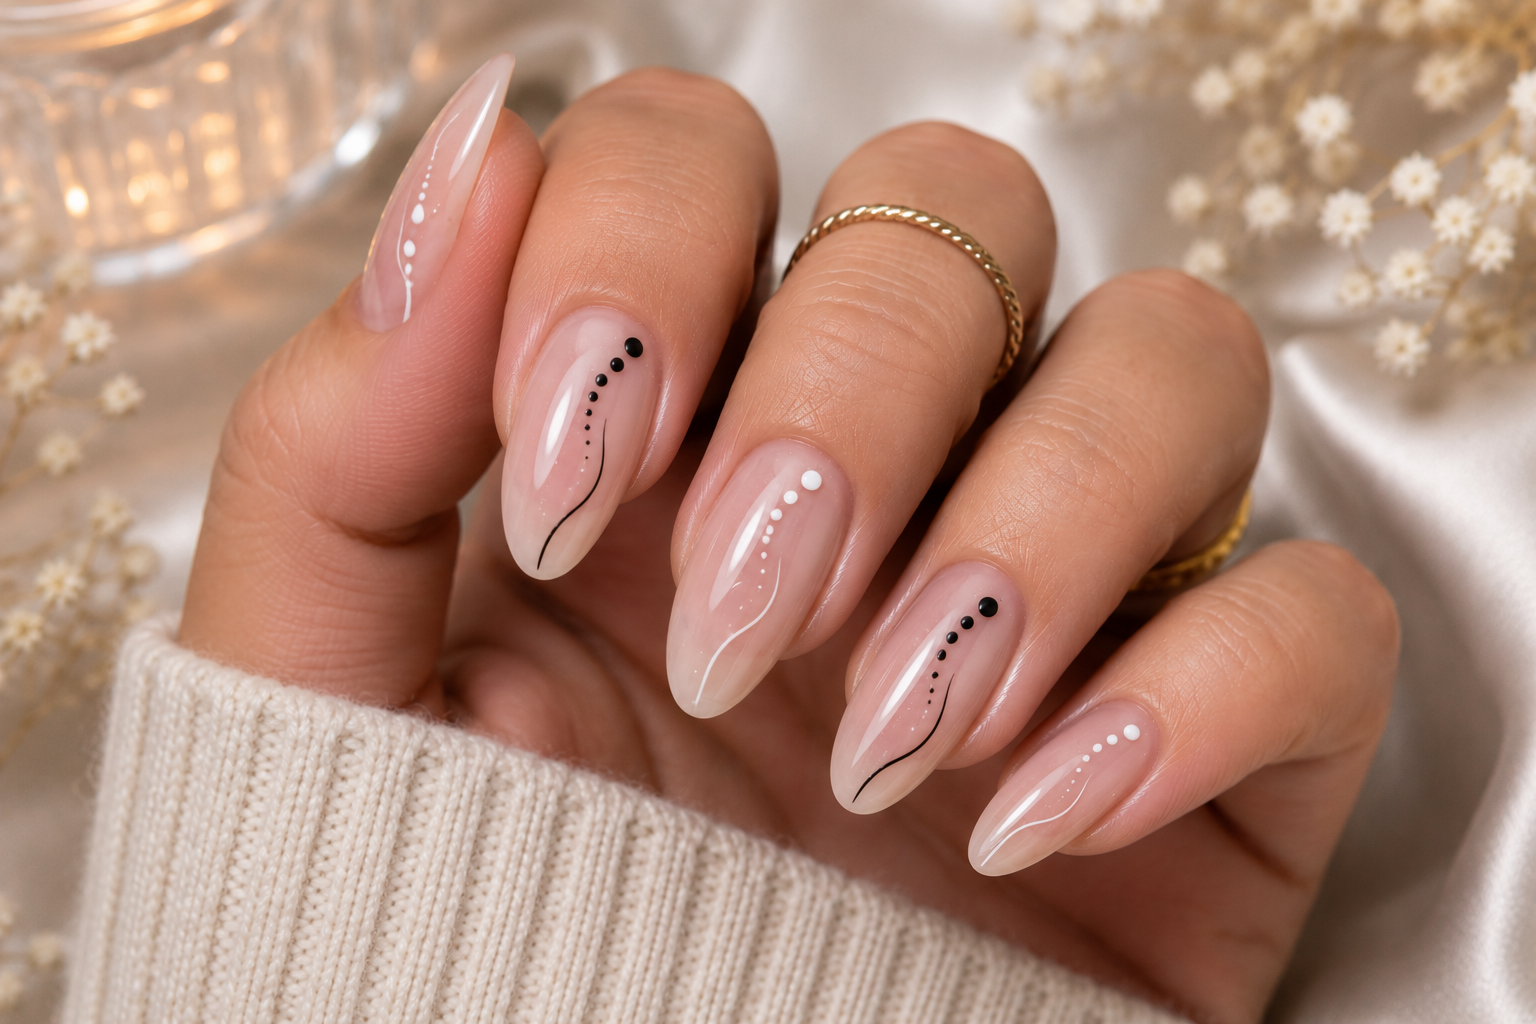
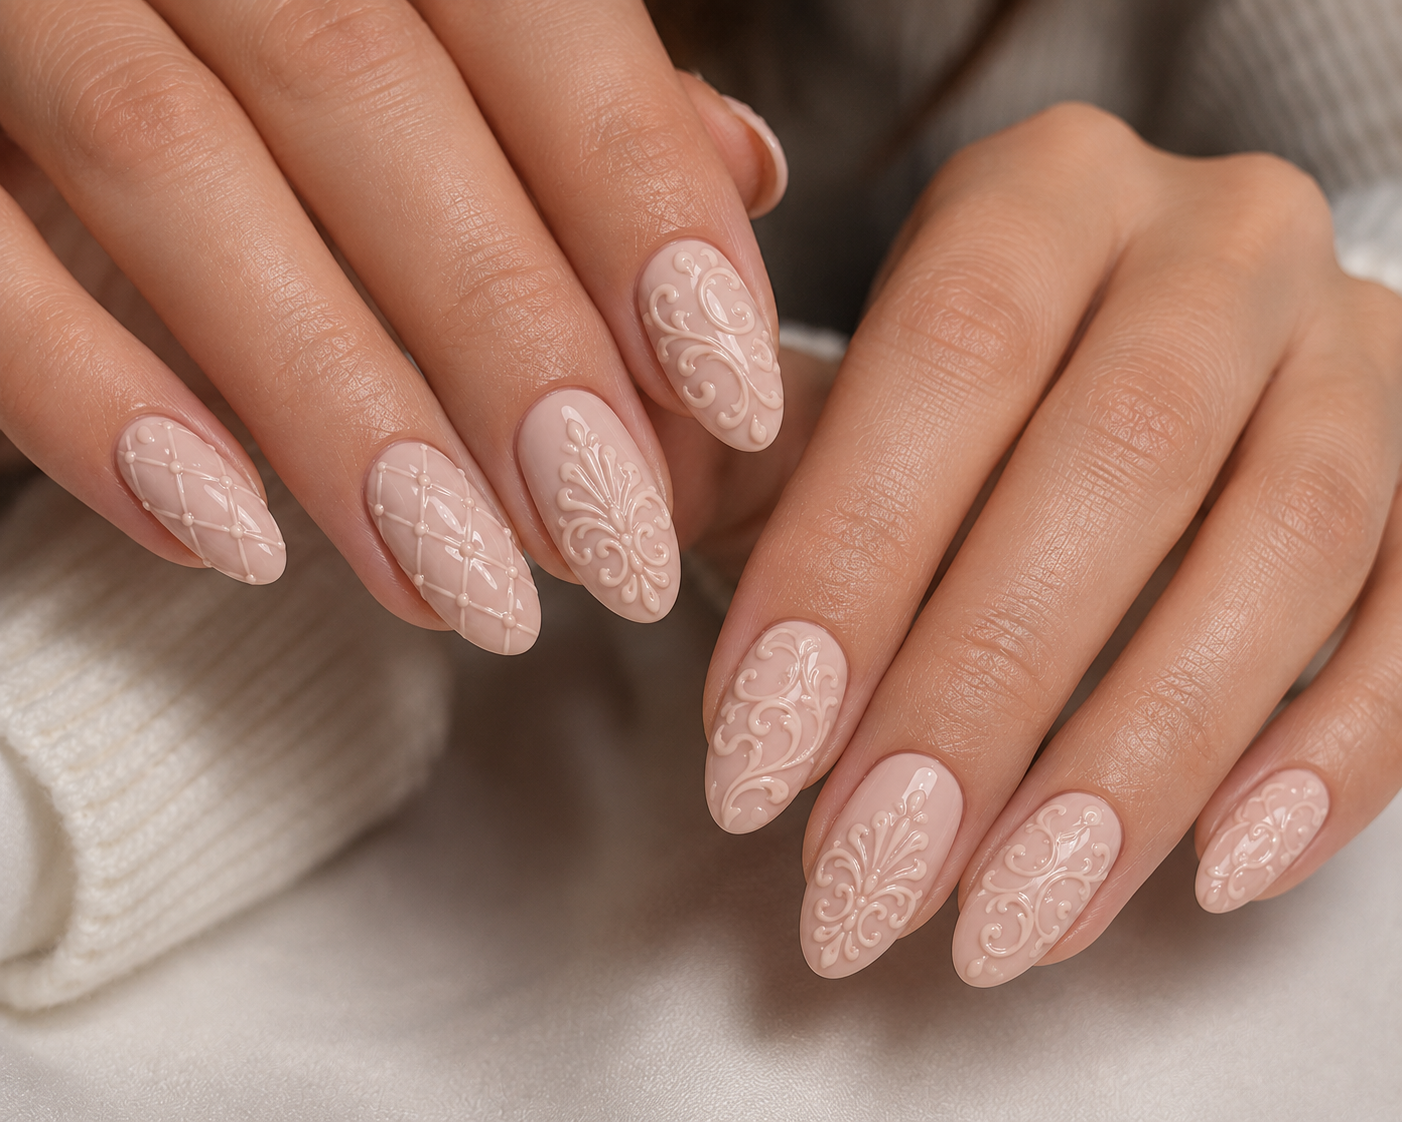
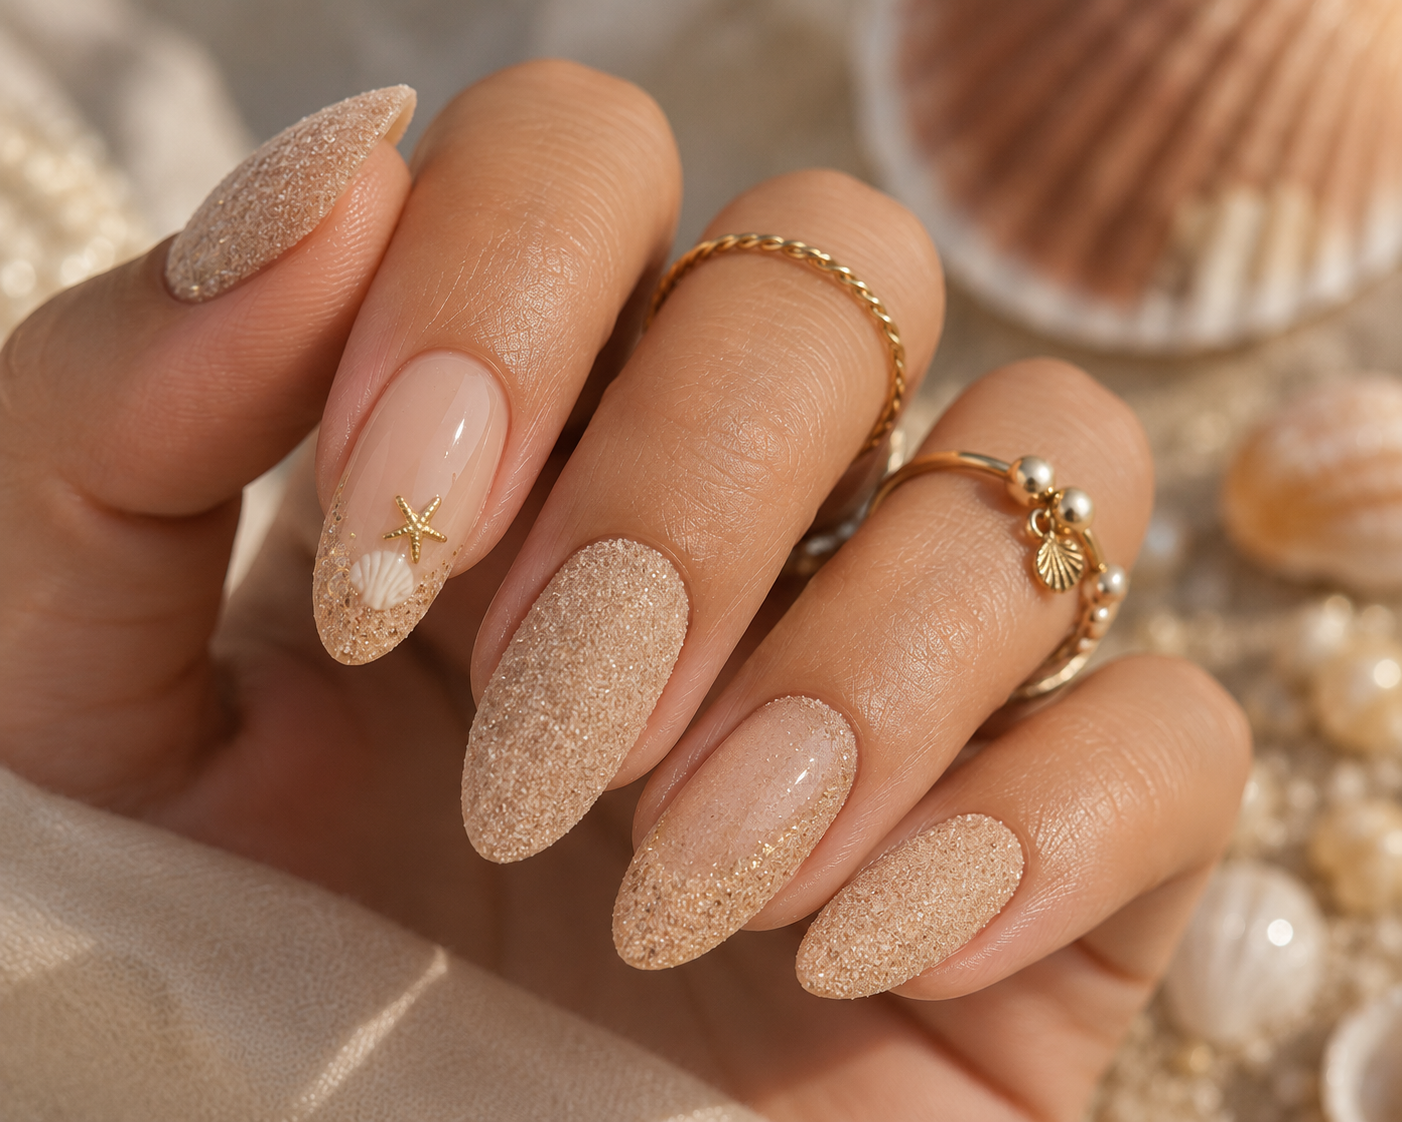
Mandala Dot Art Nails: Beauty That Begins from the Centre
A practical Sofia K. technique tutorial on mandala dot art nails, centred dot placement, and balanced circular detail work.
Some designs are simply beautiful.
Others feel almost meditative.
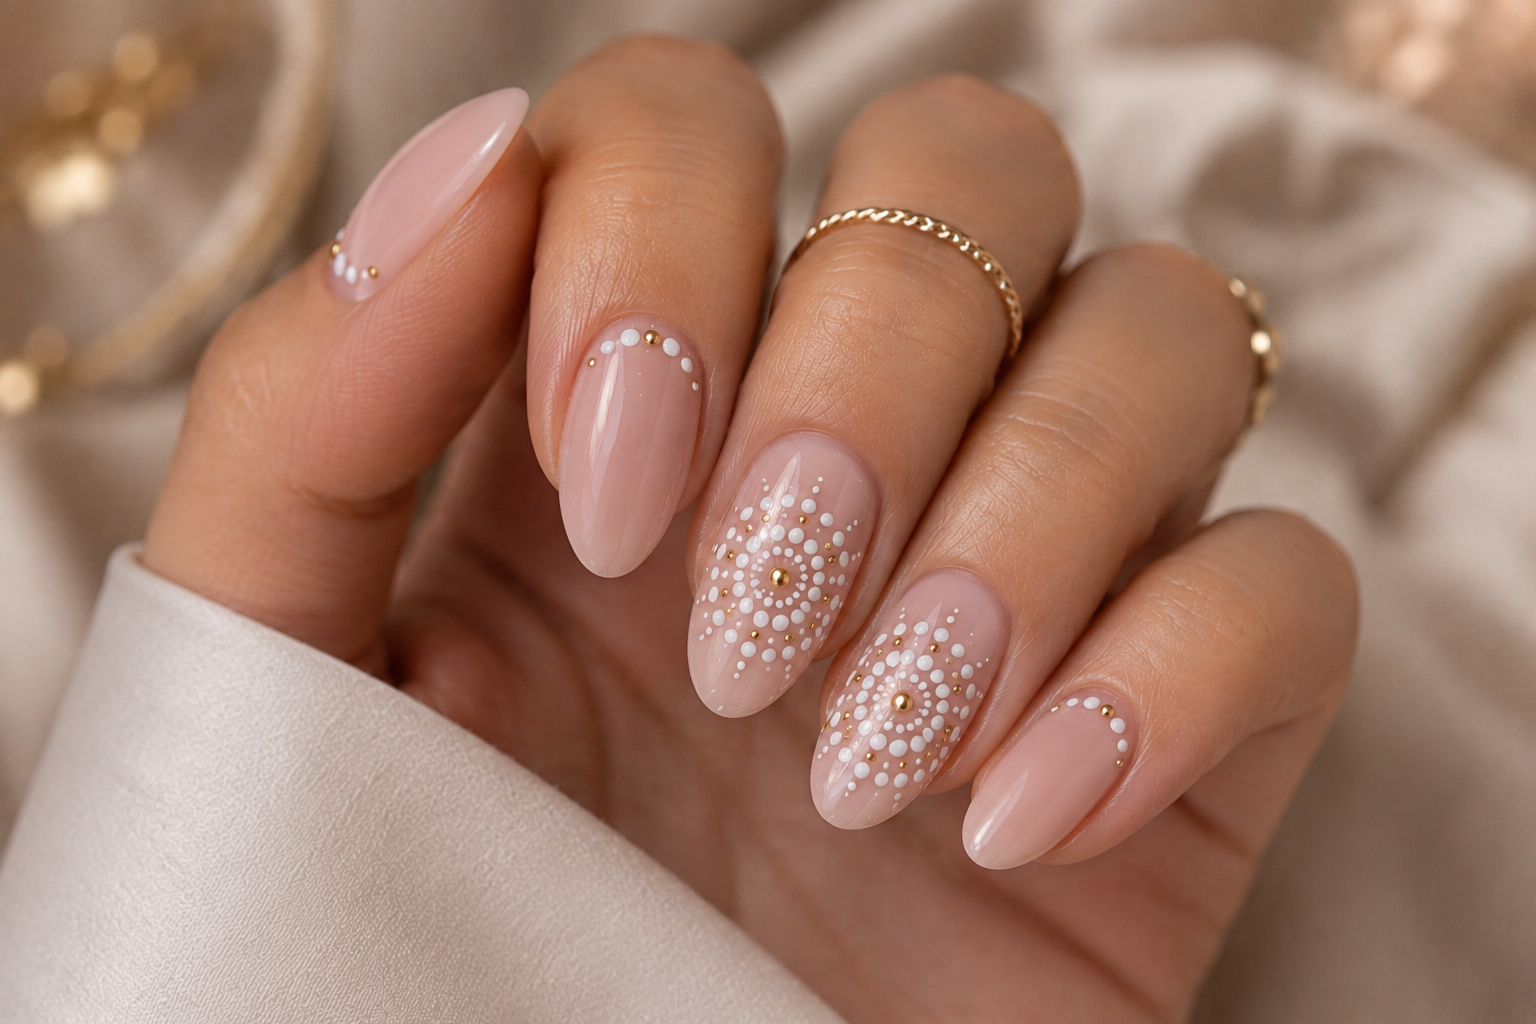
Mandala dot art belongs to the second kind. Every tiny dot grows from a single centre, slowly unfolding into delicate circles and graceful patterns that feel balanced, calm, and wonderfully feminine. It reminds me of quiet mornings before the world becomes busy, when sunlight enters through the window and everything feels beautifully still.
Although mandala nails may look intricate, their true beauty comes from patience rather than perfection. Dot by dot, the design finds its own rhythm, creating a manicure that feels elegant, artistic, and full of quiet confidence.
After all, harmony is always fashionable.
What You Need
- Base coat
- A nude, milky white, soft blush or pastel polish
- Dotting tools in several sizes
- White, gold or contrasting gel polish
- A fine liner brush for tiny details
- High-gloss top coat
- Lint-free wipes and nail cleanser
- A calm workspace with good lighting
Step 1 – Create Your Calm Canvas
Apply your base coat before adding two smooth layers of your chosen colour.
Soft backgrounds allow the mandala to become the heart of the manicure without competing for attention.
Sofia's Tip: Luxury often begins with simplicity.
Step 2 – Find the Centre
Place one perfectly positioned dot where your mandala will begin.
Everything else will grow naturally around this tiny starting point.
Like many beautiful things in life, the smallest beginning often creates the greatest beauty.
Confidence creates elegance.
Step 3 – Build the First Circle
Using a slightly smaller dotting tool, surround the centre with evenly spaced dots.
Don't rush.
Allow your hand to settle into a comfortable rhythm as each circle slowly appears.
Beautiful movement always beats perfect movement.
Step 4 – Let the Pattern Bloom
Continue adding new rings of dots, alternating between larger and smaller sizes to create texture and depth.
The design should open gently, almost like a flower greeting the morning sun.
Tiny details often become unforgettable.
Step 5 – Add Your Signature
If you wish, introduce a few tiny gold dots or delicate curved strokes between the circles to make the mandala feel even more luxurious.
Resist adding too much.
Luxury rarely shouts.
We've all looked at a beautiful nail and thought, "Just one more little detail..." Sometimes that little detail has very enthusiastic friends waiting behind it.
Step 6 – Finish with Crystal Shine
Seal the entire design with a glossy top coat.
The shine softens every tiny dot and gives the mandala a porcelain-like finish that catches the light beautifully as your hands move.
The most elegant designs always look effortless.
Step 7 – Enjoy the Little Moments
Hold your hands beneath natural light and admire how every circle works together in perfect harmony.
Mandala nails are not designed to be loud.
They invite people to look a little closer, discovering new little details each time.
And that quiet confidence is often the most unforgettable kind.
Sofia's Little Secret 💕
Mandalas remind us that beauty doesn't need to hurry.
Every little dot has its own place, just as every experience shapes the woman you become. Some moments bring celebration, others bring patience, but together they create something unique that belongs only to you.
Wear your mandala nails as a gentle reminder that true elegance is never rushed. It grows slowly, beautifully, and with perfect harmony—just like the most confident women you'll ever meet. And perhaps, every time you catch them sparkling in the light, they'll remind you to pause, smile, and enjoy the moment you're living. 💕