Builder Gel Overlay (BIAB): How to Strengthen Natural Nails with a Smooth, Long-Lasting Finish
A practical Sofia K. technique tutorial on builder gel overlay (biab): how to strengthen natural nails with a smooth, long-lasting finish.
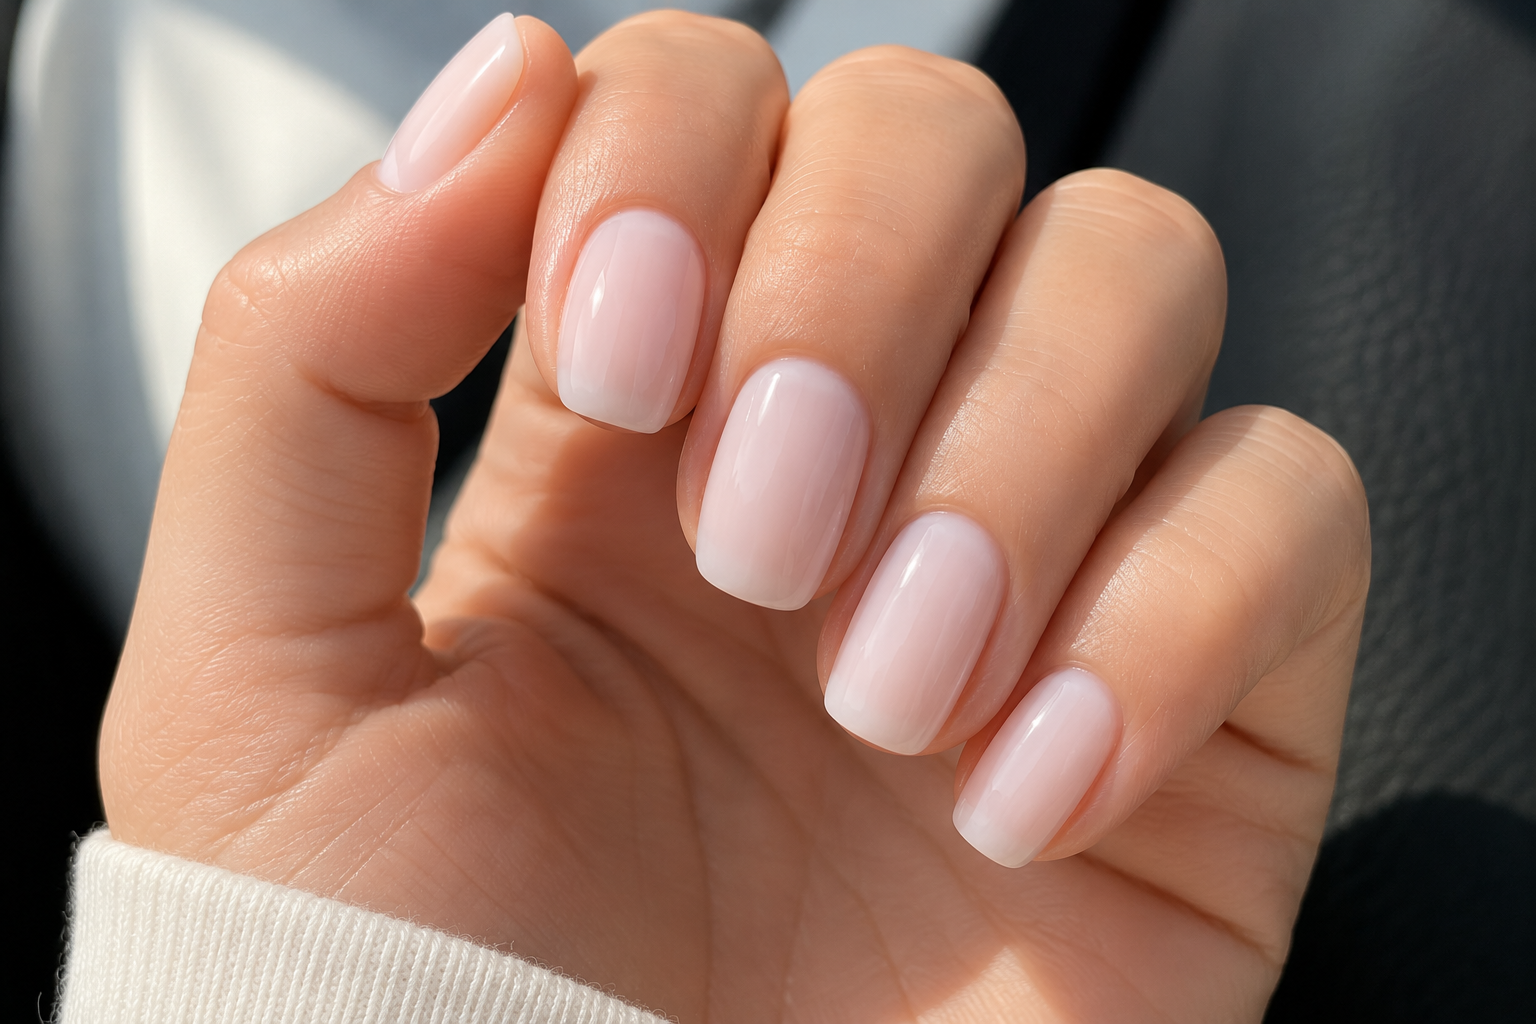
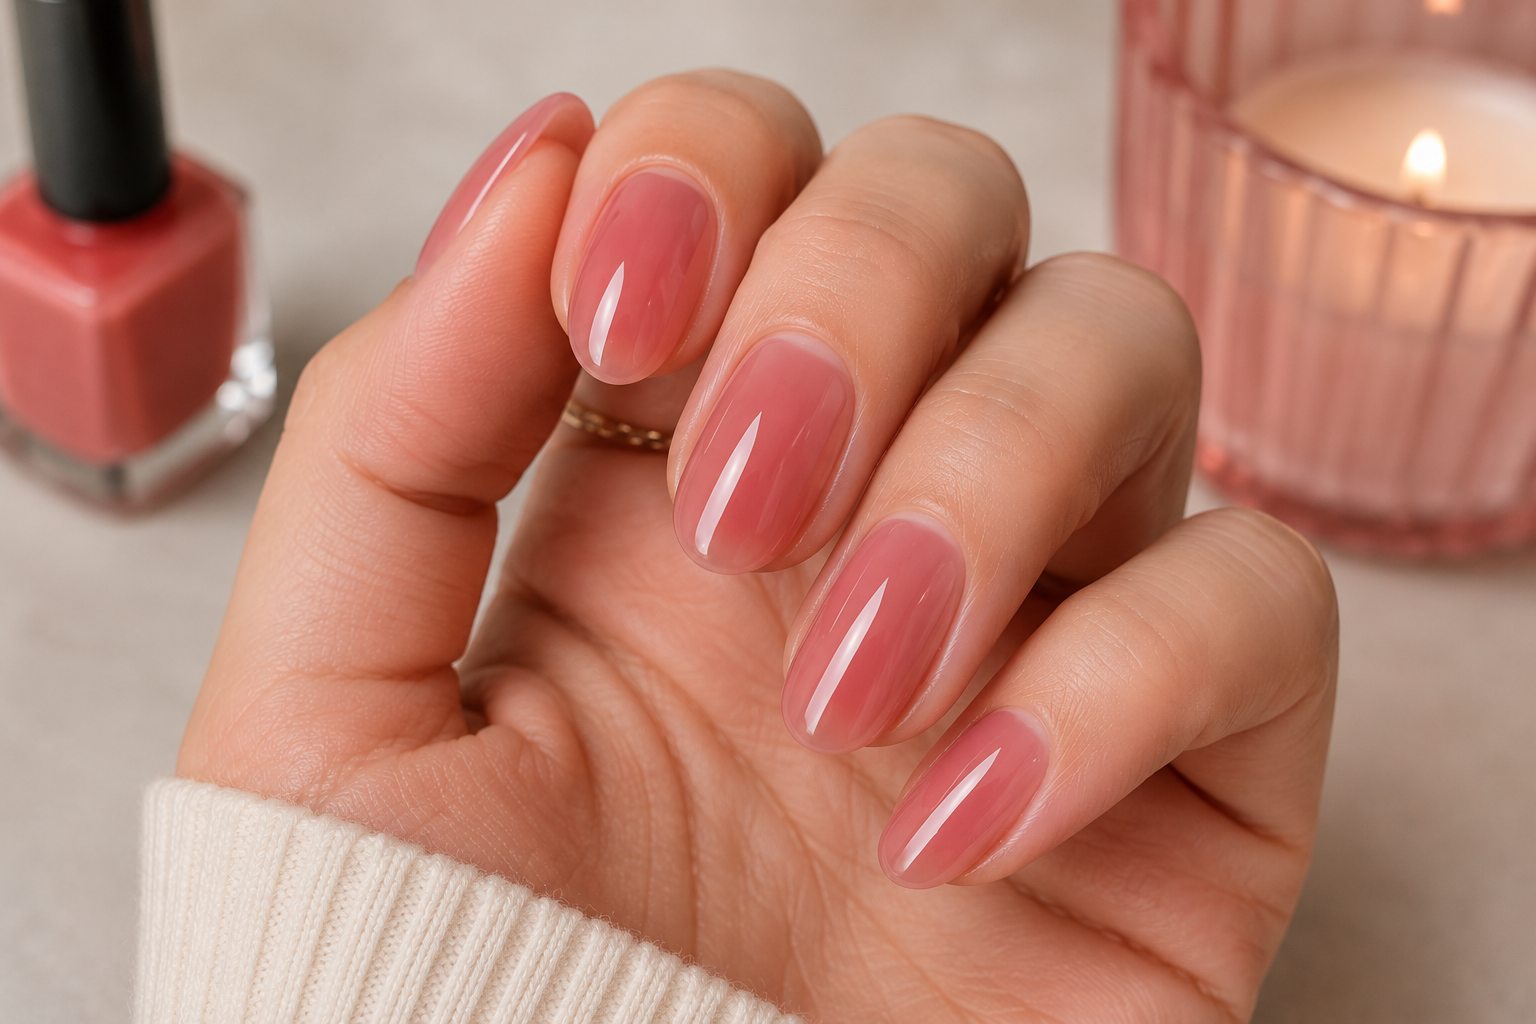
Builder Gel in a Bottle (BIAB) has become one of the most requested salon services in recent years, and it is easy to understand why. Unlike traditional gel polish, BIAB is designed not only to add colour but also to strengthen and protect the natural nail.
I often think of BIAB as the perfect balance between a natural manicure and a nail enhancement. It provides extra durability without the length or thickness of extensions, making it an excellent choice for clients who want stronger natural nails while maintaining a clean, elegant appearance.
One of the biggest advantages of a builder gel overlay is that it creates structure. The product reinforces the natural nail, helping to reduce breakage and allowing weak or damaged nails to grow with better support.
The secret to a beautiful BIAB manicure is not simply applying a thicker layer of gel. Success comes from careful preparation, thin application where appropriate, and building the correct apex for strength while keeping the nails natural-looking.
Prepare the Natural Nails
Proper preparation is essential for long-lasting adhesion.
- Remove any previous product.
- Shape all nails evenly.
- Gently push back the cuticles.
- Remove loose or dead skin.
- Lightly remove the natural shine from the nail plate using a fine-grit buffer.
- Remove all dust thoroughly.
- Clean the nail with a professional nail cleanser.
Every trace of dust, oil and moisture should be removed before applying the product.
Apply Nail Prep Products
If required by your chosen BIAB system, apply the recommended dehydrator and primer.
Use only a very small amount and avoid touching the surrounding skin.
Allow each product to air dry according to the manufacturer's instructions.
Apply the Base Layer
Apply a very thin slip layer of builder gel over the entire nail.
Do not cure immediately if your system recommends using the slip layer to help guide the next bead of product.
Keep the application thin and even.
Build the Structure
Pick up a slightly larger bead of builder gel and place it near the centre of the nail.
Using gentle brush movements, guide the gel towards the cuticle without flooding it, then float the product towards the free edge.
Allow the gel to self-level naturally.
The highest point, known as the apex, should sit slightly behind the centre of the nail to provide maximum strength while maintaining a natural appearance.
Turn the finger upside down for a few seconds if necessary to help the gel self-level before curing.
Cure the Builder Gel
Cure the nail using the lamp recommended by the manufacturer.
Always follow the specified curing times, as different BIAB systems require different curing durations.
Repeat the process on the remaining nails.
Refine the Shape
Once fully cured, inspect the surface.
If necessary, lightly file and refine:
- The side walls.
- The free edge.
- The surface.
- The apex.
The goal is to create a smooth, balanced structure without removing unnecessary product.
Remove all filing dust before continuing.
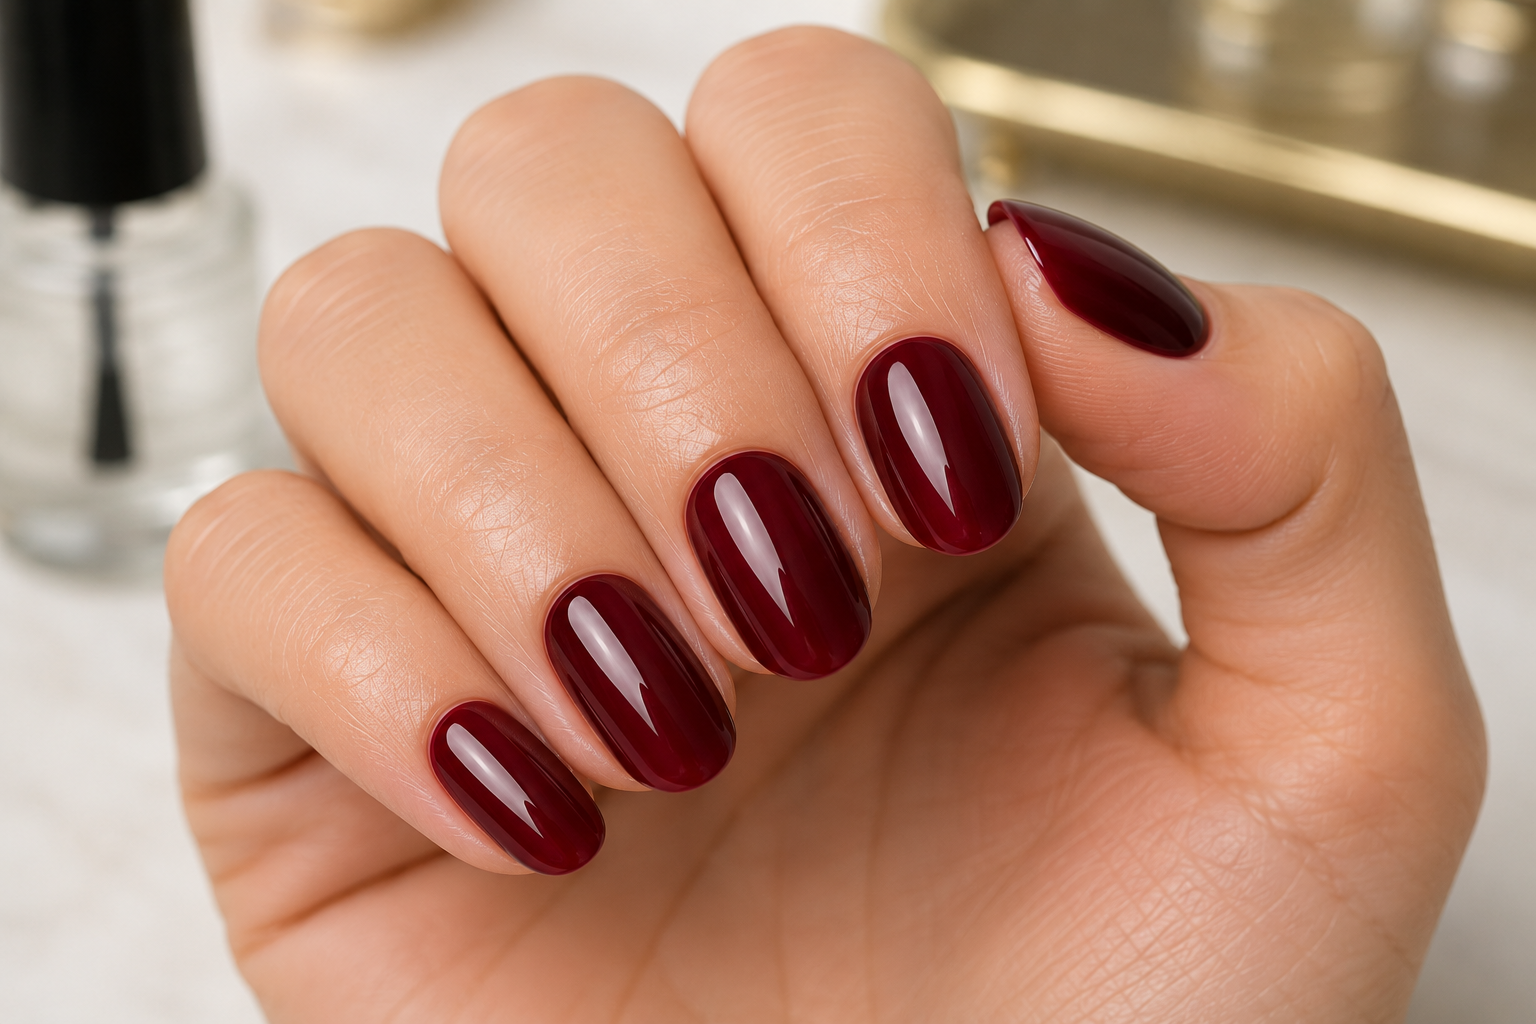
Apply Colour (Optional)
Many BIAB shades are attractive enough to wear on their own.
If additional colour is desired, apply two thin coats of gel polish and cure each layer according to the manufacturer's instructions.
Finish with a Top Coat
Apply one even layer of gloss or matte top coat.
Remember to cap the free edge to improve durability.
Cure the final layer before applying cuticle oil around the nails.
Common Mistakes to Avoid
- Inadequate nail preparation.
- Flooding the cuticle with builder gel.
- Building an apex that is too flat or too bulky.
- Applying excessively thick layers.
- Removing too much product during refinement.
- Using the wrong curing lamp.
- Skipping the manufacturer's preparation system.
My Professional Tips
One of the biggest lessons I have learned with BIAB is that strength comes from structure, not thickness. Many beginners believe adding more product automatically creates a stronger nail, but a correctly positioned apex provides far more support than an unnecessarily bulky overlay.
I also let the product work for me. Builder gel is designed to self-level, so I avoid overworking it with the brush. Gentle movements usually produce a smoother surface and reduce the amount of filing needed afterwards.
Finally, always check each nail from every angle before curing. Looking from the side, the front, and down the barrel of the nail helps ensure the structure is balanced and symmetrical.
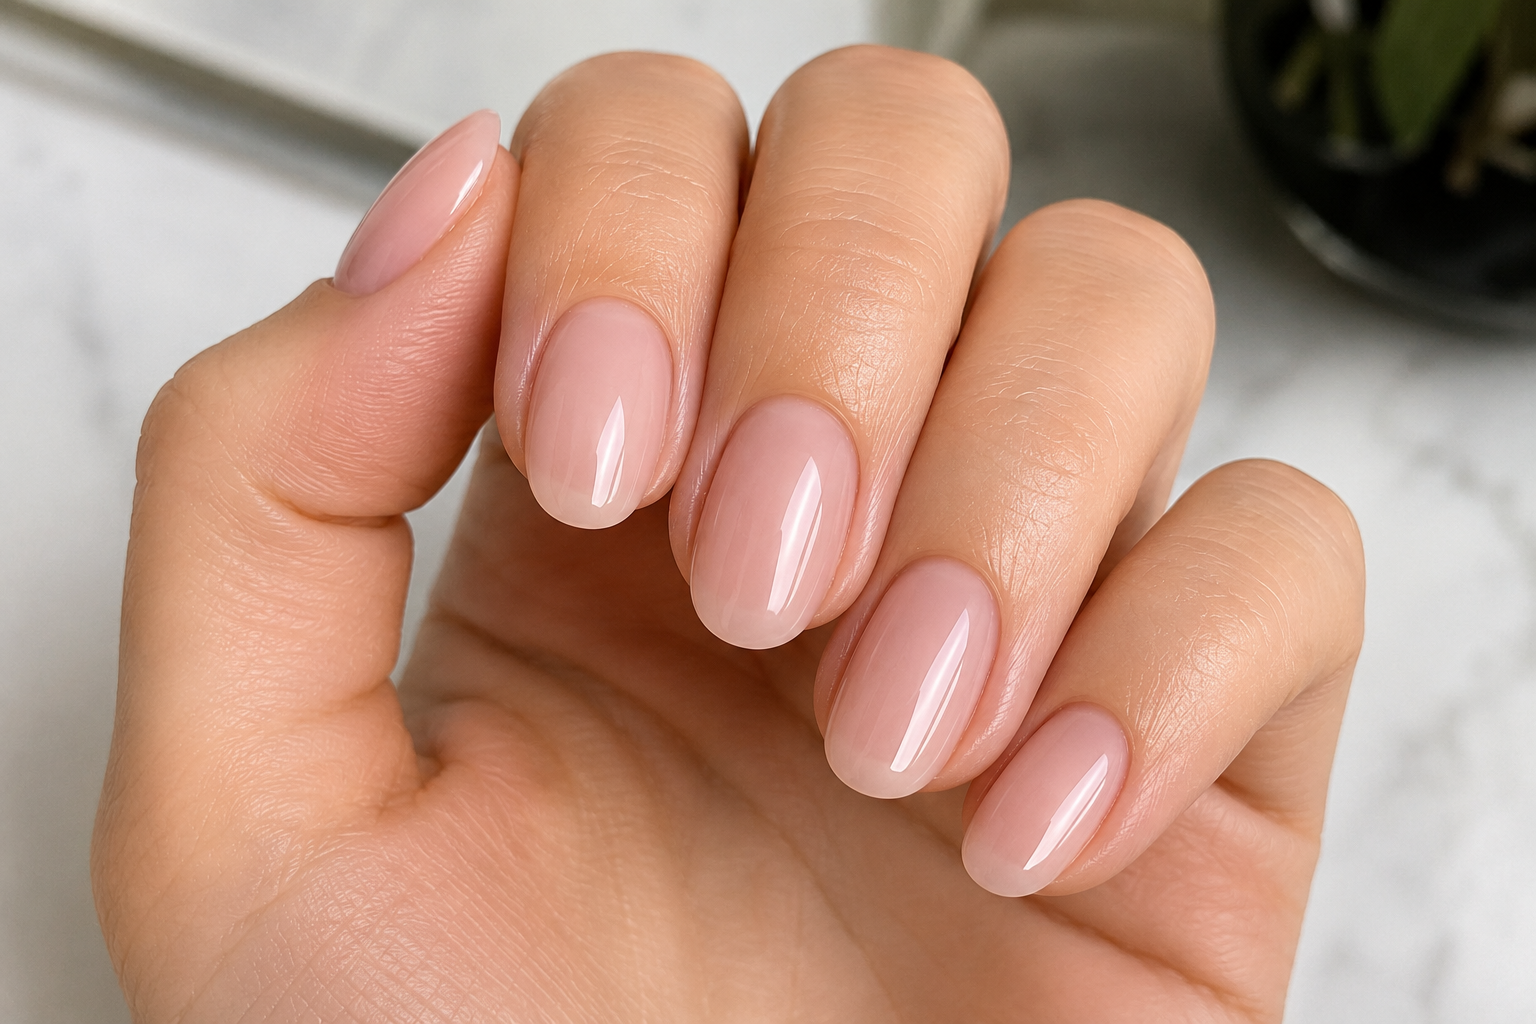
A well-applied BIAB overlay should feel lightweight, look natural, and provide weeks of strength and durability. When preparation, structure, and finishing are done correctly, the result is a beautiful manicure that protects the natural nail while allowing it to grow stronger over time.