Micro French: The Delicate Manicure That Proves Less Really Can Be More
A practical Sofia K. technique tutorial on micro french: the delicate manicure that proves less really can be more.
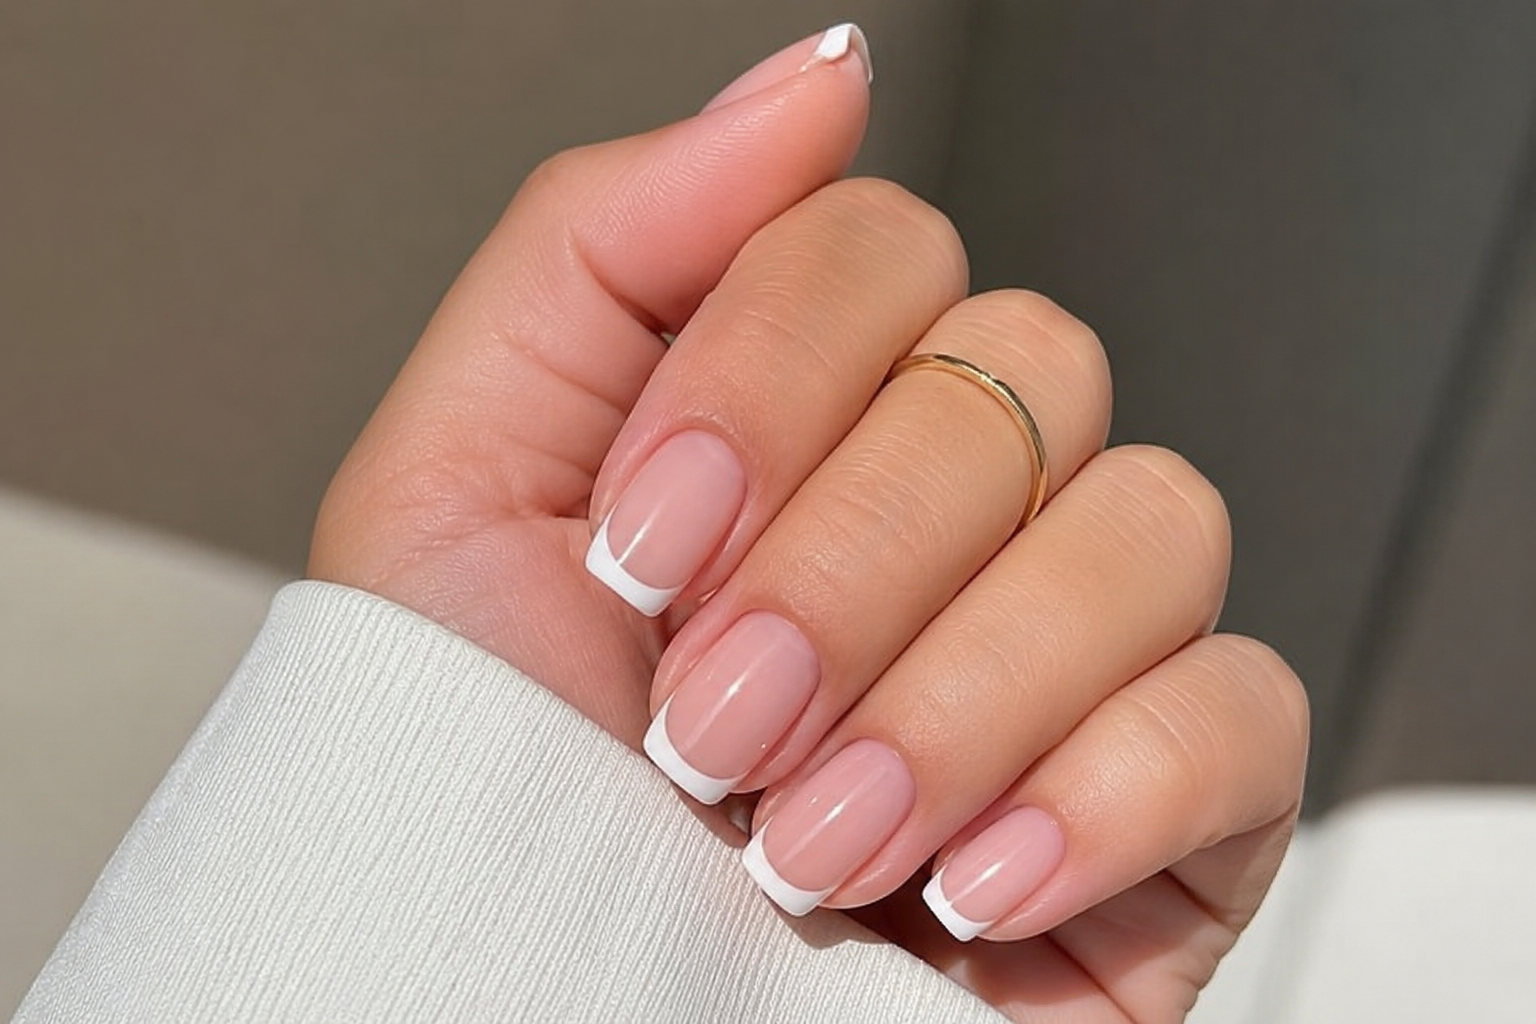
There is something quietly beautiful about a Micro French manicure. It does not ask for attention, yet people often notice it. The tiny white line catches the light just enough to make the nails appear cleaner, longer, and more refined without looking heavily polished.
I have always thought the Micro French is perfect for those moments when you want your hands to feel elegant but not overly styled. It suits everyday life beautifully, but it is equally at home at weddings, business meetings, graduations, and evening dinners. It is the kind of manicure that works with almost every outfit because it never competes with your jewellery or clothing.
Fashion often reminds us that refinement comes from restraint. As architect and designer Ludwig Mies van der Rohe famously said:
"Less is more."
Few nail designs represent that philosophy better than the Micro French.
What Is a Micro French Manicure?
A Micro French is a modern variation of the Classic French manicure.
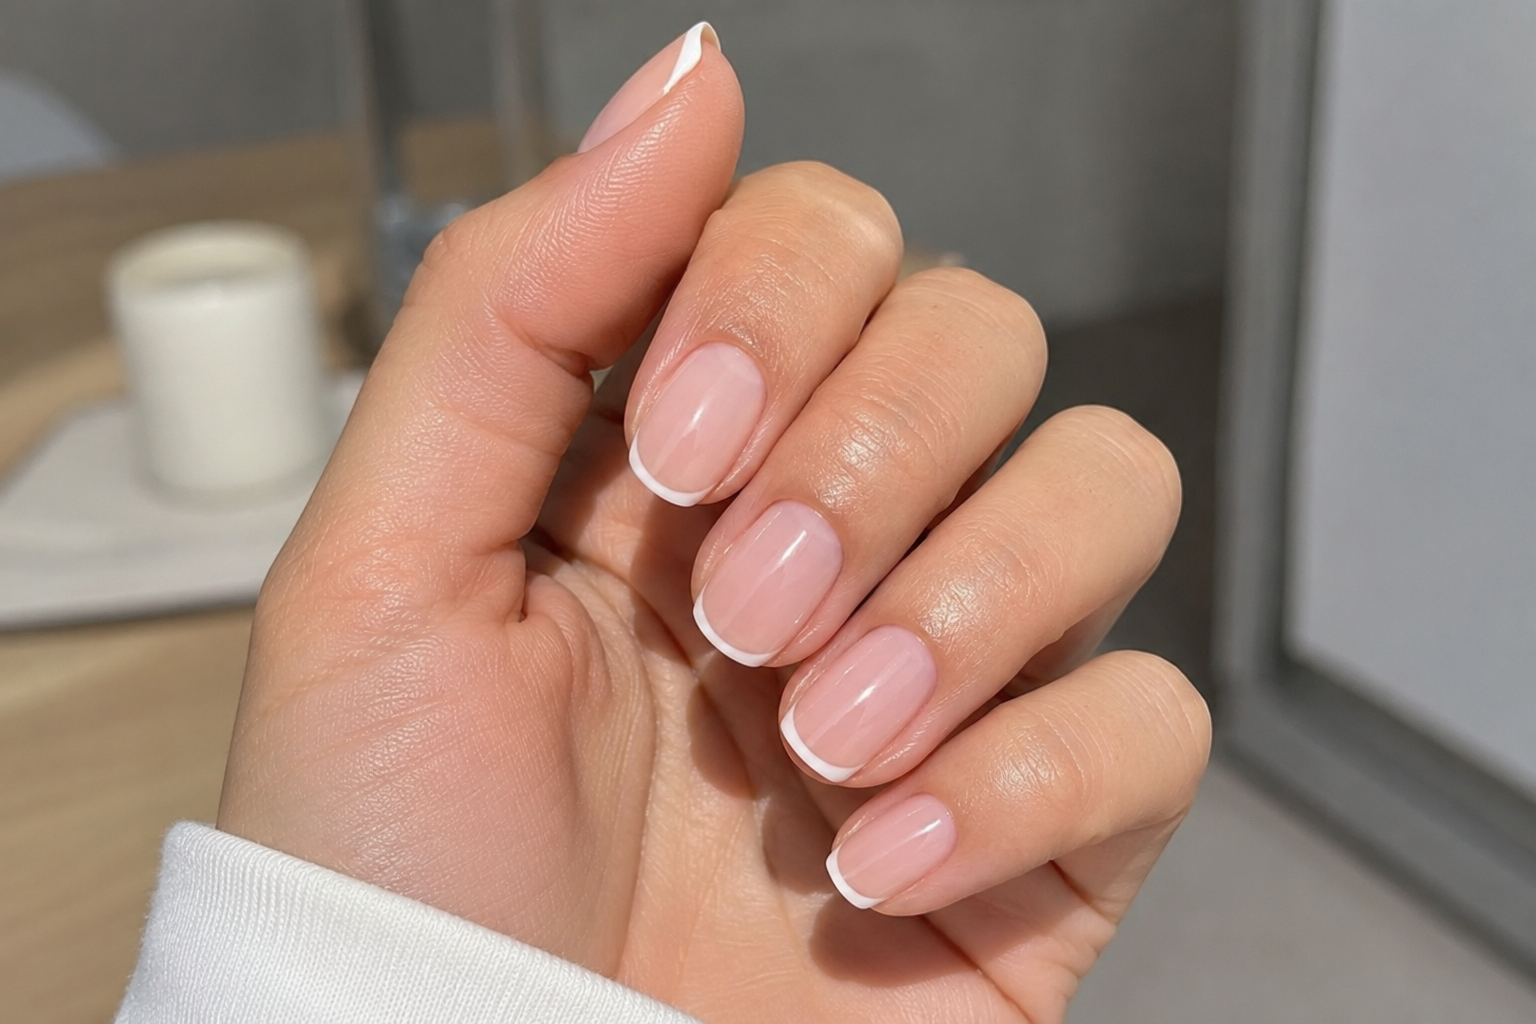
Instead of a bold white tip, only an ultra-thin white line follows the very edge of the natural nail. The result is subtle, sophisticated, and incredibly clean.
Because the white edge is so fine, the nail itself becomes the main feature rather than the painted tip.
Many luxury salons now offer Micro French manicures because clients often want elegant nails that remain timeless rather than following short-lived trends.
What You Need
- Nail file (180/240 grit)
- Buffer
- Cuticle pusher
- Nail cleanser
- Lint-free wipes
- Dehydrator
- Primer (if required)
- Base coat
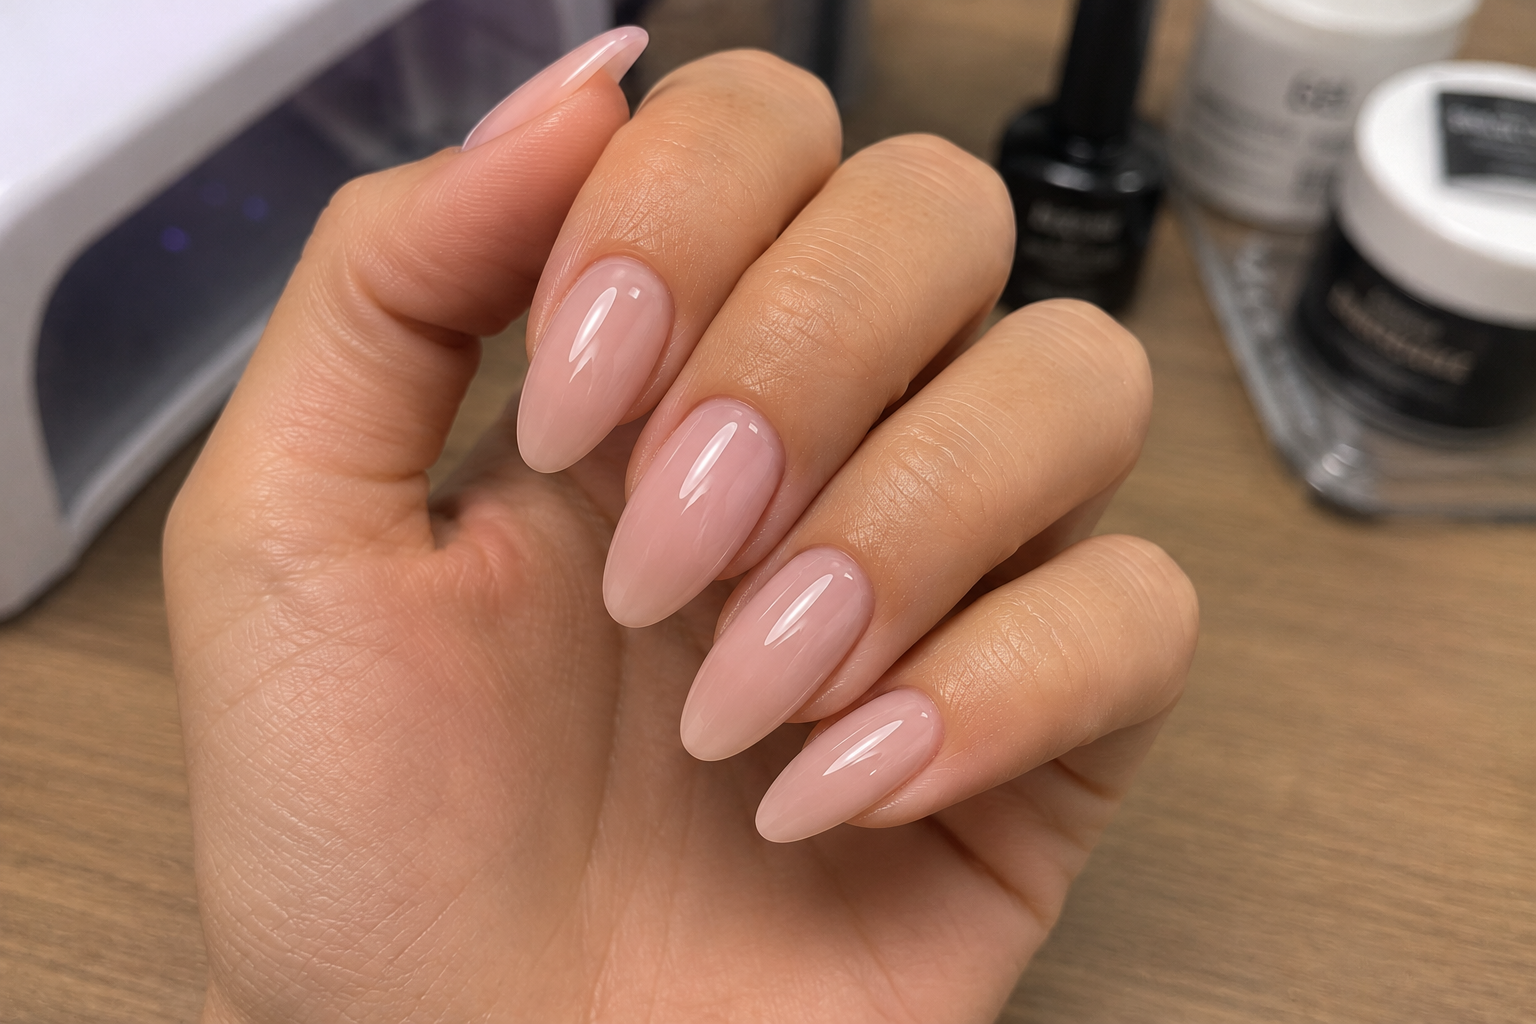
- Sheer nude, pink, or milky base colour
- White gel paint or highly pigmented white polish
- Ultra-fine liner brush
- Top coat
- Cuticle oil
Step 1 – Perfect the Nail Shape
Micro French tips leave very little room for mistakes.
File every nail so they are symmetrical and evenly shaped. Oval, almond, squoval, and short square nails all work beautifully, provided every free edge is neat.
Push back the cuticles, remove non-living tissue, lightly buff the nail plate, and cleanse away dust.
The cleaner the preparation, the cleaner the finished manicure.
Step 2 – Apply the Base Coat
Apply a thin layer of base coat.
If you're using a gel system, cure according to the manufacturer's instructions.
Avoid thick application because Micro French designs rely on crisp, delicate lines.
Step 3 – Create a Soft Natural Base
Apply one or two thin coats of:
- Milky pink
- Sheer nude
- Soft beige
- Natural blush
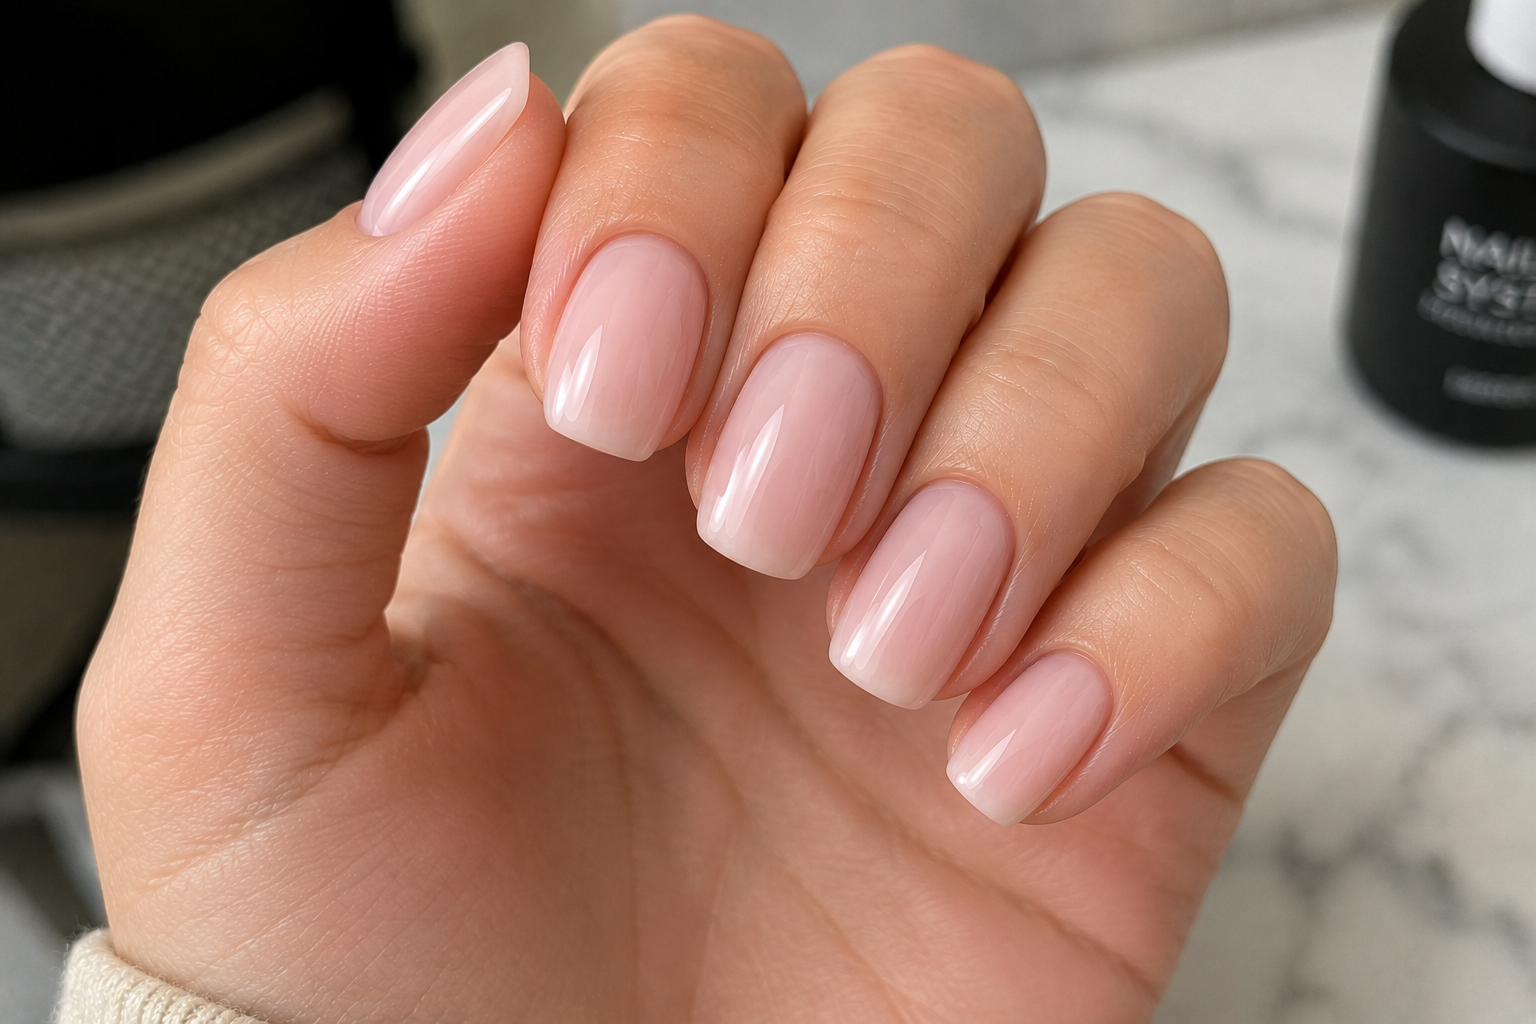
The colour should enhance the natural nail rather than completely covering it.
Healthy-looking nails are part of the design.
Step 4 – Paint the Ultra-Fine White Edge
This is where patience becomes your greatest tool.
Using a very fine liner brush:
- Remove excess product from the brush.
- Follow only the very edge of the free edge.
- Keep the line extremely thin.
- Work slowly across the entire nail.
Unlike a Classic French manicure, the smile line should almost disappear into the natural nail.
Many experienced technicians remind beginners:
"Thin is difficult, but thick is impossible to hide."
Step 5 – Check Every Nail Together
Hold both hands next to each other.
Look for:
- Equal line thickness
- Matching smile line height
- Consistent curvature
- Smooth edges
The human eye notices inconsistency far faster than colour differences.
Small adjustments now create a far more luxurious finish.
Step 6 – Apply the Top Coat
Seal the manicure with a high-gloss top coat.
Float the brush gently over the nail to avoid disturbing the delicate white line underneath.
Cap the free edge for additional durability.
The glossy finish gives the Micro French its signature polished appearance.
Step 7 – Nourish with Cuticle Oil
Massage cuticle oil into the surrounding skin.
Because this manicure is so clean and minimal, healthy cuticles become an important part of the final presentation.
Beautiful nails are never separated from beautiful skin.
Professional Tips
- Use a long liner brush rather than the bottle brush for maximum precision.
- Rotate the client's finger instead of twisting your wrist.
- Work with minimal product on the brush.
- Keep every white line almost identical in width.
- Good lighting makes fine details much easier to control.
- If necessary, lightly sketch the line before completing it in one smooth movement.
Common Mistakes
- White lines that are too thick.
- Uneven line widths from nail to nail.
- Heavy, opaque nude colours that hide the natural nail.
- Flooding the cuticle area.
- Rushing the final symmetry check.
- Using too much paint on the liner brush.
Remember, the beauty of a Micro French comes from precision rather than decoration.
Interesting Facts
- The Micro French became especially popular as minimalist beauty trends grew during the late 2010s and early 2020s.
- Many bridal clients choose Micro French manicures because they complement engagement and wedding rings without drawing attention away from them.
- The design photographs beautifully in both natural daylight and studio lighting, making it a favourite for weddings and professional portraits.
- Although the white line is thinner than a Classic French, creating consistent Micro French tips often requires greater technical precision.
- Micro French manicures suit both very short natural nails and long almond shapes, making them one of the most versatile French variations available.
Final Thoughts
The Micro French manicure proves that elegance does not always need bold colour or detailed nail art. Sometimes a single fine white line is enough to transform the entire hand.
It is a manicure that belongs to modern life. It looks just as beautiful with a linen summer dress as it does with a tailored suit or a bridal gown. Quiet, refined, and endlessly wearable, the Micro French reminds us that true sophistication often lives in the smallest details.