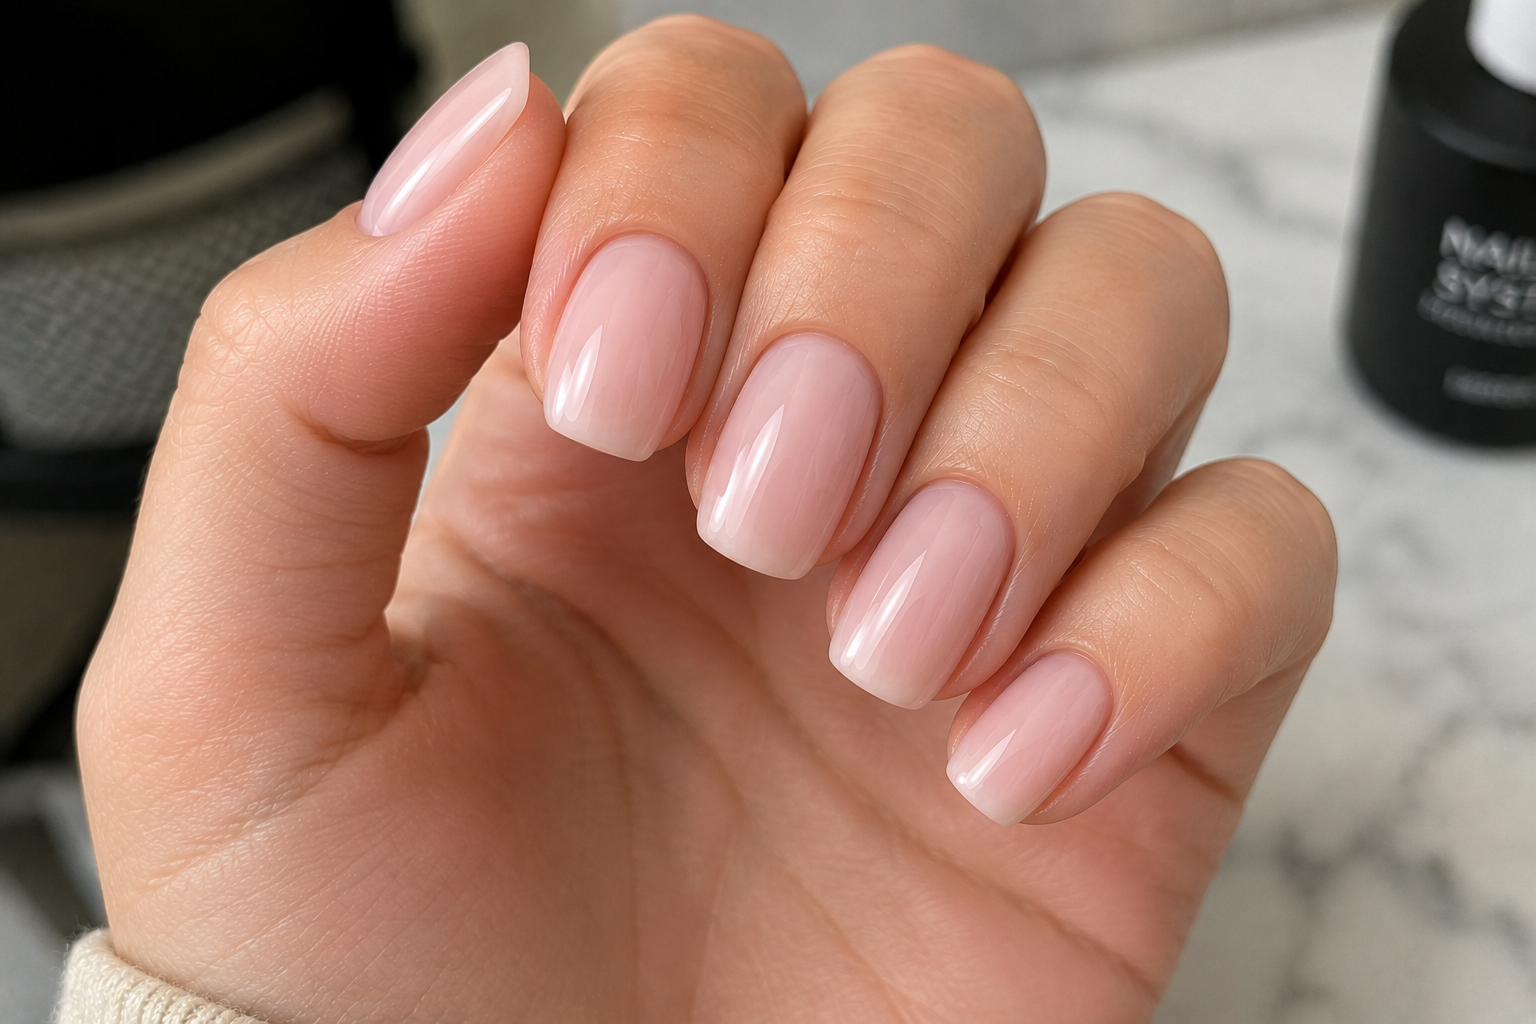
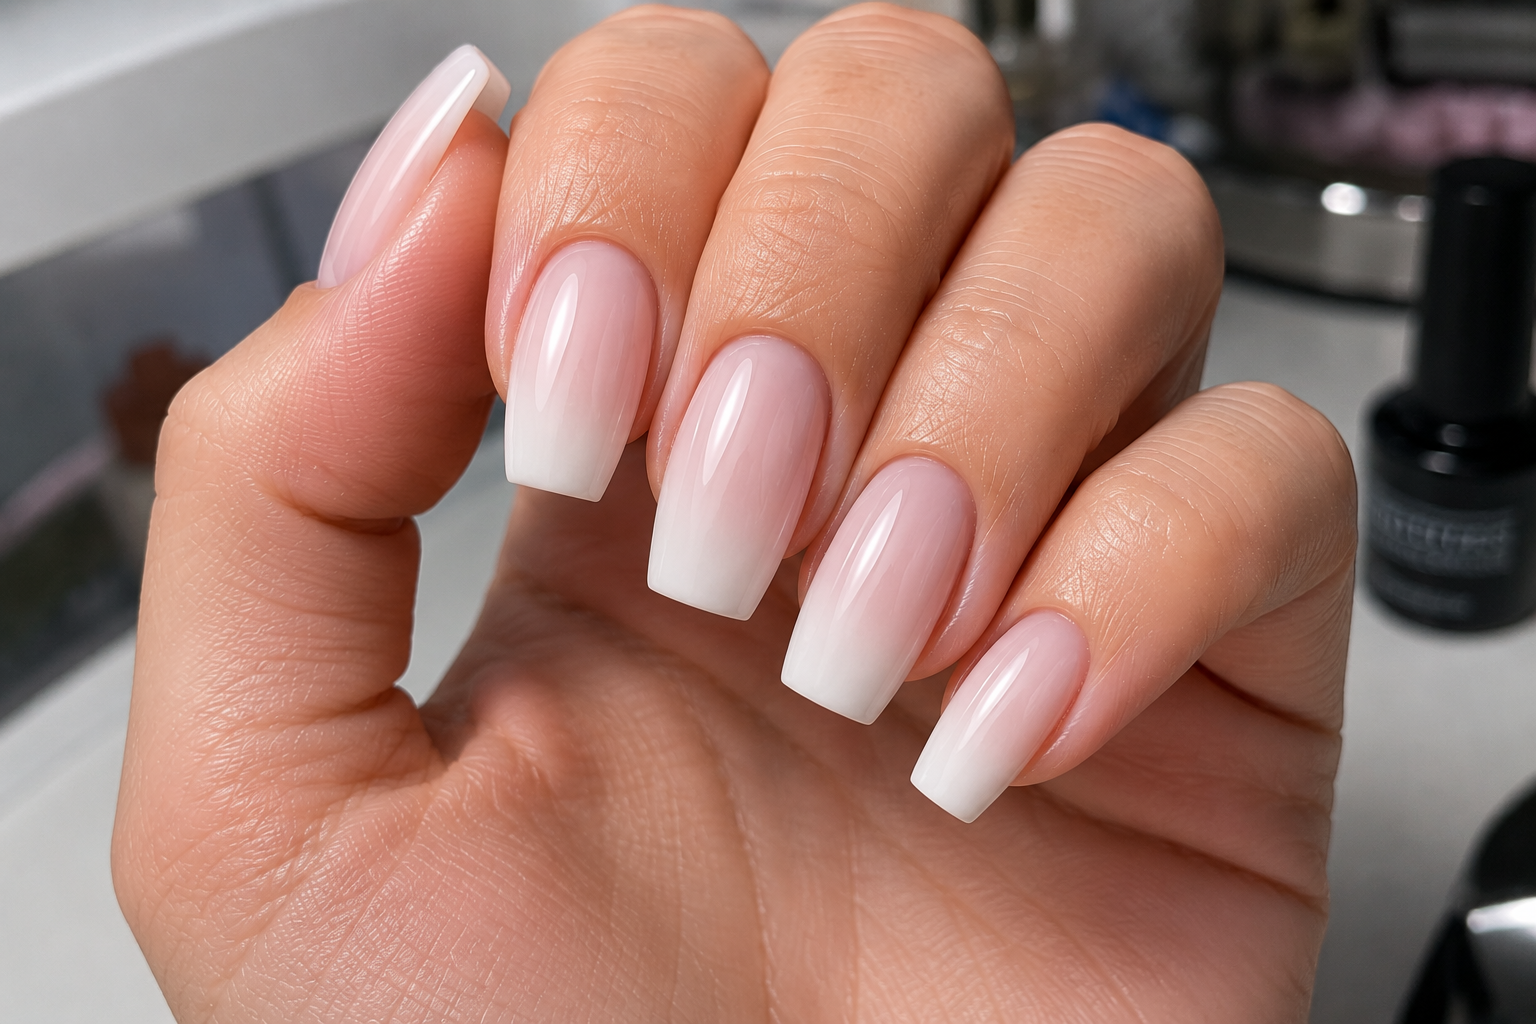
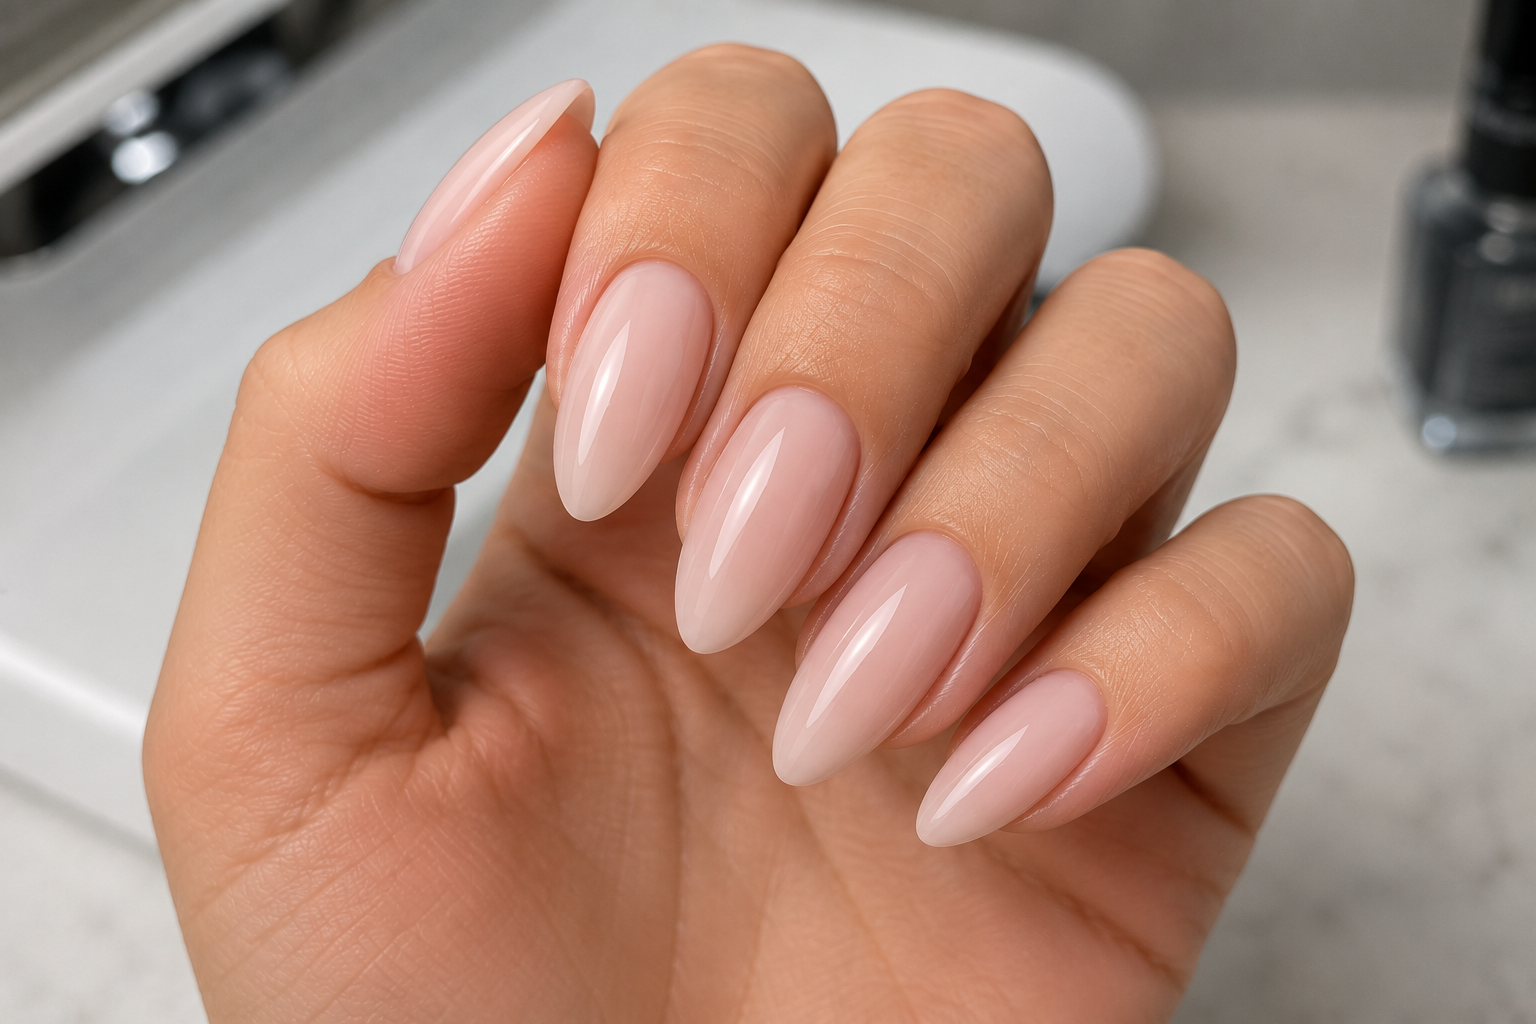
Polygel Application: A Step-by-Step Tutorial for Strong, Lightweight Nail Enhancements
A practical Sofia K. technique tutorial on polygel application: a step-by-step tutorial for strong, lightweight nail enhancements.
Polygel has become one of my favourite nail enhancement systems because it combines many of the strengths of both acrylic and hard gel. It is lightweight, easy to control, and gives me plenty of time to perfect the shape before curing. Unlike acrylic, it does not begin setting immediately, and unlike traditional builder gel, it stays exactly where I place it until it is cured under the lamp.
One of the things I enjoy most about working with Polygel is how relaxed the application feels. I never feel rushed, and that allows me to concentrate on creating clean, balanced nails that look elegant rather than bulky. Whether I am creating overlays on natural nails or building longer extensions, the goal is always the same—strong structure with a natural appearance.
The secret to a beautiful Polygel manicure is not using large amounts of product. Instead, it is about placing the right amount in the right place and shaping it carefully before curing.
Step 1: Prepare the Natural Nails
Every successful Polygel application begins with proper nail preparation.
- Remove any previous product.
- Shape the natural free edge.
- Gently push back the cuticles.
- Remove loose or dead skin.
- Lightly buff the natural nail to remove surface shine.
- Remove all dust using a soft manicure brush.
- Clean the nail plate with a professional nail cleanser.
Taking time during preparation greatly improves adhesion and helps prevent lifting.
Step 2: Apply Nail Prep Products
If your Polygel system requires it, apply the recommended dehydrator followed by primer.
Use only a small amount and avoid contact with the surrounding skin.
Allow the products to air dry before continuing.
Step 3: Apply the Base Coat
Brush on a thin, even layer of base coat across the entire natural nail.
Avoid flooding the cuticle area.
Cure the base coat according to the manufacturer's instructions before applying the Polygel.
This layer provides the foundation for the enhancement.
Step 4: Place the Polygel
Using a spatula or dual-ended Polygel tool, remove a small bead of product from the tube.
Place it onto the centre of the nail or inside the dual form if using that technique.
Remember that you can always add more product later if needed.
Step 5: Shape the Product
Lightly dampen the Polygel brush with the recommended slip solution.
Using gentle patting and floating movements, guide the product into shape.
Work slowly and focus on creating:
- A neat cuticle area.
- Straight side walls.
- A smooth surface.
- A balanced apex.
- An even free edge.
One of the biggest advantages of Polygel is that it stays workable until you decide it is ready to cure.
Take your time and enjoy shaping the nail.
Step 6: Cure the Nail
Once you are happy with the structure, cure the Polygel using the manufacturer's recommended lamp and curing time.
Repeat the process for each nail.
If using dual forms, remove the forms after the product has fully cured.
Step 7: Refine the Shape
After curing, inspect every nail carefully.
Use a professional file to refine:
- The side walls.
- The free edge.
- The apex.
- The surface.
The less filing required, the better your original application has been.
Remove all filing dust before finishing.
Step 8: Apply Colour or Leave Natural
At this stage you can:
- Leave the Polygel natural.
- Apply gel polish.
- Create nail art.
- Finish with a French manicure.
- Add glitter or decorative designs.
Apply each colour layer according to the product instructions.
Step 9: Seal with a Top Coat
Finish the enhancement with a thin, even layer of gloss or matte top coat.
Remember to cap the free edge for extra protection.
Cure the top coat before applying cuticle oil.
Common Mistakes to Avoid
- Poor nail preparation.
- Using too much Polygel.
- Applying too much slip solution.
- Flooding the cuticle.
- Building an uneven apex.
- Filing away too much product.
- Incorrect curing times.
My Professional Tips
One of the reasons I recommend Polygel to beginners is that it gives you time to think. Unlike acrylic, nothing starts setting before you are ready. If I notice that one side wall needs adjusting or the apex needs a little more balance, I simply continue shaping until I am happy with it.
Another habit I always follow is using as little slip solution as possible. The brush should be slightly damp, not wet. Too much solution makes the product difficult to control and can affect the final surface.
I also remind myself that beautiful nails are built with patience rather than speed. I would rather spend an extra minute perfecting the structure before curing than spend five extra minutes filing afterwards.
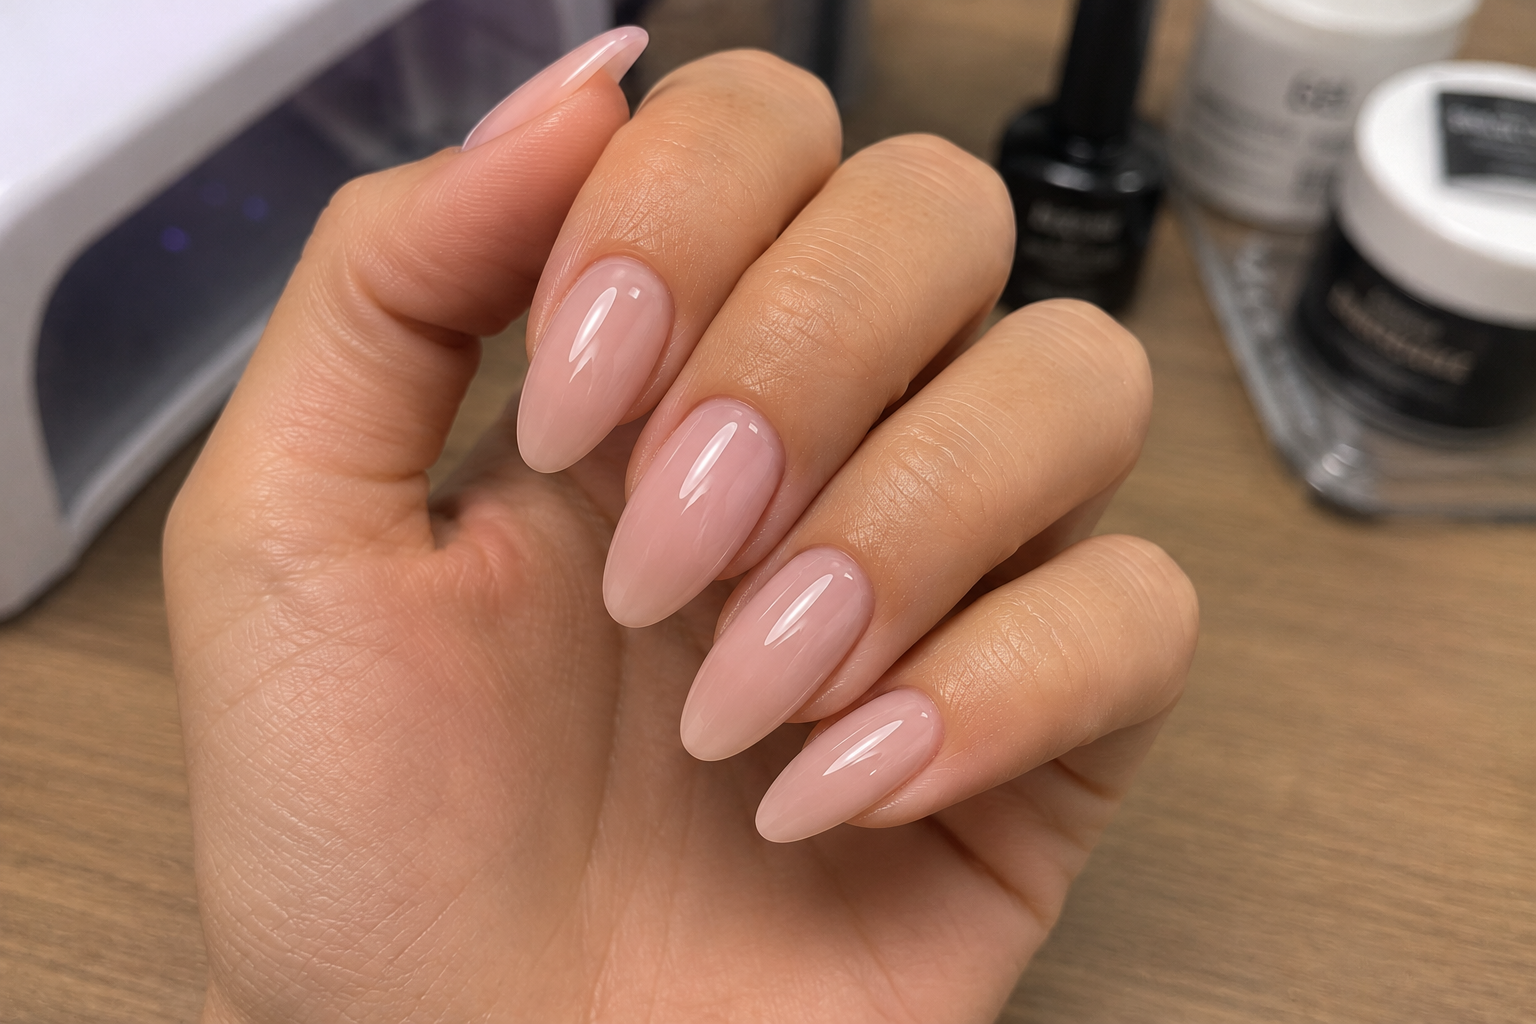
Finally, I always look at the completed set from every angle before finishing. The best Polygel nails feel lightweight, have smooth, balanced curves, and look completely natural despite their strength.
Polygel is a wonderfully versatile enhancement system that combines durability with precision. With careful preparation, controlled shaping, and attention to detail, it creates elegant nails that are comfortable to wear, beautifully balanced, and designed to last for weeks.