Hard Gel Sculpting: How to Build Strong, Beautiful Nail Extensions from Scratch
A practical Sofia K. technique tutorial on hard gel sculpting: how to build strong, beautiful nail extensions from scratch.
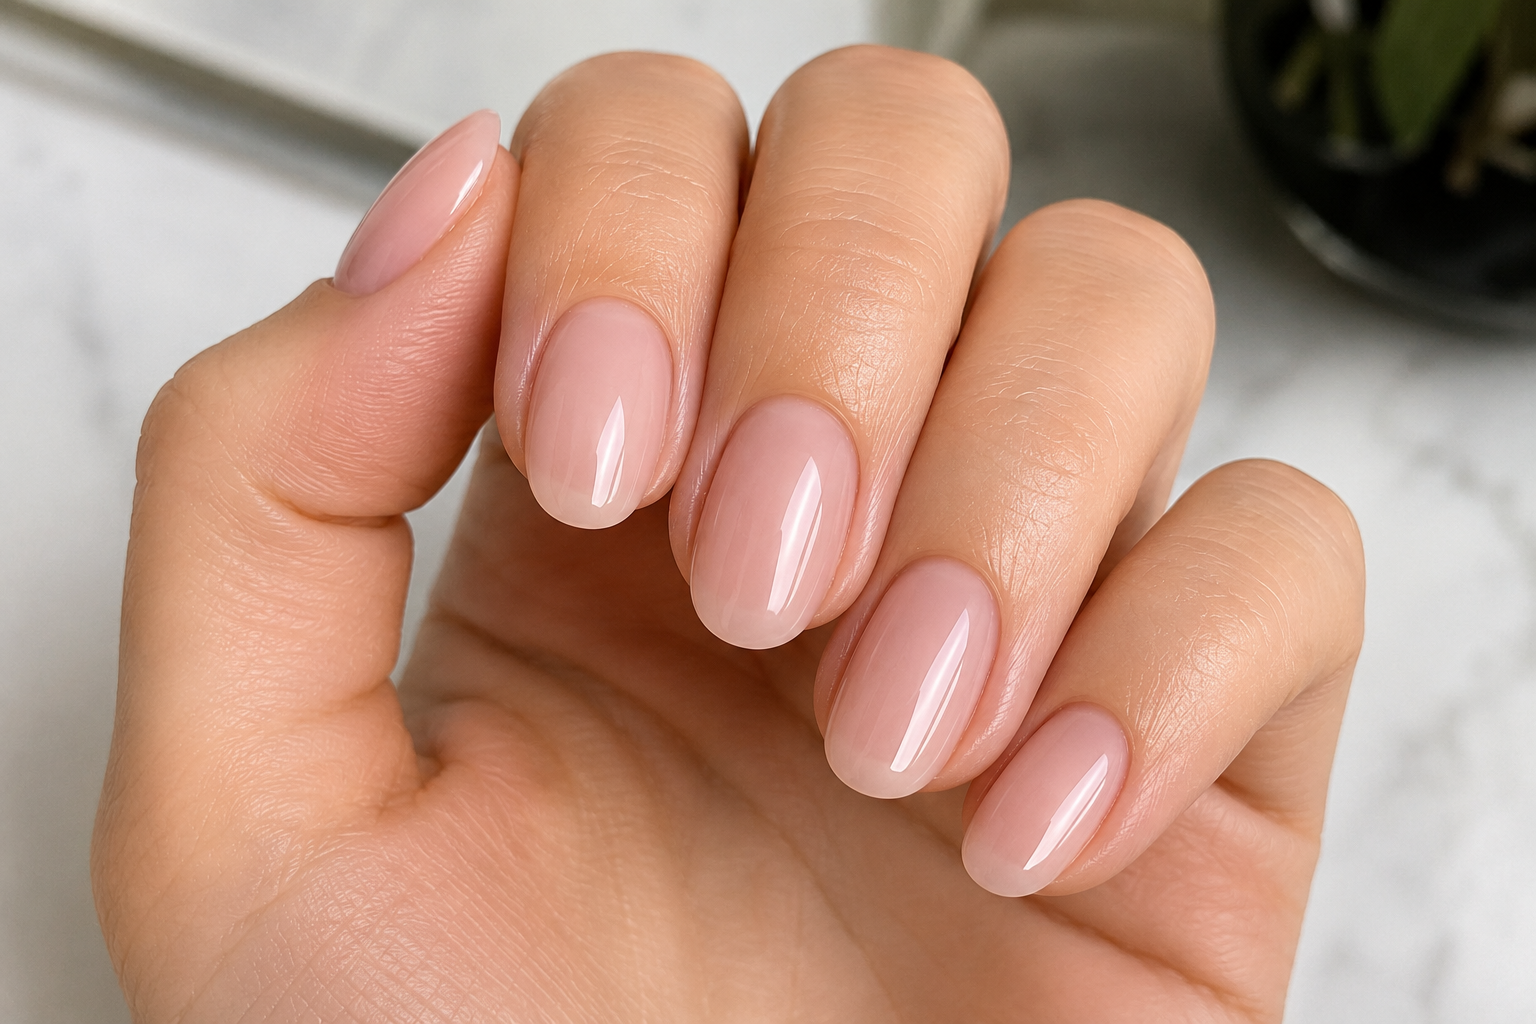
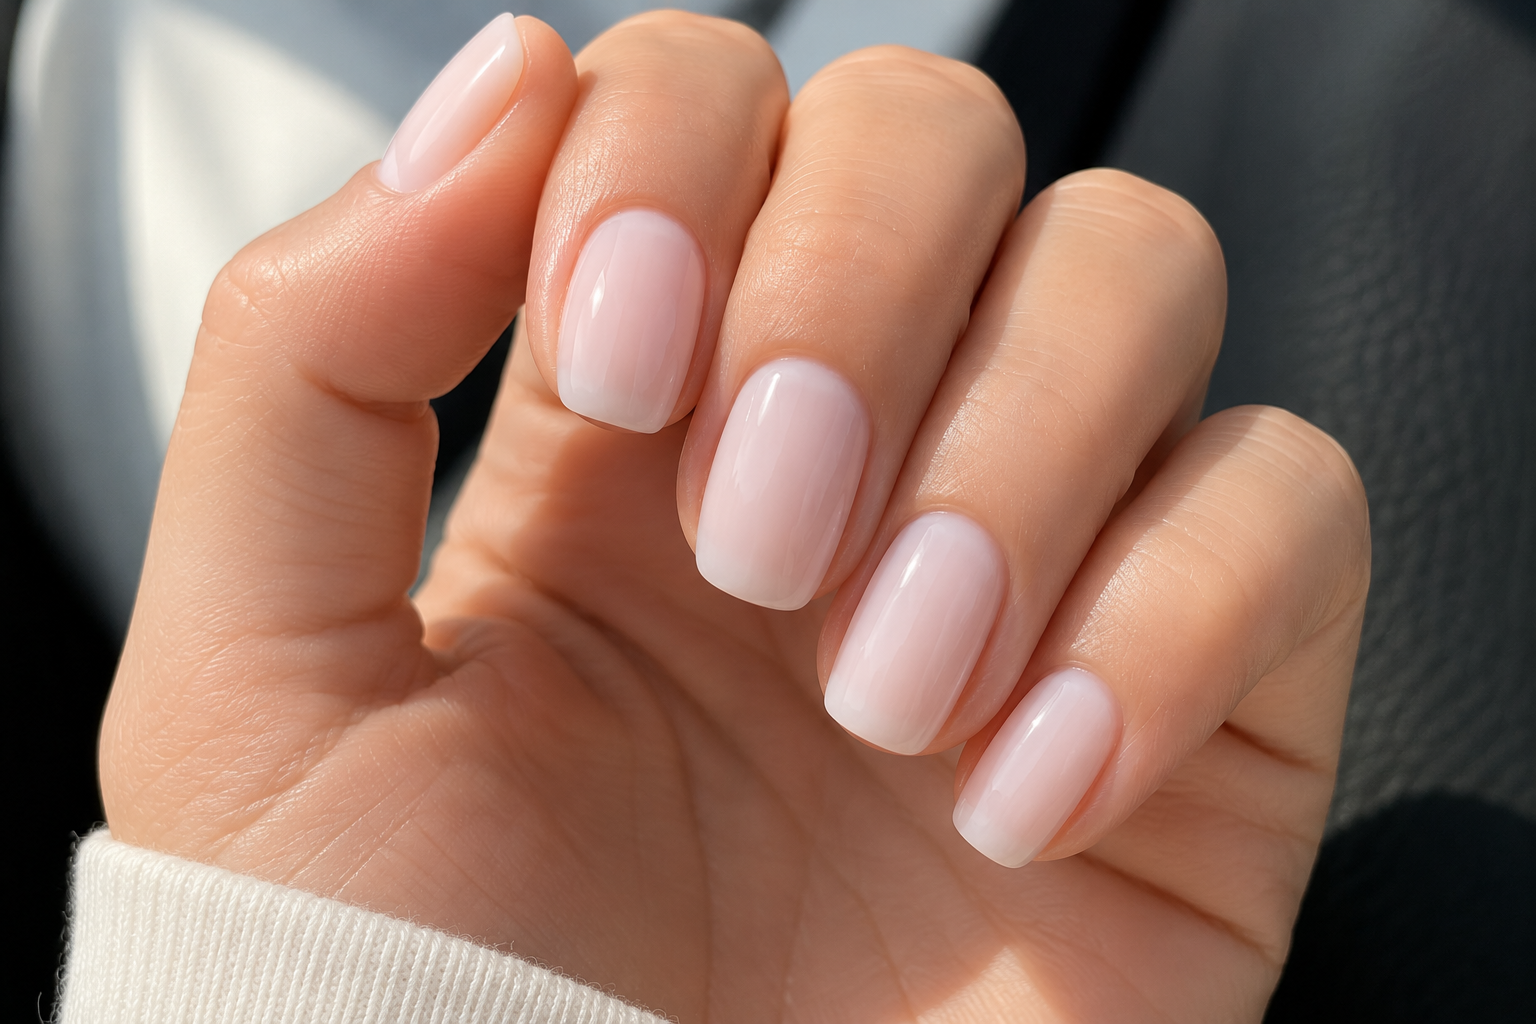
Hard gel sculpting is one of the most rewarding techniques in professional nail enhancement. Unlike overlays, which reinforce the natural nail, sculpting allows you to create an entirely new nail using a form as your foundation. The result is a lightweight, durable extension that can be customised in length, shape, and structure.
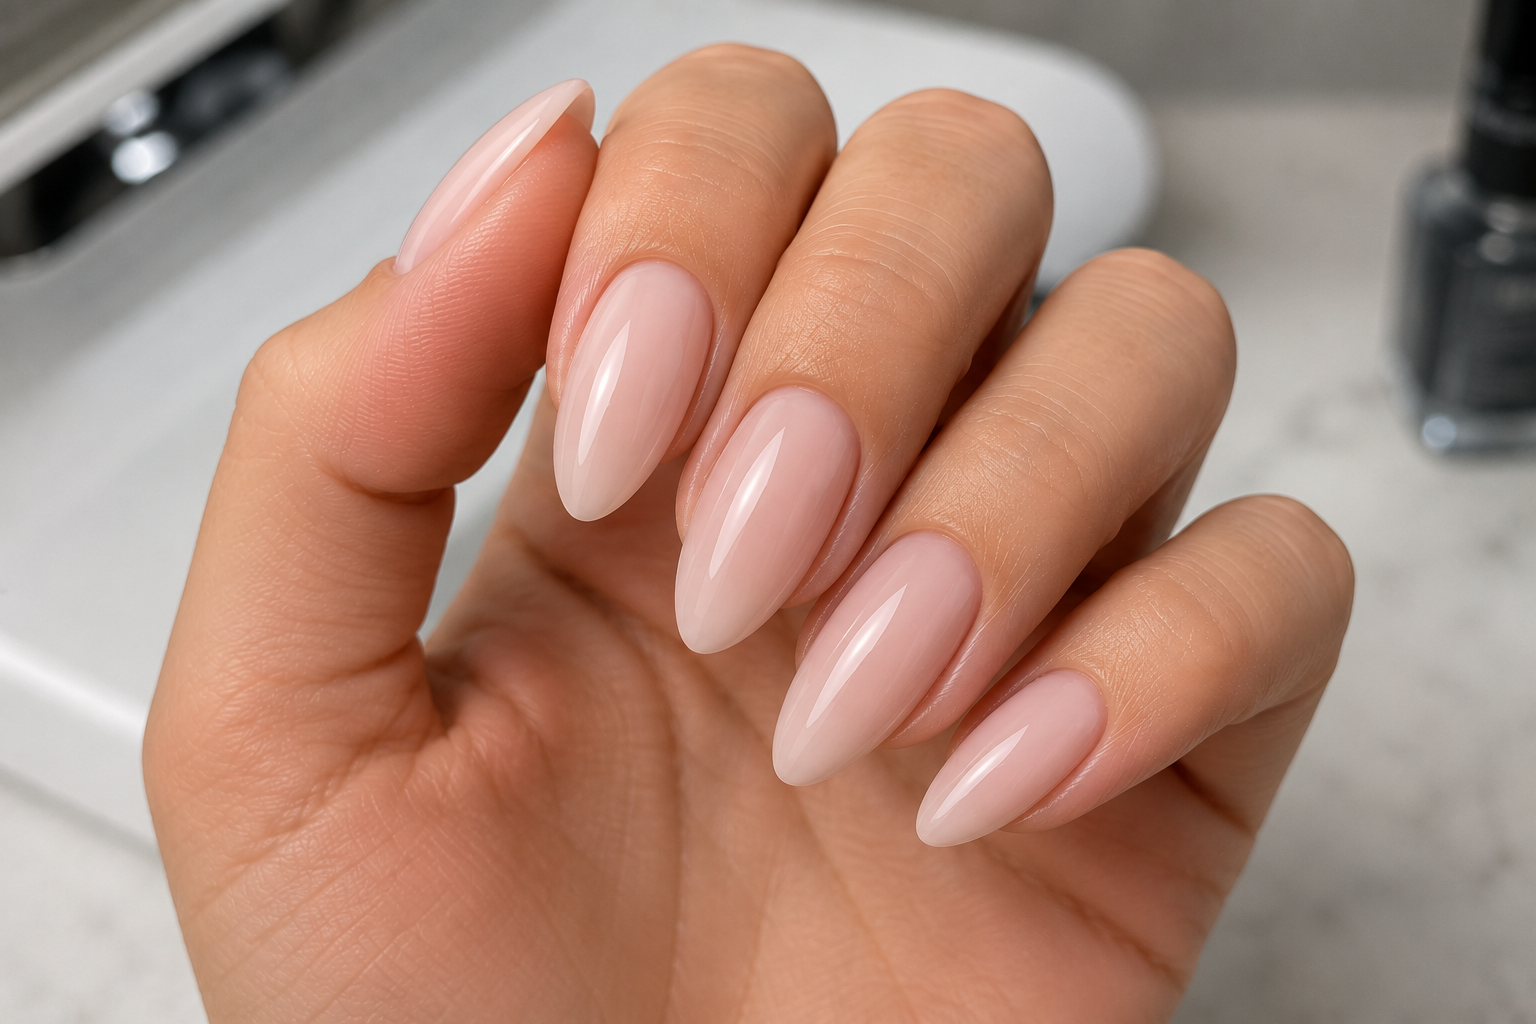
What I enjoy most about hard gel sculpting is the freedom it offers. Every nail is built individually, allowing you to create a perfectly balanced extension that complements the client's natural hand. Whether the goal is a short almond manicure or elegant stiletto nails, the principles remain the same—strong structure, correct balance, and smooth application.
Hard gel does not soak off like soft gel systems. Instead, it is designed to provide exceptional strength and is removed by filing. Because of this, precision during application is essential. A well-sculpted hard gel nail should look natural, feel lightweight, and withstand everyday wear without unnecessary bulk.
Prepare the Natural Nails
Proper preparation is the foundation of every successful enhancement.
- Remove any previous product.
- Shape the free edge.
- Push back the cuticles.
- Remove loose or dead skin.
- Gently remove the natural shine using a fine-grit buffer.
- Remove all dust thoroughly.
- Clean the nail plate with a professional nail cleanser.
A clean, oil-free nail plate provides the best surface for adhesion.
Apply Nail Prep Products
Apply the manufacturer's recommended dehydrator and primer if required by your hard gel system.
Use only a small amount and avoid touching the surrounding skin.
Allow the products to dry completely before continuing.
Position the Nail Form
Fit the sculpting form carefully beneath the natural nail.
The form should sit securely without gaps and should follow the natural growth direction of the nail.
Check the alignment from every angle to ensure the future extension will be straight and balanced.
Apply the Base Layer
Brush a thin layer of hard gel over the natural nail and slightly onto the form.
This creates the foundation for the extension.
Cure according to the manufacturer's instructions if required.
Sculpt the Extension
Using a bead of hard gel, build the free edge directly onto the nail form.
Begin by creating the desired length and outline.
Once the extension has been established, continue building the nail by guiding the gel towards the stress area and apex.
Allow the product to self-level naturally before curing.
Work methodically to maintain symmetry and avoid flooding the cuticle.
Cure the Hard Gel
Cure each nail using the lamp recommended by the gel manufacturer.
Always follow the specified curing times to ensure complete polymerisation.
Repeat the process until all nails have been sculpted.
Remove the Form and Refine the Shape
Once fully cured, carefully remove the sculpting form.
Use a professional file to refine:
- The side walls.
- The free edge.
- The apex.
- The lower arch.
- The overall surface.
Check the nail from the front, side, and top to ensure the structure is symmetrical and balanced.
Remove all filing dust before moving to the finishing stage.
Apply Colour or Finish
The sculpted nail can now be finished in several ways:
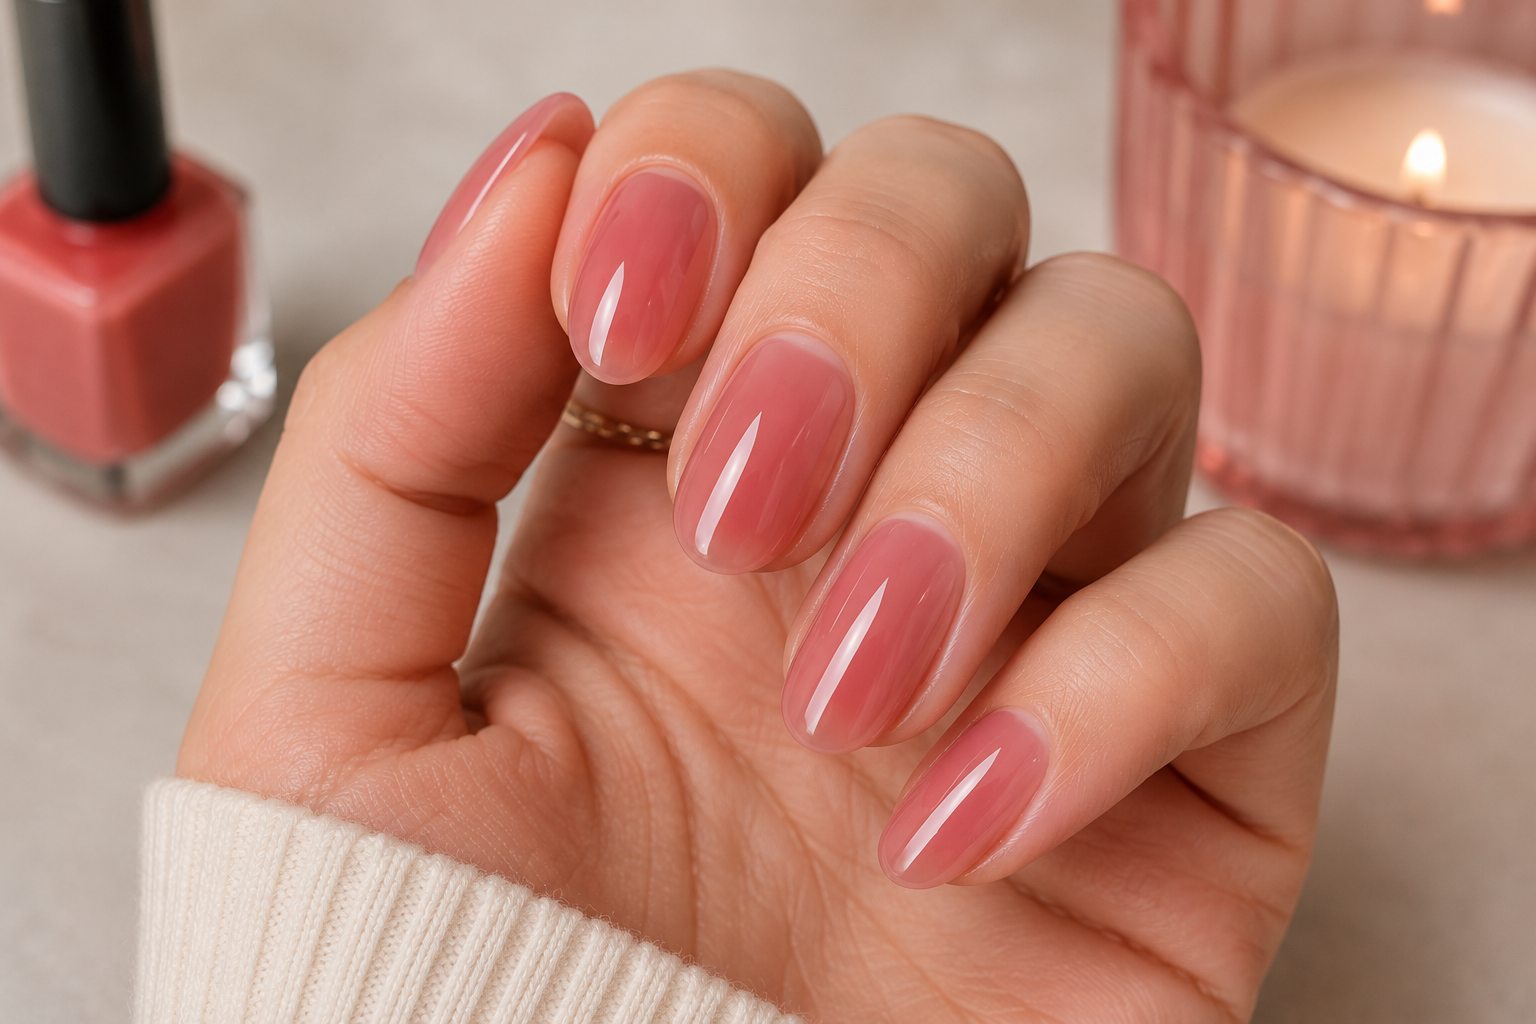
- Leave the hard gel natural.
- Apply gel polish.
- Create nail art.
- Apply French manicure.
- Finish with either a gloss or matte top coat.
Cure the final top coat before applying cuticle oil.
Common Mistakes to Avoid
- Poorly fitting nail forms.
- Flooding the cuticle with gel.
- Building an apex that is too flat.
- Creating extensions that are too thick.
- Incorrect form alignment causing crooked nails.
- Insufficient curing time.
- Over-filing the structure during refinement.
My Professional Tips
Hard gel sculpting is a technique that rewards patience. In the beginning, it is tempting to focus on speed, but I have found that slowing down produces far better results. Taking an extra minute to position the nail form correctly saves much more time during filing.
I also rely on the self-levelling properties of hard gel instead of constantly moving it with the brush. Gentle guidance is usually enough. The less you disturb the product, the smoother the final surface becomes.
One habit I always recommend is checking every nail from multiple angles before curing. Looking only from above can hide uneven side walls or an off-centre apex. Turning the client's hand and inspecting the nail from the side and front helps create a much stronger and more elegant enhancement.
Hard gel sculpting is more than simply creating length. It is about building a balanced structure that combines strength, durability, and beauty. With careful preparation, precise sculpting, and attention to detail, the finished nails should look refined, feel comfortable to wear, and provide long-lasting performance for weeks.