Acrylic Full Set: How I Build Strong, Beautiful Nail Extensions That Last
A practical Sofia K. technique tutorial on acrylic full set: how i build strong, beautiful nail extensions that last.
An acrylic full set has remained one of the most trusted nail enhancement techniques for decades. While new products continue to appear, acrylic still has a special place in professional nail services because of its strength, durability, and versatility.
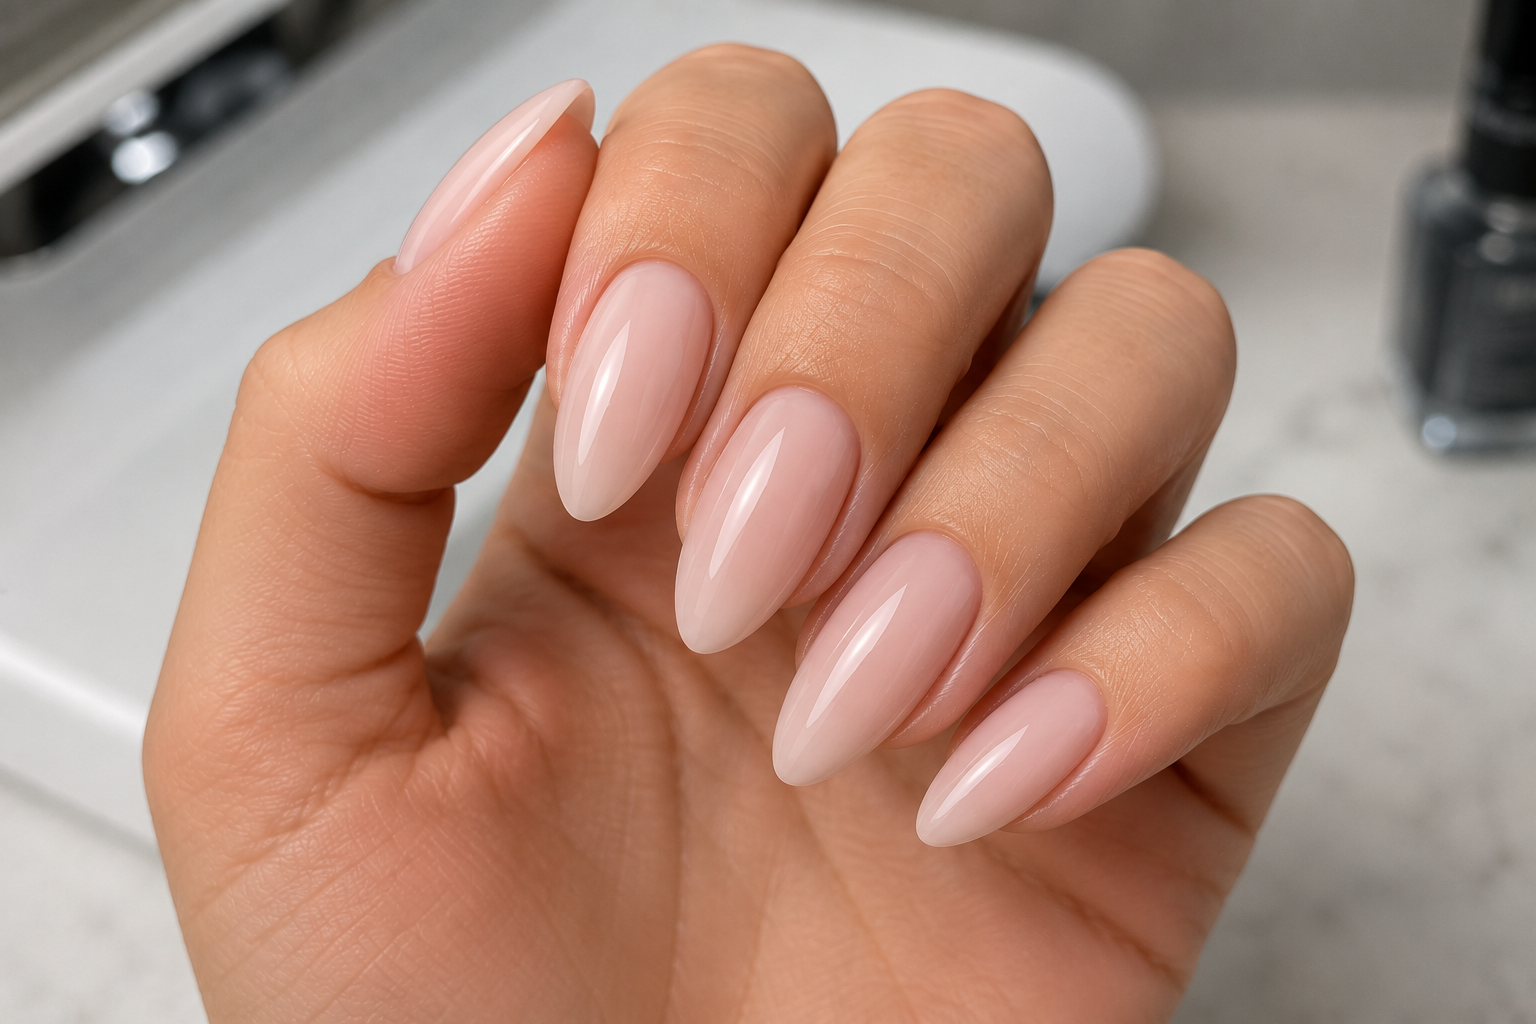
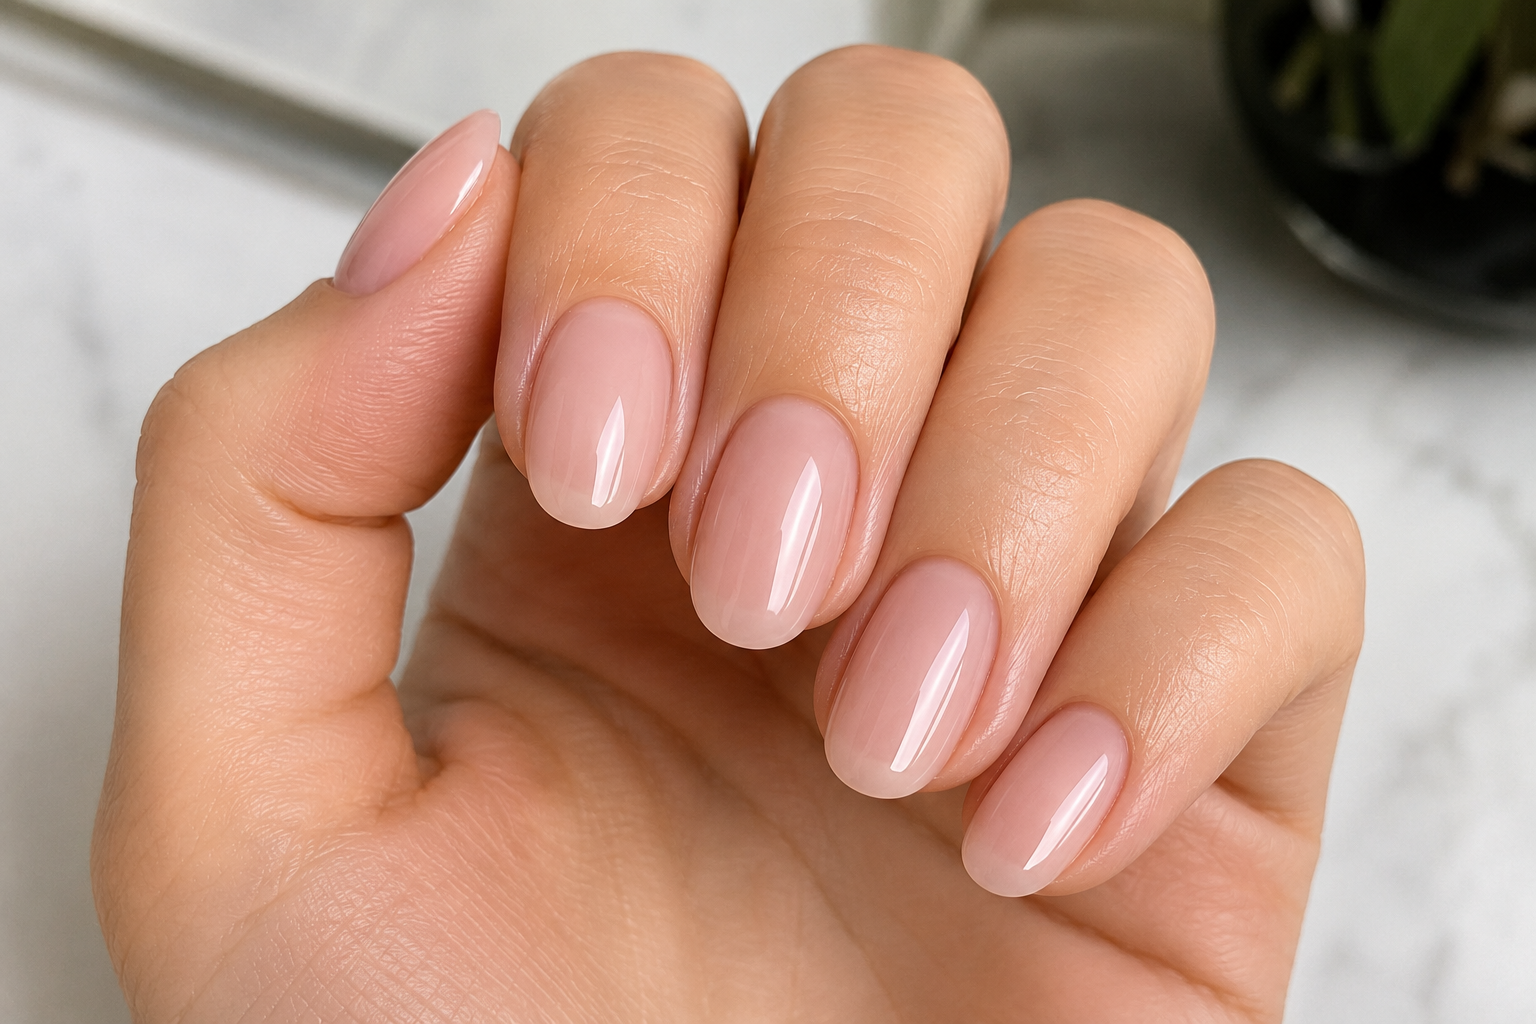
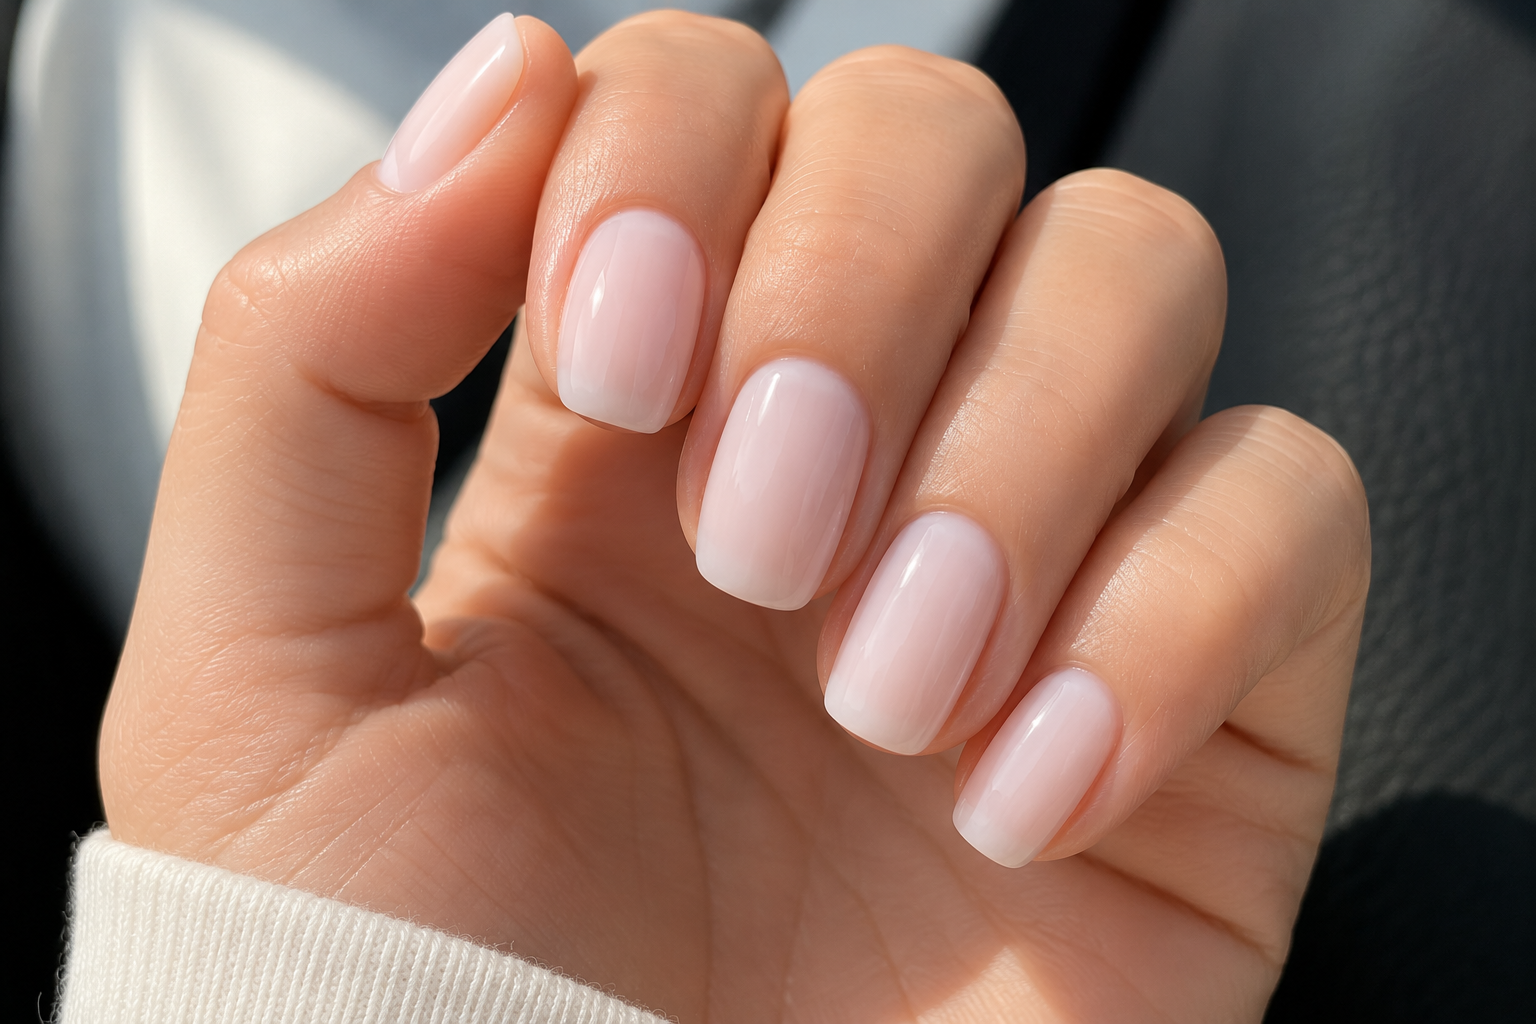
What I appreciate most about acrylic is its reliability. When applied correctly, it creates a strong extension that can withstand everyday life while still looking elegant. Whether a client prefers short square nails for practicality or long almond nails for a more dramatic style, acrylic gives me the freedom to create exactly the shape and length that suits them.
One thing I have learned over the years is that a beautiful acrylic set is not created by using more product. It comes from careful preparation, controlled bead placement, and patient refining. Every bead has a purpose, and every file stroke helps create balance.
Prepare the Natural Nails
Everything starts with proper preparation.
- Remove any previous product.
- Shape the natural free edge.
- Gently push back the cuticles.
- Remove loose or dead skin.
- Lightly remove the natural shine using a fine-grit buffer.
- Remove all dust.
- Clean the nail plate thoroughly.
Good preparation creates the foundation for excellent adhesion.
Apply Nail Prep Products
Apply the recommended dehydrator followed by primer if required by your acrylic system.
Use only a small amount and avoid touching the skin.
Allow the products to dry completely before continuing.
Apply the Nail Tip or Sculpting Form
Depending on the desired result, either apply a correctly sized nail tip or fit a sculpting form beneath the natural nail.
If using tips:
- Select the correct width.
- Apply with nail adhesive.
- Blend the tip carefully if required.
- Shape to the desired length.
If sculpting, ensure the form sits straight and securely beneath the natural nail.
Mix the Acrylic Correctly
Dip the brush into the monomer first, then gently pick up acrylic powder.
The bead should appear smooth and slightly glossy.
If it is too wet, it may flood the cuticle.
If it is too dry, it can become difficult to shape and may produce an uneven surface.
Learning the correct liquid-to-powder ratio is one of the most important skills in acrylic application.
Build the Nail
Begin placing acrylic beads in a logical sequence.
I usually work using three main beads:
- One near the free edge.
- One across the stress area.
- One near the cuticle.
Guide each bead into place using gentle brush movements without pressing too aggressively.
The acrylic should gradually form:
- A smooth cuticle area.
- A balanced apex.
- Strong side walls.
- A consistent thickness from cuticle to free edge.
Allow the acrylic to harden naturally.
File and Refine
Once fully set, refine the enhancement.
File:
- The side walls.
- The free edge.
- The surface.
- The apex.
- The lower arch.
Check the nails from every angle to maintain symmetry.
Remove all filing dust before proceeding.
Apply Colour or Finish
The acrylic enhancement is now ready for:
- Gel polish.
- Traditional polish.
- Nail art.
- French manicure.
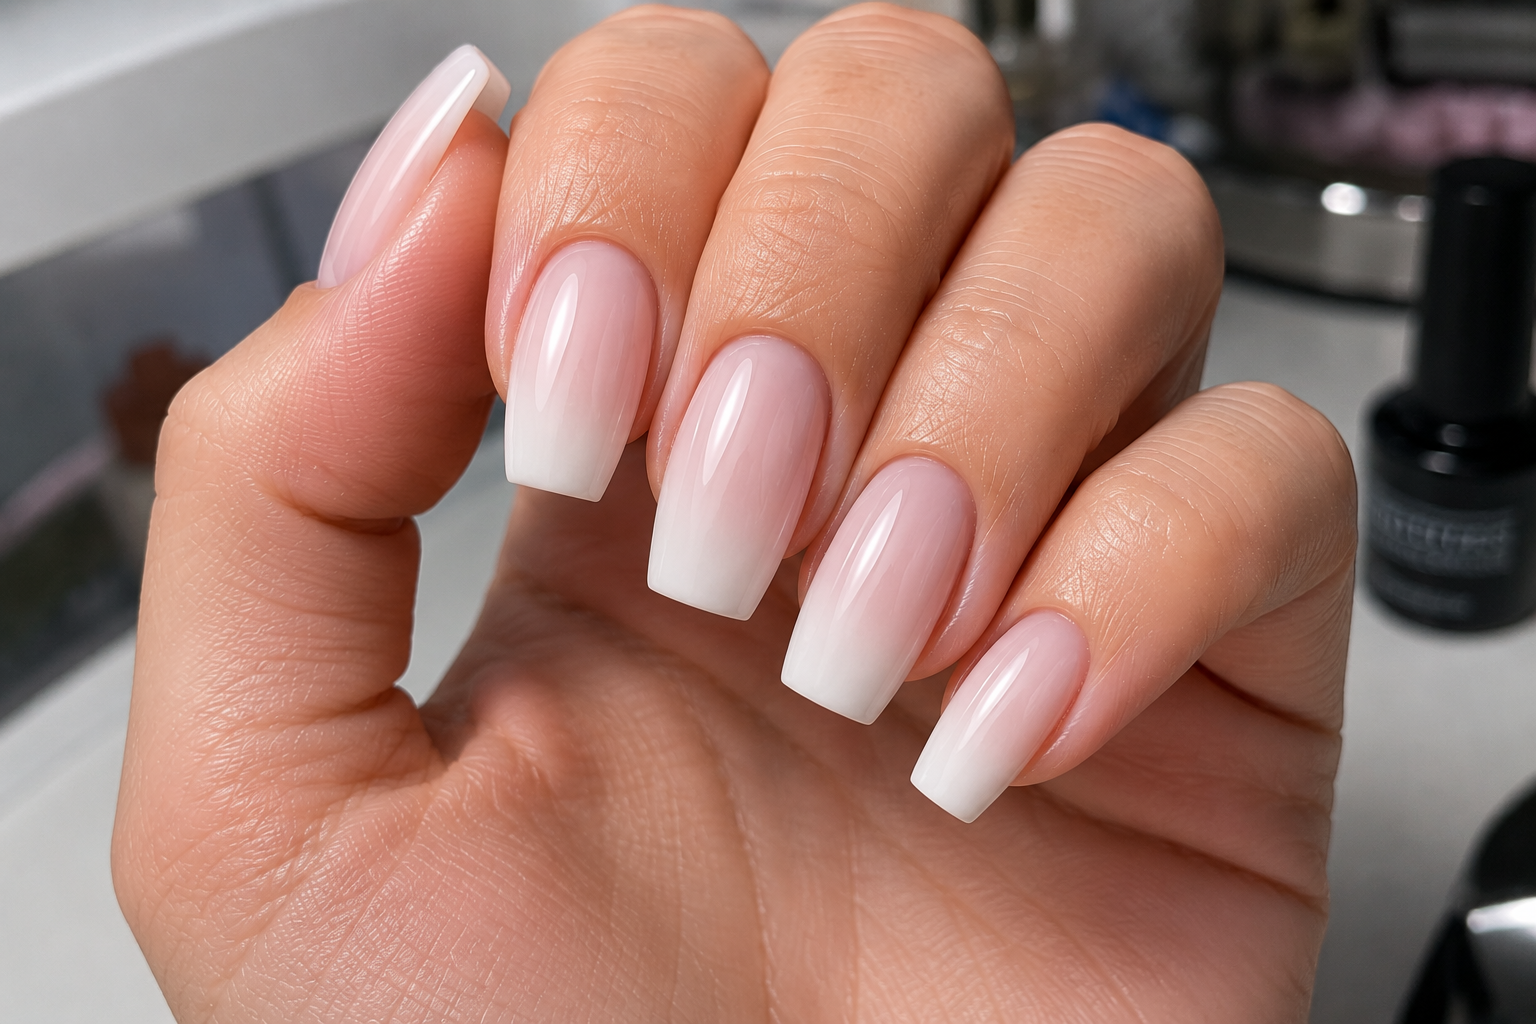
- Nude finish.
Apply the chosen colour according to the product instructions.
Finish with Top Coat
Seal the manicure with a high-quality gloss or matte top coat.
Cure if using gel products.
Finally, apply cuticle oil and gently massage it into the surrounding skin.
Common Mistakes to Avoid
- Poor nail preparation.
- Incorrect liquid-to-powder ratio.
- Flooding the cuticle.
- Applying acrylic too thickly.
- Creating an uneven apex.
- Filing away too much structure.
- Working too slowly before the acrylic begins to set.
My Professional Tips
Acrylic has taught me that patience is far more valuable than speed. Early in my career I thought the fastest technician was always the best, but I soon realised that clients notice quality long before they notice how quickly the service was completed.
One habit I always follow is watching the consistency of every bead before it touches the nail. A good bead almost guides itself into place, while a poorly mixed one creates unnecessary work later. Spending a few extra seconds getting the ratio right saves several minutes of filing.
I also avoid chasing perfection with the file. My goal is to place the acrylic as accurately as possible from the beginning. The better the application, the less filing is needed, and the healthier the enhancement remains.
Finally, I always step back and look at both hands together before finishing. Viewing every nail as part of the complete set helps me spot small differences in length, shape, or apex that are easy to miss when working one nail at a time.
Acrylic full sets remain popular because they combine strength, beauty, and versatility. When every stage is carried out with care—from preparation to bead placement and final refinement—the finished nails feel balanced, look elegant, and provide durable enhancements that clients can enjoy for weeks.