Dip Powder Nails: A Complete Step-by-Step Tutorial with Practical Examples
A practical Sofia K. technique tutorial on dip powder nails: a complete step-by-step tutorial with practical examples.
Here is a complete tutorial on Dip Powder Nails, written in the same style as your previous guides, with practical examples throughout.
Dip Powder Nails: A Complete Step-by-Step Tutorial with Practical Examples
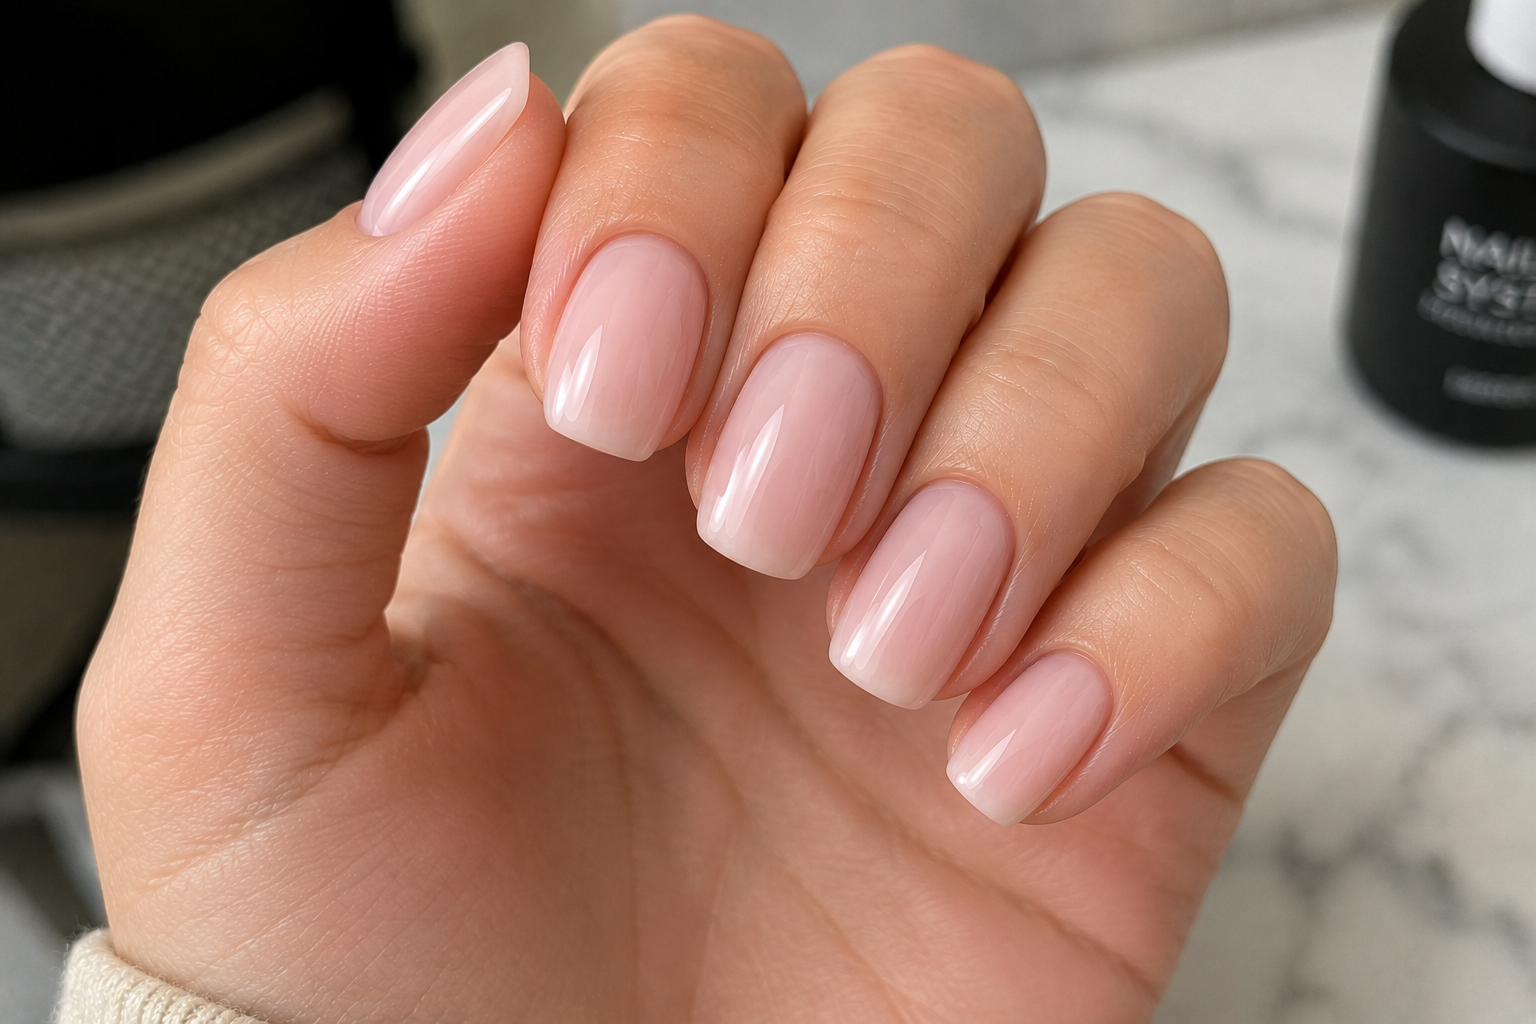
Dip powder nails have become a popular alternative to traditional acrylic and gel systems because they combine strength, durability, and relatively simple application. Instead of sculpting with liquid and powder or curing every colour layer under a lamp, dip powder uses a bonding system that allows finely milled coloured powder to build the manicure layer by layer.
One of the reasons I enjoy working with dip powder is how versatile it can be. Whether the client wants a natural everyday manicure or a bold statement colour, the same application technique can be adapted to achieve very different results.
The secret is not adding large amounts of powder. It is building several thin, even layers while keeping the nail smooth and balanced.
Step 1: Prepare the Natural Nails
Preparation is the most important stage of the service.
Begin by:
- Removing any previous product.
- Washing and drying the hands.
- Shaping all nails evenly.
- Gently pushing back the cuticles.
- Removing loose or dead skin.
- Lightly buffing the nail surface.
- Removing all dust.
- Cleaning the nail plate with a nail cleanser.
A clean nail plate gives the best chance of long-lasting adhesion.
Example
A client arrives with natural nails that have small areas of surface shine and slightly overgrown cuticles. Spending a few extra minutes preparing these correctly will greatly reduce the chance of lifting later.
Step 2: Apply the Base Bond
Apply a thin layer of dip base to one nail only.
Work quickly but carefully because the product begins to dry immediately.
Avoid touching the surrounding skin or flooding the cuticle.
Example
Rather than applying the base to all five nails at once, apply it to one finger, dip it into the powder, then move to the next nail. This prevents the base from drying before the powder can adhere.
Step 3: Dip into the Powder
Immediately dip the nail into the chosen powder at approximately a 45-degree angle.
Lift the finger out slowly and tap away the excess powder.
Allow the product to settle before brushing away any remaining loose powder.
Example
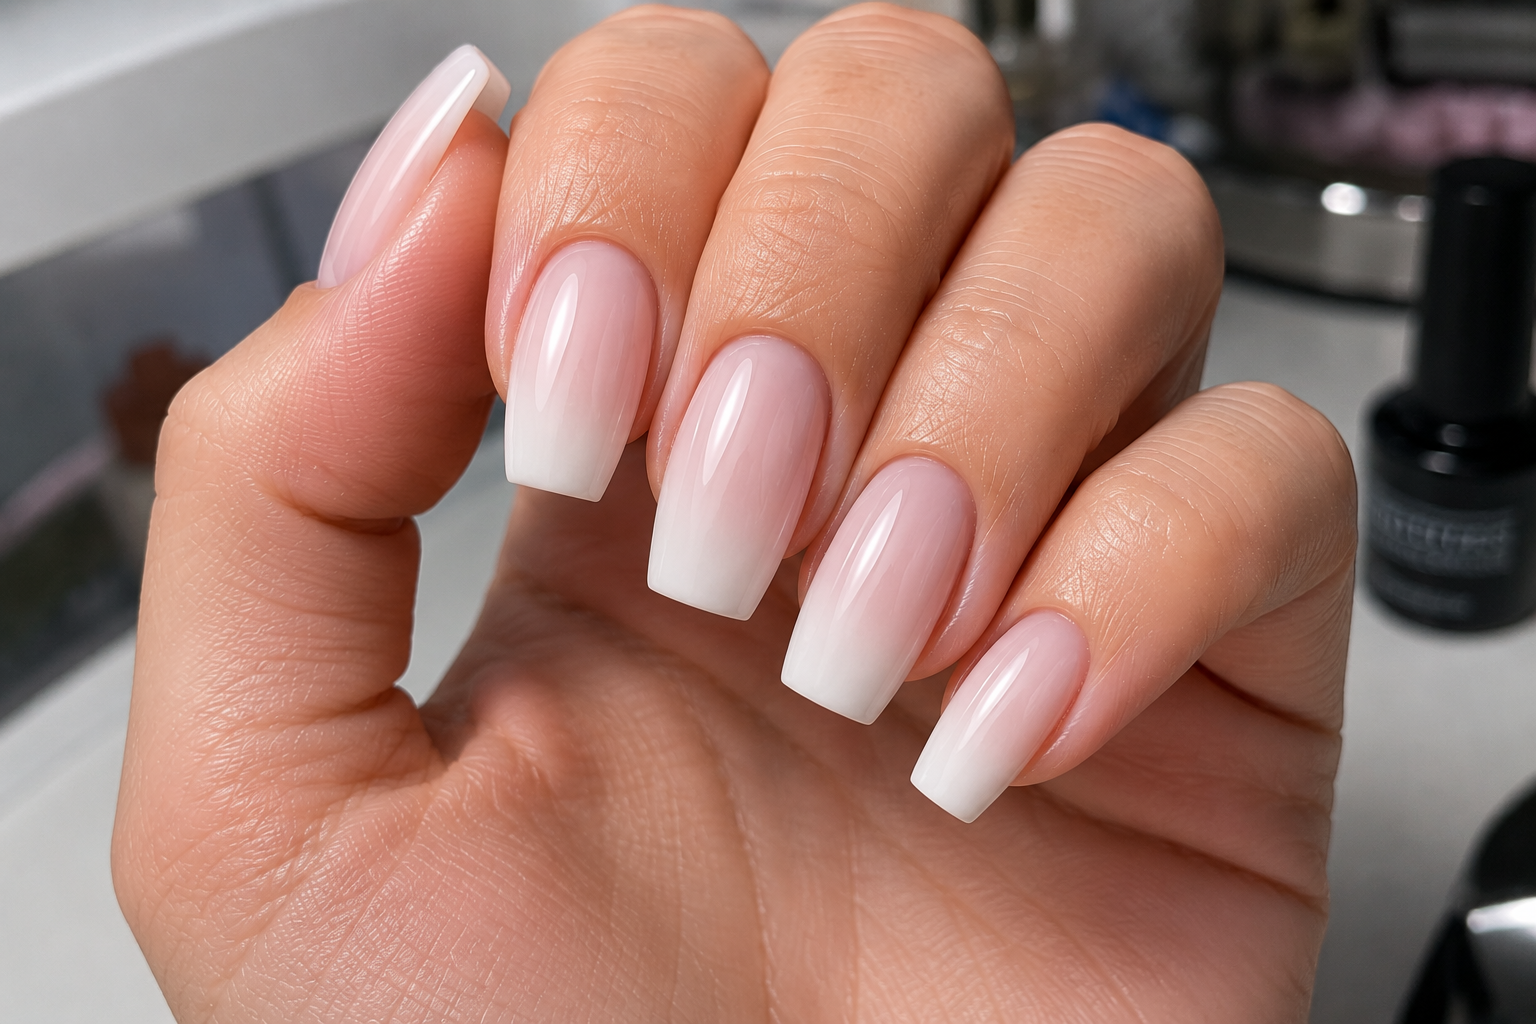
If creating a soft nude manicure, dip into a sheer pink powder. For a vibrant summer manicure, use coral or bright red powder using exactly the same application method.
Step 4: Repeat the Process
Apply another thin layer of dip base.
Dip into the powder again.
Repeat until the desired strength and colour coverage are achieved.
Most manicures require:
- Two coats for translucent shades.
- Three coats for most solid colours.
- Four thin coats for deeper colours or additional strength.
Example
A client choosing classic pale pink may be happy after two coats, while someone selecting navy blue may require three coats to achieve complete, even coverage.
Step 5: Brush Away Excess Powder
Once all dipping layers are complete, thoroughly remove every trace of loose powder using a clean, soft manicure brush.
Do not skip this step.
Loose powder can interfere with the activator and create rough areas.
Step 6: Apply the Activator
Cover every nail evenly with activator.
The activator hardens the dip powder system and prepares it for shaping.
Allow sufficient time for the product to cure before filing.
Example
If filing begins before the activator has fully hardened the product, the surface may become uneven and more difficult to refine.
Step 7: Shape and Refine
Use a professional file to refine:
- The side walls.
- The free edge.
- The surface.
- The overall shape.
Aim for a smooth, even finish without removing unnecessary product.
Remove all filing dust afterwards.
Example
If one nail appears slightly thicker than the others, refine only that area rather than filing the entire nail excessively.
Step 8: Apply a Second Activator Layer
Many dip systems recommend applying another coat of activator after filing.
This reinforces the surface before the top coat is applied.
Always follow the manufacturer's instructions.
Step 9: Apply the Top Coat
Finish with the recommended dip system top coat.
Apply thin, even strokes across the nail.
Allow the first layer to dry before applying a second coat if required.
The result should be smooth, glossy, and even across every nail.
Step 10: Finish the Service
Apply cuticle oil around each nail.
Massage it gently into the surrounding skin to restore moisture after the filing process.
Inspect every nail under good lighting before the client leaves.
Common Mistakes to Avoid
- Poor nail preparation.
- Applying thick base coats.
- Allowing the base to dry before dipping.
- Flooding the cuticle.
- Not brushing away excess powder.
- Filing before the activator has fully cured.
- Over-filing the finished manicure.
- Applying thick top coats.
My Professional Tips
One thing I learned quite early is that dip powder rewards consistency. Every layer should be thin, even, and deliberate. If one coat is much thicker than the others, the imbalance usually becomes obvious during filing.
I also like to think one nail ahead. Before applying the base, I already know exactly which powder I will use and where the client's finger will move next. That small habit makes the entire application feel much smoother.
Another tip I always share with beginners is not to chase perfection with extra layers. It is tempting to keep dipping "just one more time," but too many coats can leave the nails looking bulky instead of elegant. Most beautiful dip powder manicures are surprisingly thin while still being incredibly strong.
Finally, always look at the completed set as a whole rather than focusing on one nail at a time. Every nail should have the same shape, similar thickness, and a balanced profile. When all ten nails work together, the manicure immediately looks more professional.
Dip powder is an excellent system for clients who want a durable manicure with minimal maintenance. With careful preparation, thin applications, and attention to detail, it creates strong, lightweight nails that remain beautiful for several weeks.
Share

Continue reading