Double French Manicure: A Timeless Classic with a Modern Twist
A practical Sofia K. technique tutorial on double french manicure: a timeless classic with a modern twist.
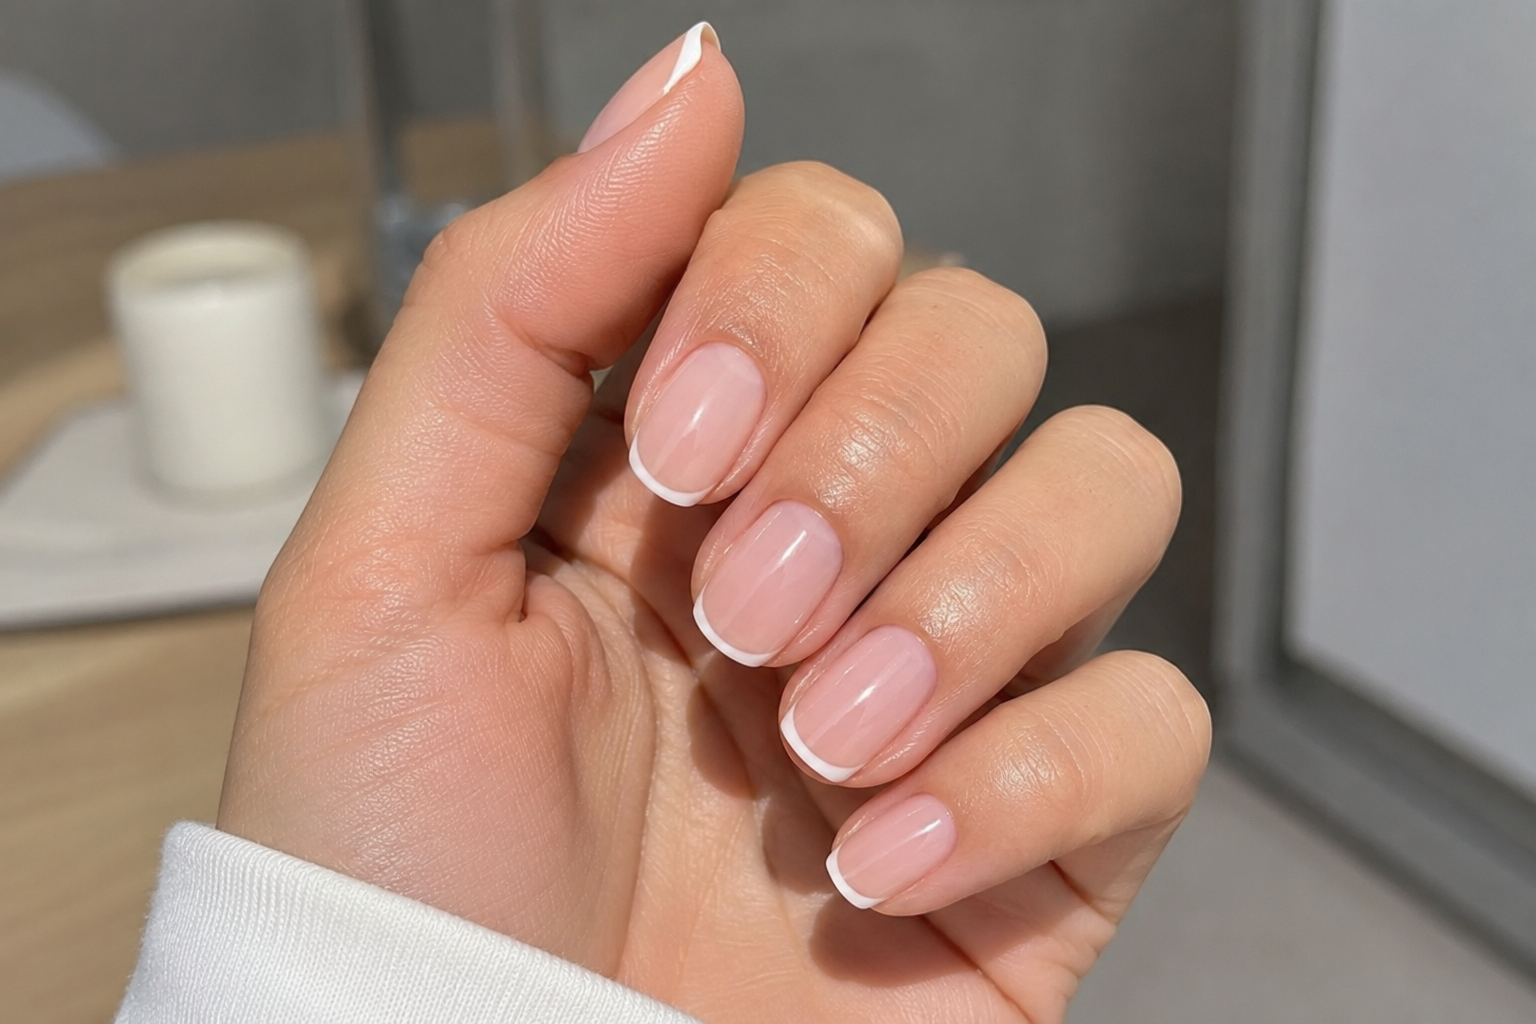
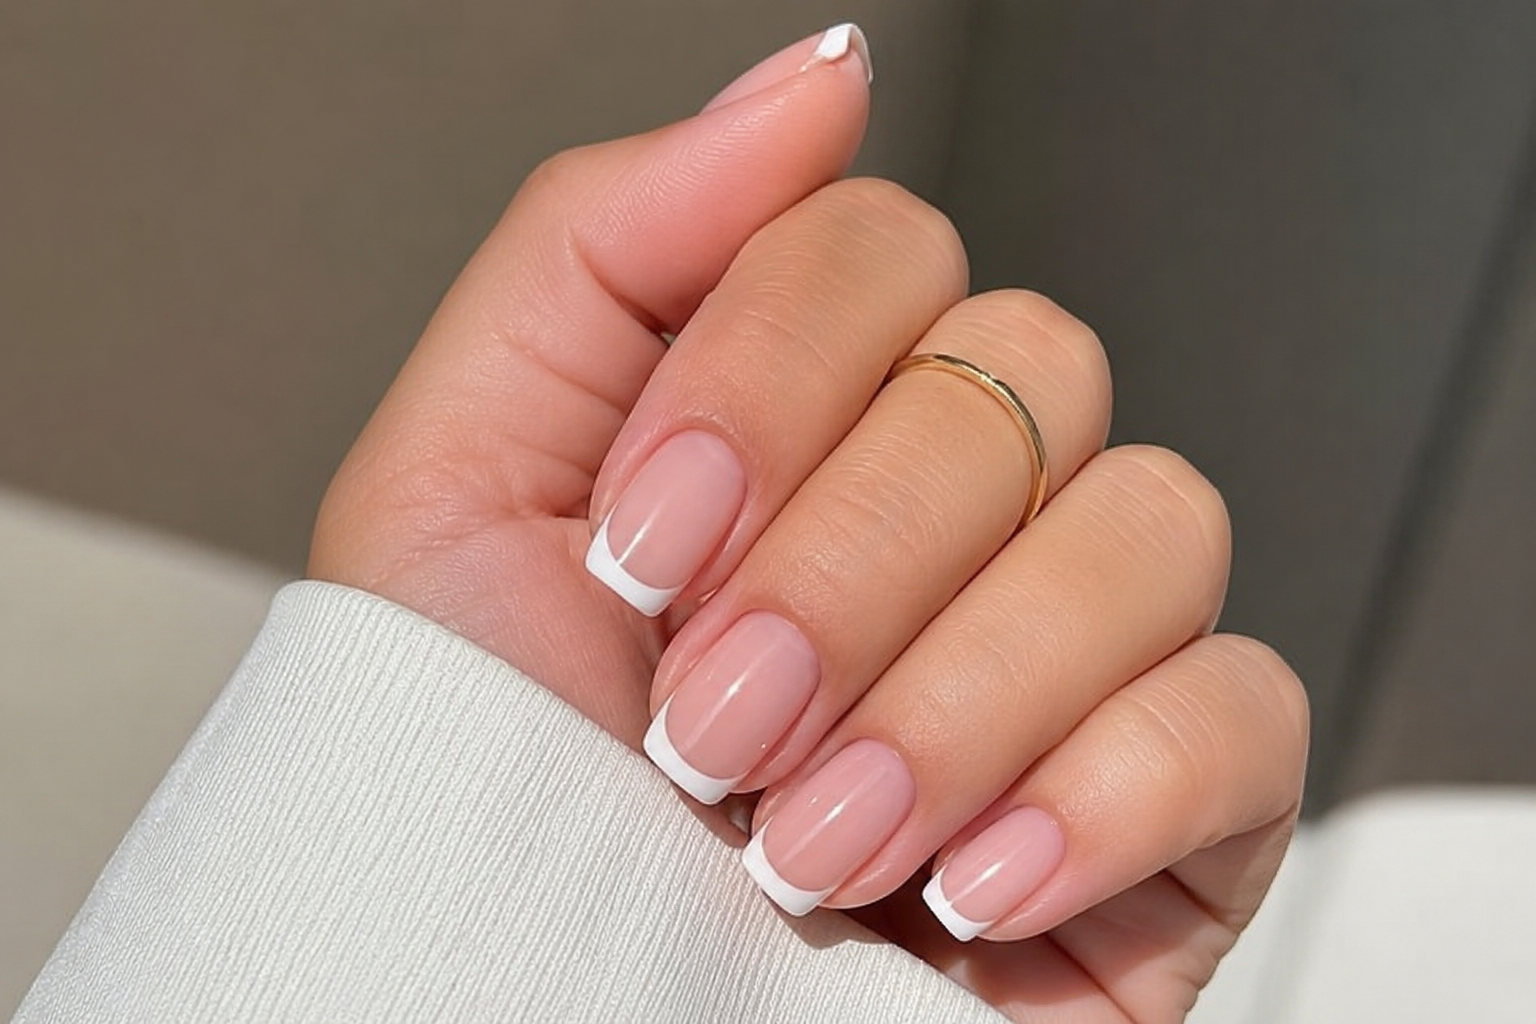
The French manicure has always been a symbol of elegance, but sometimes even timeless classics deserve a fresh interpretation. That is exactly what the Double French manicure offers. It keeps the clean beauty of the traditional French tip while introducing a second delicate line that adds depth, dimension, and a touch of creativity.
I enjoy this design because it feels modern without becoming overwhelming. From a distance, it still looks refined and sophisticated, but as someone gets closer, they discover the extra detail that makes it unique. It is a wonderful choice for weddings, celebrations, evening events, holidays, or simply for anyone who wants something a little different while keeping an elegant appearance.
Fashion designer Yves Saint Laurent once said:
"Fashions fade, style is eternal."
The Double French manicure follows that same philosophy. It respects tradition while gently introducing something new.
What Is a Double French Manicure?
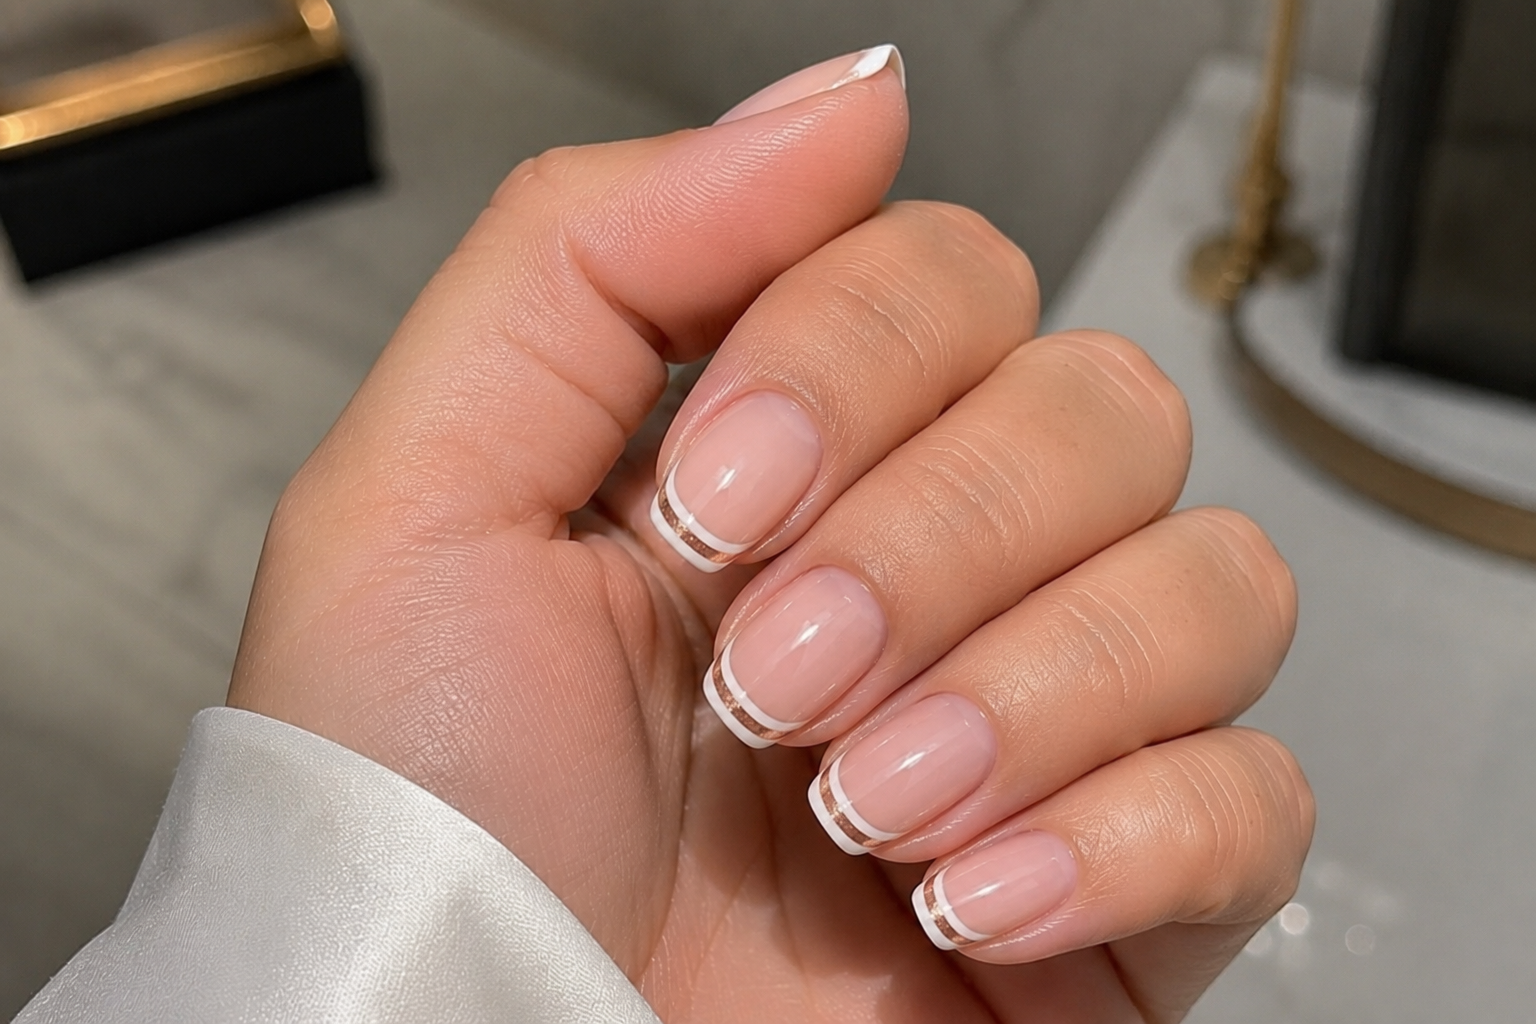
A Double French manicure features two parallel lines along the tip of the nail instead of one.
Usually, the first line is the traditional white smile line, while the second line is placed just above or just below it using another colour or finish. Popular combinations include:
- White and nude
- White and gold
- White and silver
- White and soft pink
- White and chrome
- White and glitter
The result is elegant, balanced, and eye-catching without feeling excessive.
What You Need
- Nail file (180/240 grit)
- Buffer
- Cuticle pusher
- Nail cleanser
- Lint-free wipes
- Dehydrator
- Primer (if required)
- Base coat
- Sheer nude or soft pink polish
- White gel paint or polish
- Fine liner brush
- Second accent colour or metallic gel paint
- Top coat
- Cuticle oil
Step 1 – Prepare the Nails
Every detailed design begins with careful preparation.
Shape each nail evenly, gently push back the cuticles, remove non-living tissue, lightly buff the surface, and cleanse away dust and oils.
Double French lines highlight the shape of the nail, so symmetry is especially important.
Step 2 – Apply the Base Coat
Apply a thin, even layer of base coat.
Cure if using gel products.
A smooth base allows both French lines to appear crisp and clean.
Step 3 – Apply the Natural Base Colour
Apply one or two thin coats of:
- Sheer nude
- Milky pink
- Natural beige
- Soft peach
The translucent base keeps the manicure looking fresh and elegant while allowing the decorative lines to become the focal point.
Step 4 – Paint the Main French Tip
Using a fine liner brush:
- Begin at one sidewall.
- Create a smooth smile line.
- Continue evenly across the nail.
- Fill the free edge with white.
Take your time.
The first line becomes the foundation for the second.
Step 5 – Add the Second French Line
Once the first line is cured or dry, use your liner brush to paint a second, finer line.
You can position it:
- Just above the white tip.
- Just below the smile line.
- Following the same curve across the nail.
Leave a tiny gap between the two lines so each one remains clearly visible.
Metallic gold or silver creates a luxurious finish, while pastel colours offer a softer look.
Step 6 – Check the Overall Balance
Before sealing the design, compare every nail.
Look for:
- Equal spacing between both lines.
- Consistent line thickness.
- Matching smile line depth.
- Smooth curves.
- Symmetry between both hands.
The elegance of a Double French manicure comes from precision rather than complexity.
Step 7 – Seal with Top Coat
Apply a glossy top coat over the entire nail.
Float the brush gently to avoid disturbing the detailed lines underneath.
Cap the free edge for improved durability.
The glossy finish makes both French lines appear beautifully defined.
Step 8 – Finish with Cuticle Oil
Massage cuticle oil around each nail.
Soft, hydrated skin enhances the clean appearance of this minimalist design.
Even detailed nail art looks more luxurious when the surrounding skin is healthy.
Professional Tips
- Keep the second line thinner than the main French tip.
- Metallic gel paints often create the cleanest accent lines.
- Leave a consistent gap between both lines.
- Rotate the client's finger instead of twisting your wrist.
- Use long liner brushes for greater control.
- Thin layers produce sharper, cleaner results.
Common Mistakes
- Uneven spacing between the two lines.
- Both lines being the same thickness.
- Overly thick white tips.
- Flooding the cuticle area.
- Using colours that overpower the natural base.
- Forgetting to compare both hands before finishing.
Remember, the second line should complement the first—not compete with it.
Interesting Facts
- The Double French manicure became increasingly popular as minimalist nail art evolved, offering clients a subtle alternative to more elaborate designs.
- Gold and silver accent lines are especially popular for bridal manicures because they complement wedding jewellery beautifully.
- Fine double-line French designs often appear in luxury fashion editorials because they add visual interest while remaining understated.
- Nail artists frequently use ultra-fine liner brushes measuring only a few millimetres in width to achieve perfectly parallel lines.
- Although the design looks simple, maintaining equal spacing across every nail requires excellent brush control and careful attention to detail.
Final Thoughts
The Double French manicure proves that small details can completely transform a familiar design. By adding one delicate extra line, the classic French tip becomes more contemporary while keeping its timeless elegance.
It is a manicure that feels equally beautiful during a summer celebration, an elegant dinner, a wedding, or an ordinary working day. Refined without being extravagant, modern without chasing trends, the Double French reminds us that sometimes the most memorable designs are created by adding just one thoughtful detail.