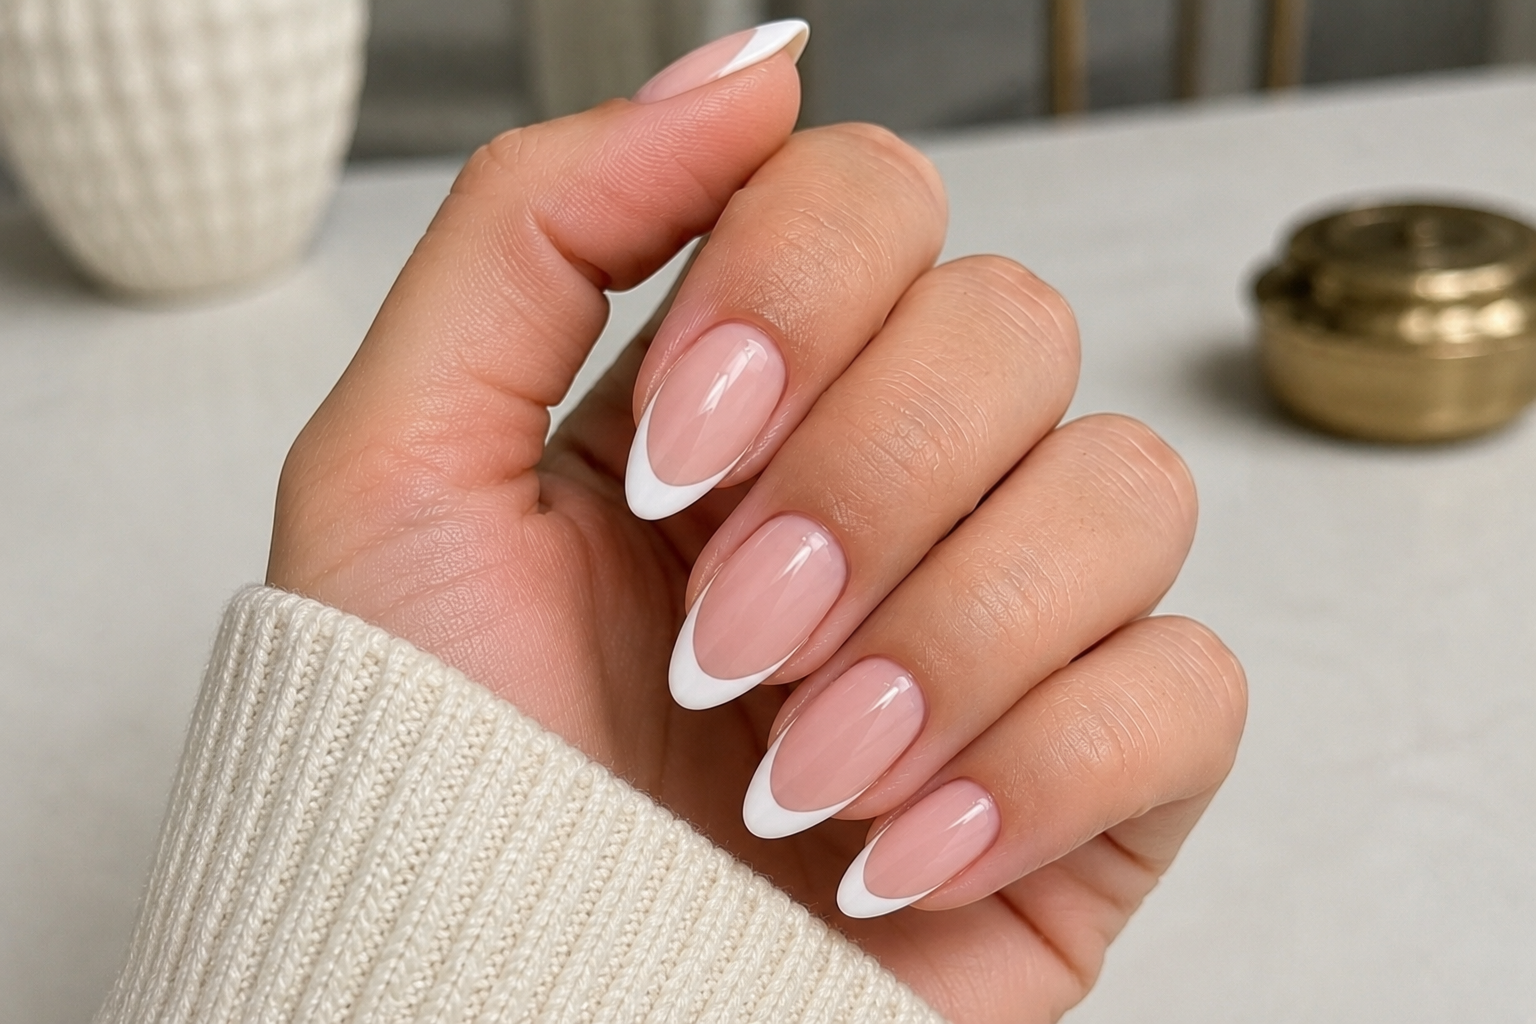
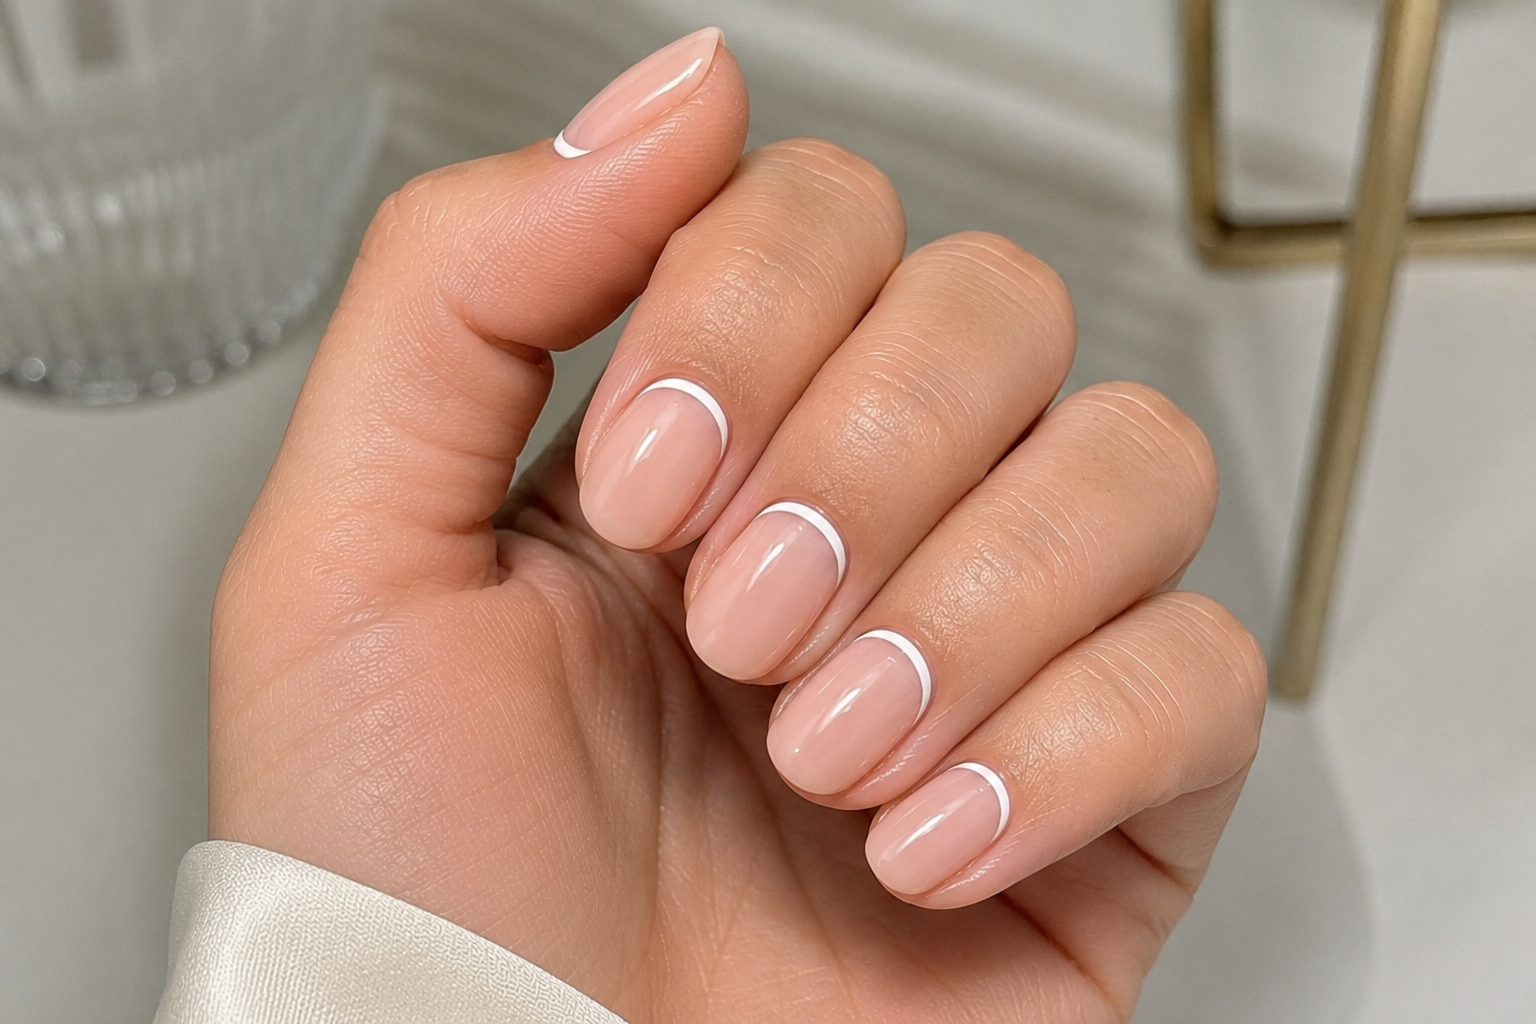
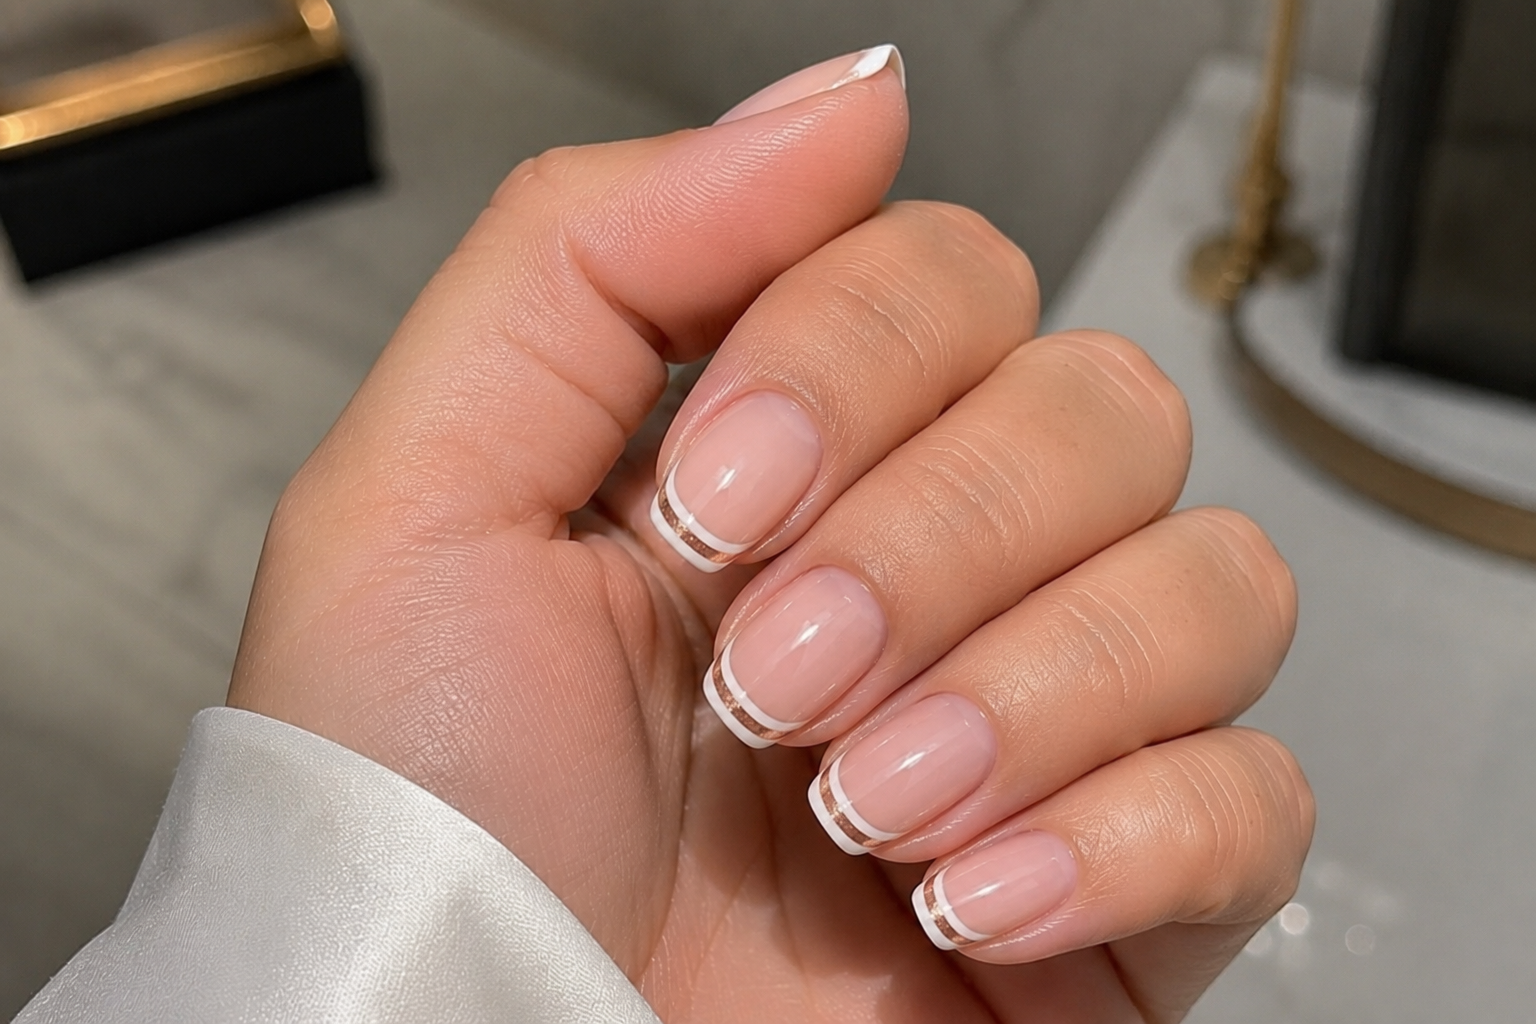
Side French Manicure: The Playful French Twist You Didn't Know You Needed
A practical Sofia K. technique tutorial on side french manicure: the playful french twist you didn't know you needed.
There comes a moment when you love the elegance of a French manicure but secretly want something that feels a little more fun. Not louder. Not covered in glitter. Just... different.
That is exactly where the Side French manicure shines.
The first time I saw one, I smiled because it felt like the Classic French had decided to tilt its head and say, "I can still surprise you."
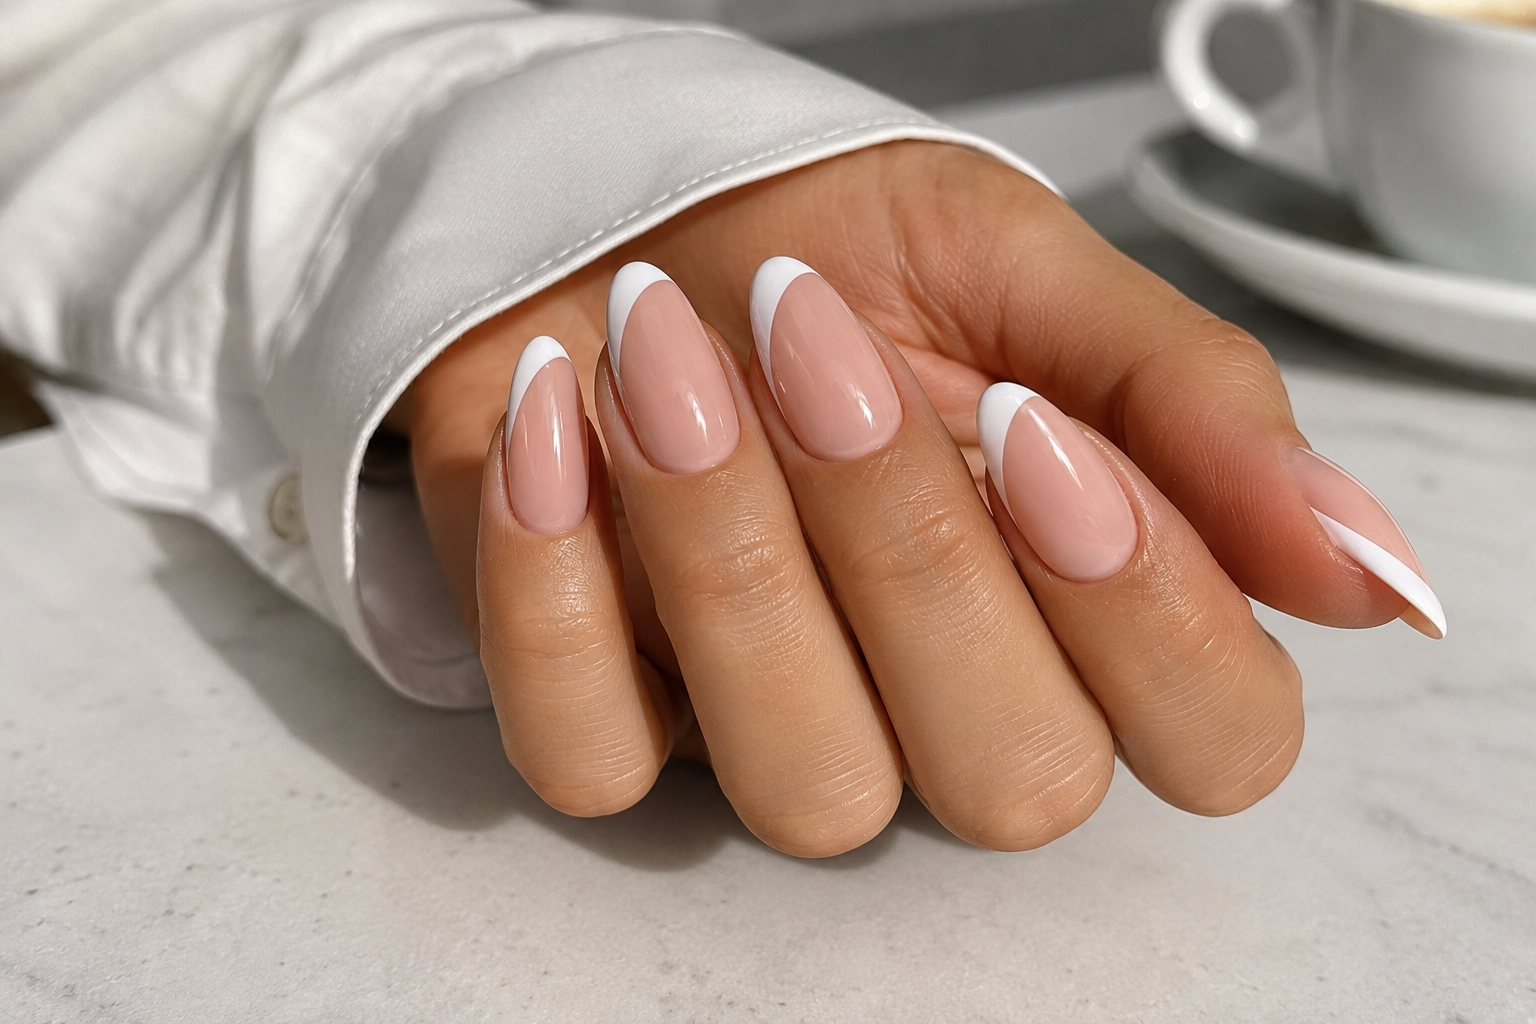
Instead of following the edge of the entire tip, the white line sweeps gracefully across just one side of the nail, creating an elegant diagonal effect. It is modern, flattering, and just playful enough to make people ask, "Where did you have your nails done?"
As fashion designer Karl Lagerfeld once said:
"One is never over-dressed or underdressed with a little black dress."
I like to think the Side French is the manicure equivalent. It is classic enough for every occasion, but stylish enough to feel special.
What Is a Side French Manicure?
A Side French manicure is a modern variation of the traditional French tip.
Instead of painting the white line straight across the free edge, the tip begins at one sidewall and curves diagonally across the nail.
The result creates movement and gives the illusion of longer, slimmer nails.
It is simple, elegant, and just a little bit cheeky.
Think of it as the Classic French after one espresso and a confidence boost.
What You Need
- Nail file (180/240 grit)
- Buffer
- Cuticle pusher
- Nail cleanser
- Lint-free wipes
- Dehydrator
- Primer (if required)
- Base coat
- Sheer nude or soft pink polish
- White gel paint or coloured gel paint
- Fine liner brush
- Top coat
- Cuticle oil
Step 1 – Prepare the Nails
Every elegant design starts with beautiful preparation.
Shape every nail evenly.
Push back the cuticles, remove non-living tissue, lightly buff the nail plate, and cleanse away dust and oils.
A Side French relies on clean lines, so a tidy nail makes all the difference.
Step 2 – Apply the Base Coat
Apply a thin layer of base coat.
Cure if you're working with gel.
Smooth, even layers make delicate nail art much easier.
Step 3 – Apply the Natural Base Colour
Choose a natural shade such as:
- Milky pink
- Soft nude
- Natural beige
- Sheer peach
Apply one or two thin coats.
The base should quietly support the design rather than compete with it.
Step 4 – Create the Side French
Now comes the fun part.
Using a fine liner brush:
- Start near one sidewall.
- Sweep a smooth diagonal curve across the nail.
- Finish near the opposite side of the free edge.
- Fill the tip with your chosen colour.
The movement should feel soft and flowing—not like drawing a lightning bolt.
If you find yourself holding your breath...
Congratulations.
You're officially doing nail art.
Step 5 – Check Every Angle
Turn the hand slowly.
Sometimes a Side French looks perfect from above but reveals little differences when viewed from another angle.
Check:
- Matching direction on every nail.
- Equal curve depth.
- Smooth flowing lines.
- Consistent tip thickness.
Remember...
Your phone camera will notice everything your eyes politely ignored.
Step 6 – Seal with Top Coat
Apply a glossy top coat over the entire nail.
Float the brush gently across the surface and cap the free edge.
The shine makes the diagonal design appear even cleaner.
Step 7 – Finish with Cuticle Oil
Massage cuticle oil into the surrounding skin.
Healthy cuticles are like good eyebrows...
People don't always notice them, but they definitely notice when they're missing.
Professional Tips
- Choose one direction and keep every nail the same.
- Longer liner brushes help create smoother curves.
- White remains timeless, but metallic gold, pastel colours, and chrome also look beautiful.
- Rotate the client's finger rather than your wrist.
- Practice the curve on paper before painting directly onto the nail.
- Less product gives greater control.
Common Mistakes
- Every nail pointing in a different direction.
- Thick diagonal lines.
- Sharp corners instead of flowing curves.
- Uneven tip thickness.
- Flooding the sidewalls.
- Rushing because "it's only one line."
Trust me...
It is never only one line.
That one line has opinions.
Interesting Facts
- Side French manicures became popular as minimalist nail art evolved, offering a modern alternative to the traditional French tip.
- The diagonal line naturally creates the illusion of longer nails by drawing the eye across the nail instead of straight across it.
- Many celebrity nail artists use Side French designs for editorial photo shoots because the angled tips photograph beautifully from different hand positions.
- This design works well with negative space, metallic accents, fine glitter, and chrome finishes while still maintaining a clean appearance.
- Side French manicures flatter almost every nail shape, including almond, oval, squoval, coffin, and short square nails.
Final Thoughts
The Side French manicure is proof that sometimes the smallest change creates the biggest smile. By moving the classic French tip to one side, the design suddenly feels playful, fresh, and effortlessly fashionable without losing its timeless elegance.
It is the perfect manicure for someone who loves classic beauty but also enjoys adding a little personality. Whether you're heading to brunch with friends, a wedding, a holiday, or simply treating yourself because you've survived another Monday without buying twenty-seven new nail colours, the Side French always feels stylish.
After all, life is too short for boring nails... and sometimes even the French manicure likes to dance a little sideways. 💅