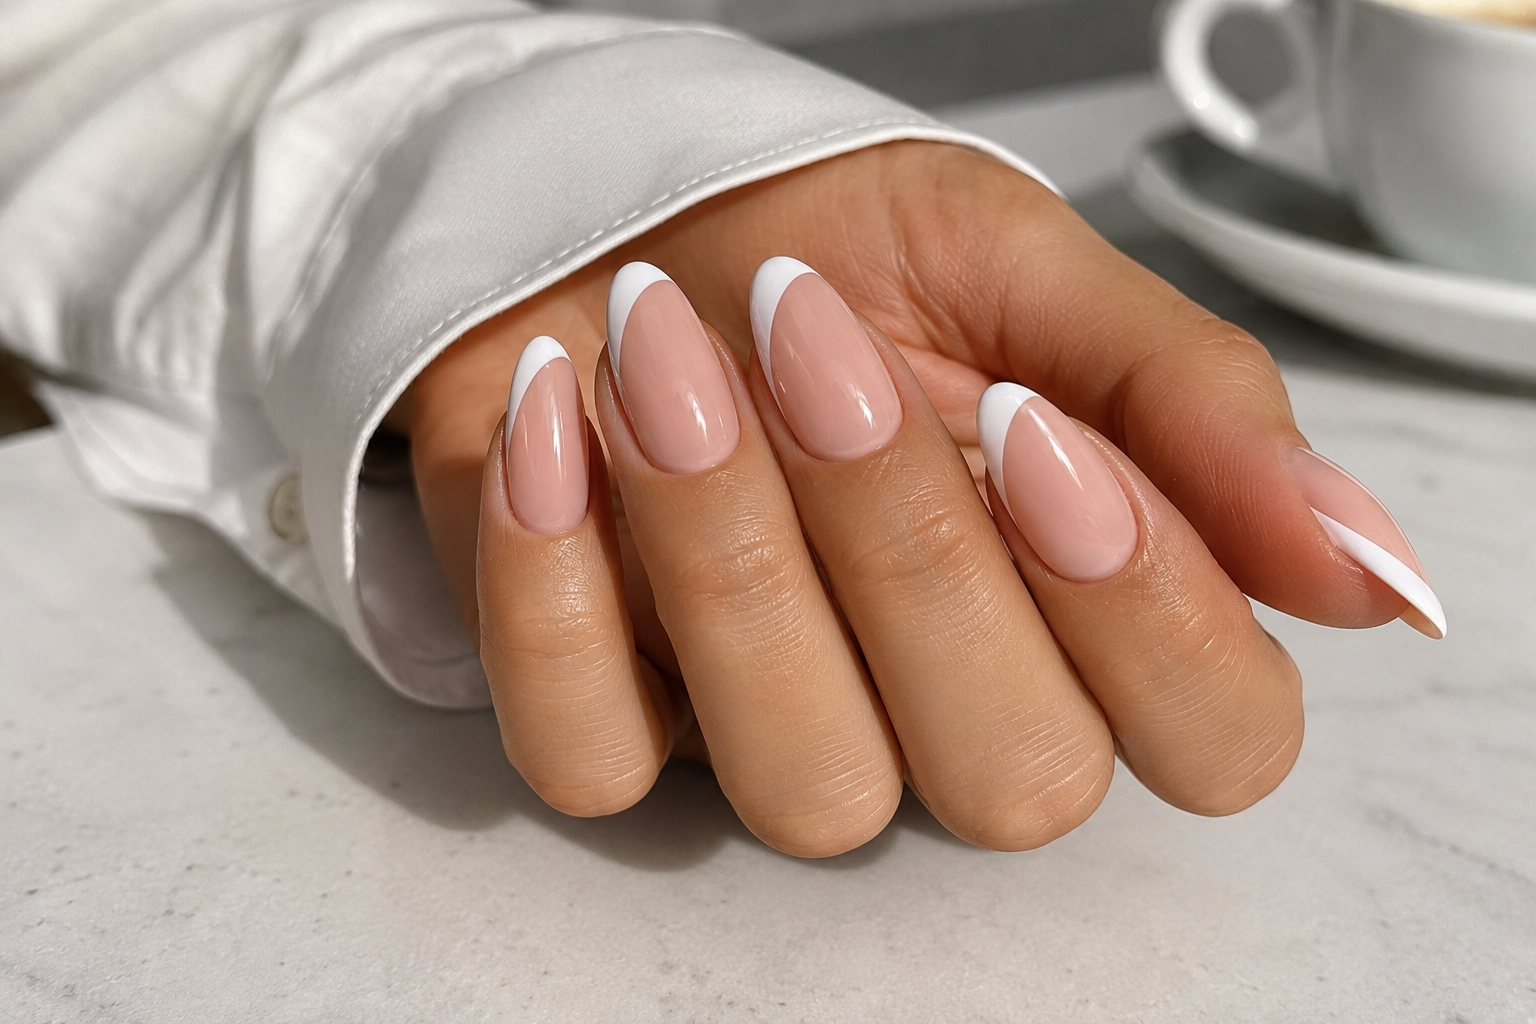
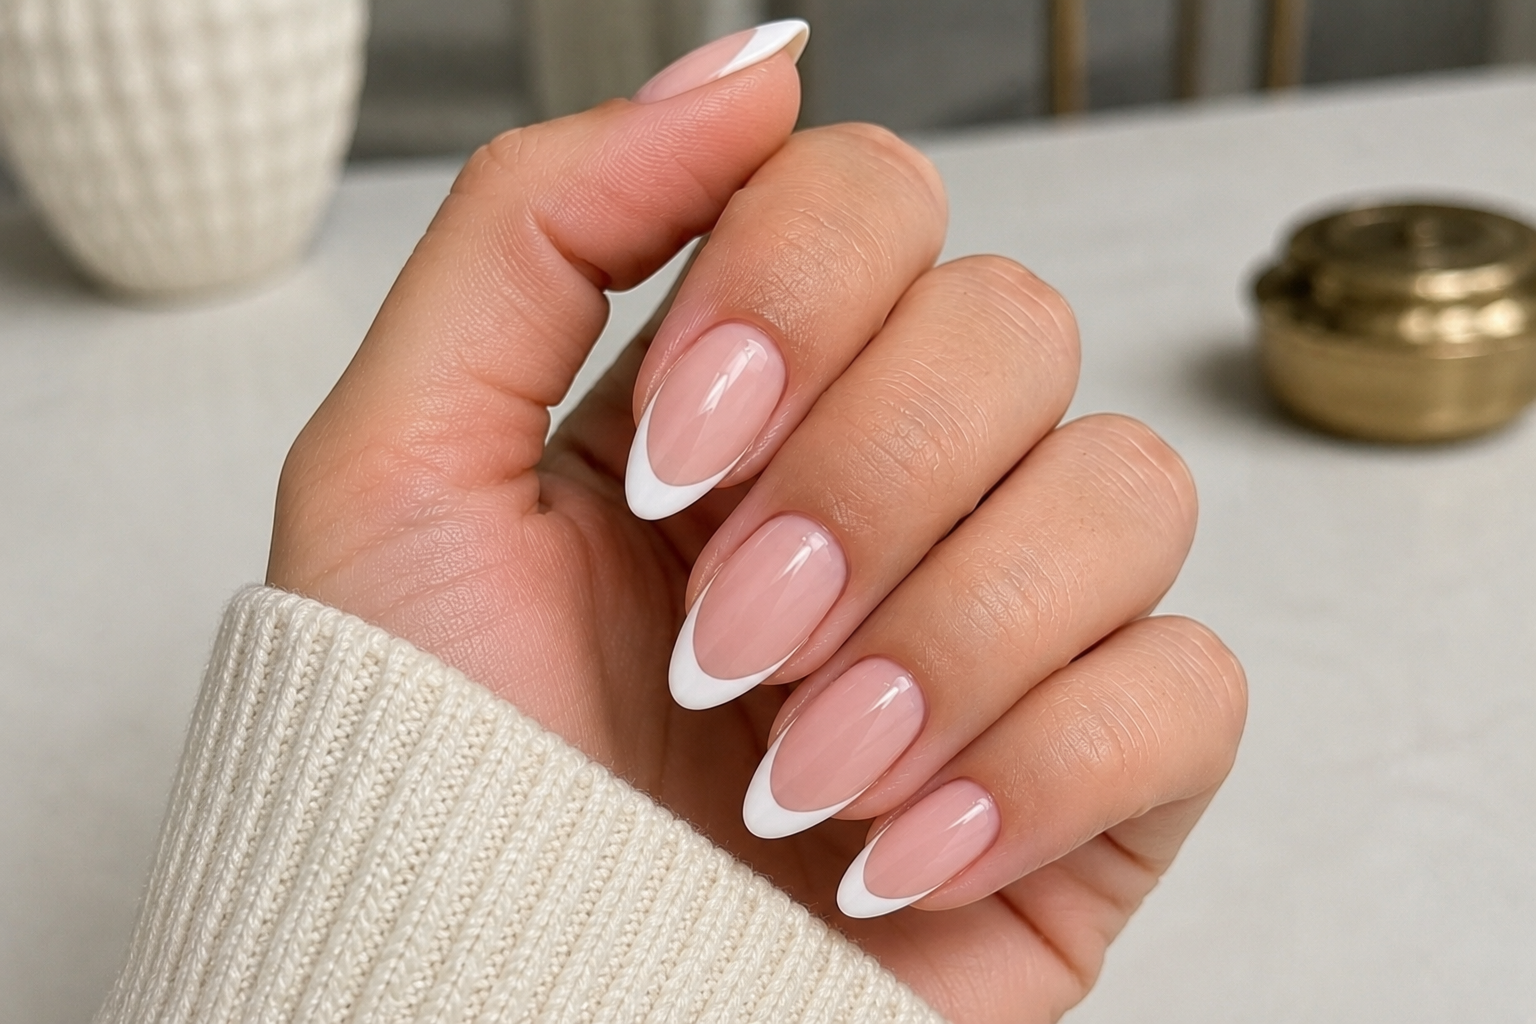
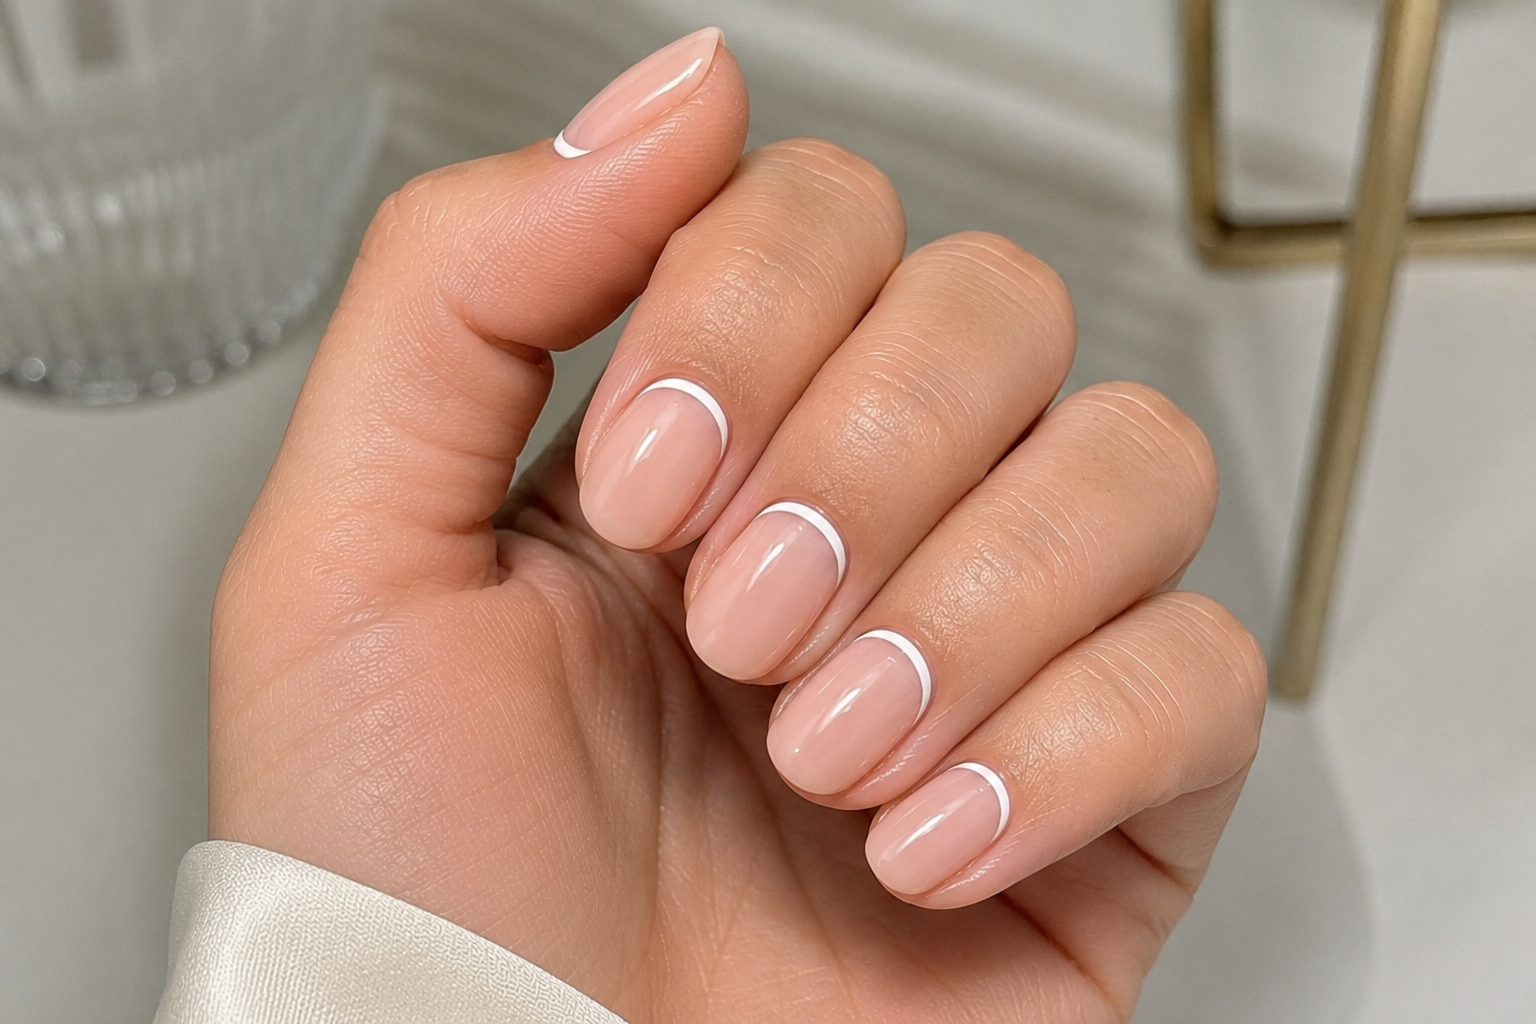
Colored French Manicure: The Classic French That Finally Decided to Have Some Fun
A practical Sofia K. technique tutorial on colored french manicure: the classic french that finally decided to have some fun.
Let's be honest…
There are days when white French tips are exactly what we want. They are timeless, elegant, and always appropriate.
And then there are those days when your favourite dress is coral, your handbag is emerald green, your holiday starts tomorrow, and suddenly your nails whisper…
"Can we be a little more exciting today?"
That is where the Colored French manicure comes in.
It keeps everything we love about the Classic French—the clean lines, the elegant proportions, the polished finish—but swaps the traditional white tip for colour. Sometimes soft and romantic, sometimes bright and playful, sometimes bold enough to make your coffee cup look more fashionable.
As designer Diane von Fürstenberg once said:
"Style is something each of us already has. All we need to do is find it."
A Colored French manicure is exactly that. It lets your personality peek through while keeping the elegance of a French manicure alive.
What Is a Colored French Manicure?
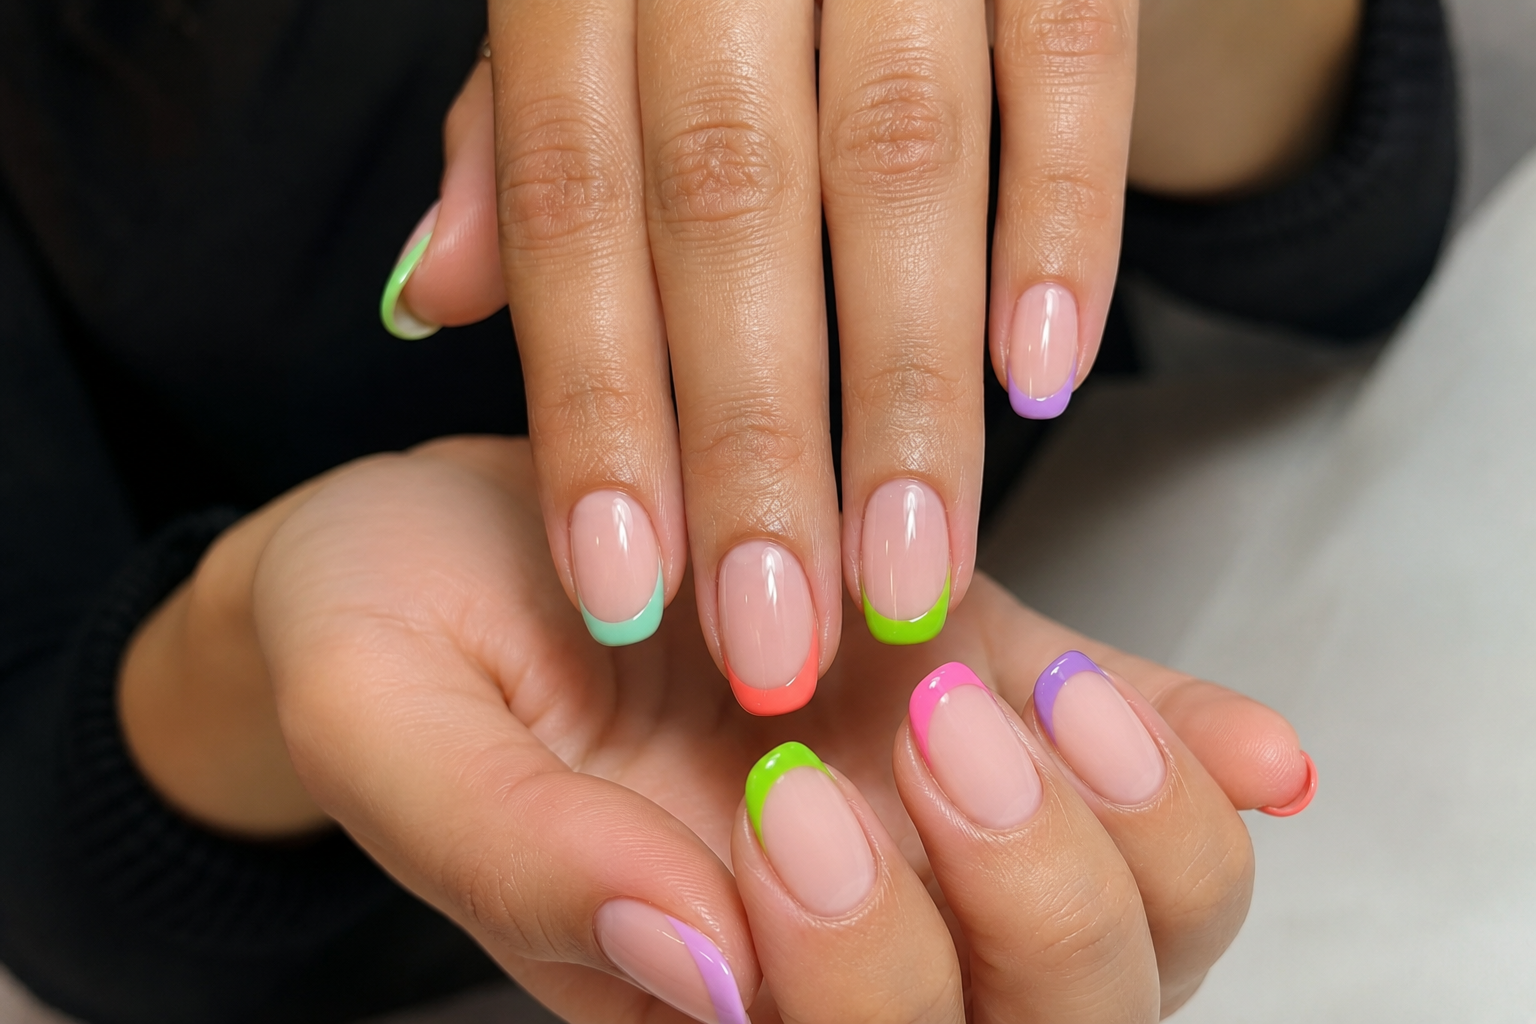
A Colored French manicure replaces the classic white tip with almost any colour imaginable.
The base usually remains sheer and natural, while the tip becomes the feature.
Popular choices include:
- Cherry red
- Baby blue
- Sage green
- Lavender
- Coral
- Hot pink
- Chocolate brown
- Navy blue
- Black
- Pastel yellow
- Metallic gold
- Chrome silver
The design stays clean and sophisticated, but every colour gives it a completely different personality.
What You Need
- Nail file (180/240 grit)
- Buffer
- Cuticle pusher
- Nail cleanser
- Lint-free wipes
- Dehydrator
- Primer (if required)
- Base coat
- Sheer nude or soft pink polish
- Coloured gel polish or coloured gel paint
- Fine liner brush
- Top coat
- Cuticle oil
Step 1 – Prepare the Nails
Beautiful colour deserves beautiful preparation.
Shape every nail evenly and make sure all lengths match.
Push back the cuticles, remove non-living tissue, lightly buff the nail surface, and cleanse away dust.
A clean nail allows colourful tips to look crisp and professional.
Step 2 – Apply the Base Coat
Apply a thin layer of base coat.
Cure if using a gel system.
Keep the application smooth because sheer bases reveal every bump underneath.
Step 3 – Create the Natural Base
Apply one or two thin coats of:
- Milky nude
- Sheer pink
- Soft beige
- Natural blush
The neutral base allows the coloured tips to become the star of the manicure.
Step 4 – Paint the Coloured French Tips
Using a fine liner brush:
- Begin at one sidewall.
- Create a smooth smile line.
- Continue across the nail.
- Fill the free edge with your chosen colour.
Whether you choose bright orange or elegant navy, keep the smile lines consistent across every finger.
One colour...
One style...
One happy little manicure.
Step 5 – Check the Colour Balance
Before curing or sealing, compare every nail.
Ask yourself:
- Are all smile lines equal?
- Is every tip the same thickness?
- Does the colour appear even?
- Do both hands match?
Remember...
Your nails are a team.
One should not decide to become the main character halfway through.
Step 6 – Apply the Top Coat
Seal everything with a glossy top coat.
Float the brush gently over the coloured tips.
Cap the free edge for additional protection.
The glossy finish makes vibrant colours appear even richer.
Step 7 – Finish with Cuticle Oil
Massage nourishing cuticle oil around every nail.
Healthy skin makes colourful manicures appear cleaner, brighter, and more luxurious.
Think of cuticle oil as the final filter your manicure deserves.
Professional Tips
- Bright colours usually need highly pigmented gel paints.
- Pastel tips look beautiful during spring and summer.
- Dark colours create elegant autumn and winter French manicures.
- Neon shades are perfect for holidays.
- Metallic colours pair beautifully with jewellery.
- Use thin layers for sharper smile lines.
Common Mistakes
- Choosing different smile line shapes on each nail.
- Applying thick layers of colour.
- Flooding the sidewalls.
- Forgetting to stir glitter or shimmer colours before use.
- Skipping the symmetry check.
- Choosing a colour that clashes with the client's skin tone rather than complements it.
And perhaps the biggest mistake of all...
Choosing twenty favourite colours...
...when you only have ten fingers.
We've all been there.
Interesting Facts
- Colored French manicures became increasingly popular during the early 2000s as nail artists experimented with modern alternatives to the traditional white tip.
- Social media helped transform colourful French tips into one of the most requested salon designs because the style photographs beautifully while remaining wearable.
- Many nail artists match coloured French tips to seasonal wardrobes, choosing pastels for spring, vibrant shades for summer, earthy tones for autumn, and jewel colours for winter.
- Rainbow French manicures, where each nail has a different coloured tip, have become a favourite holiday and festival trend.
- Because the design keeps a natural base, coloured French manicures often grow out more gracefully than full-colour manicures.
Final Thoughts
The Colored French manicure proves that classic designs never stop evolving. Simply changing the colour of the tip creates endless possibilities while preserving the clean elegance that has made French manicures so beloved for decades.
Whether you choose soft lilac for a spring brunch, coral for a beach holiday, emerald green for winter celebrations, or classic red simply because it makes you smile, this manicure is all about expressing your personality with confidence.
Because sometimes...
Life gives you lemons.
Sometimes it gives you a salon appointment.
Choose the colourful French. 💅🌈