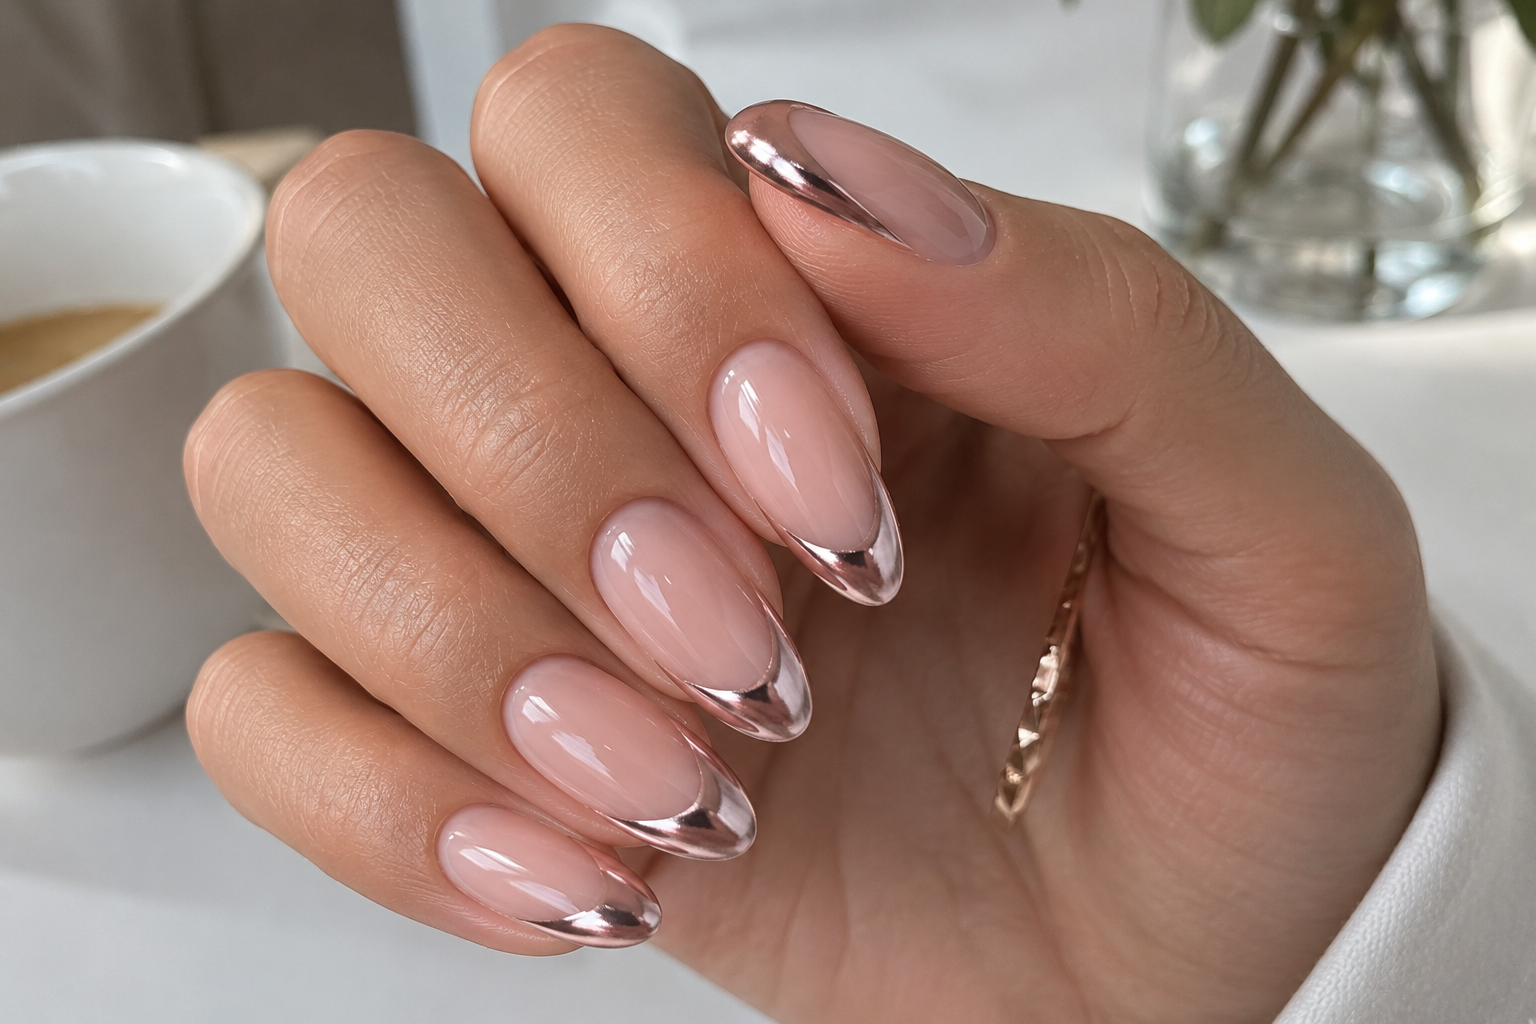
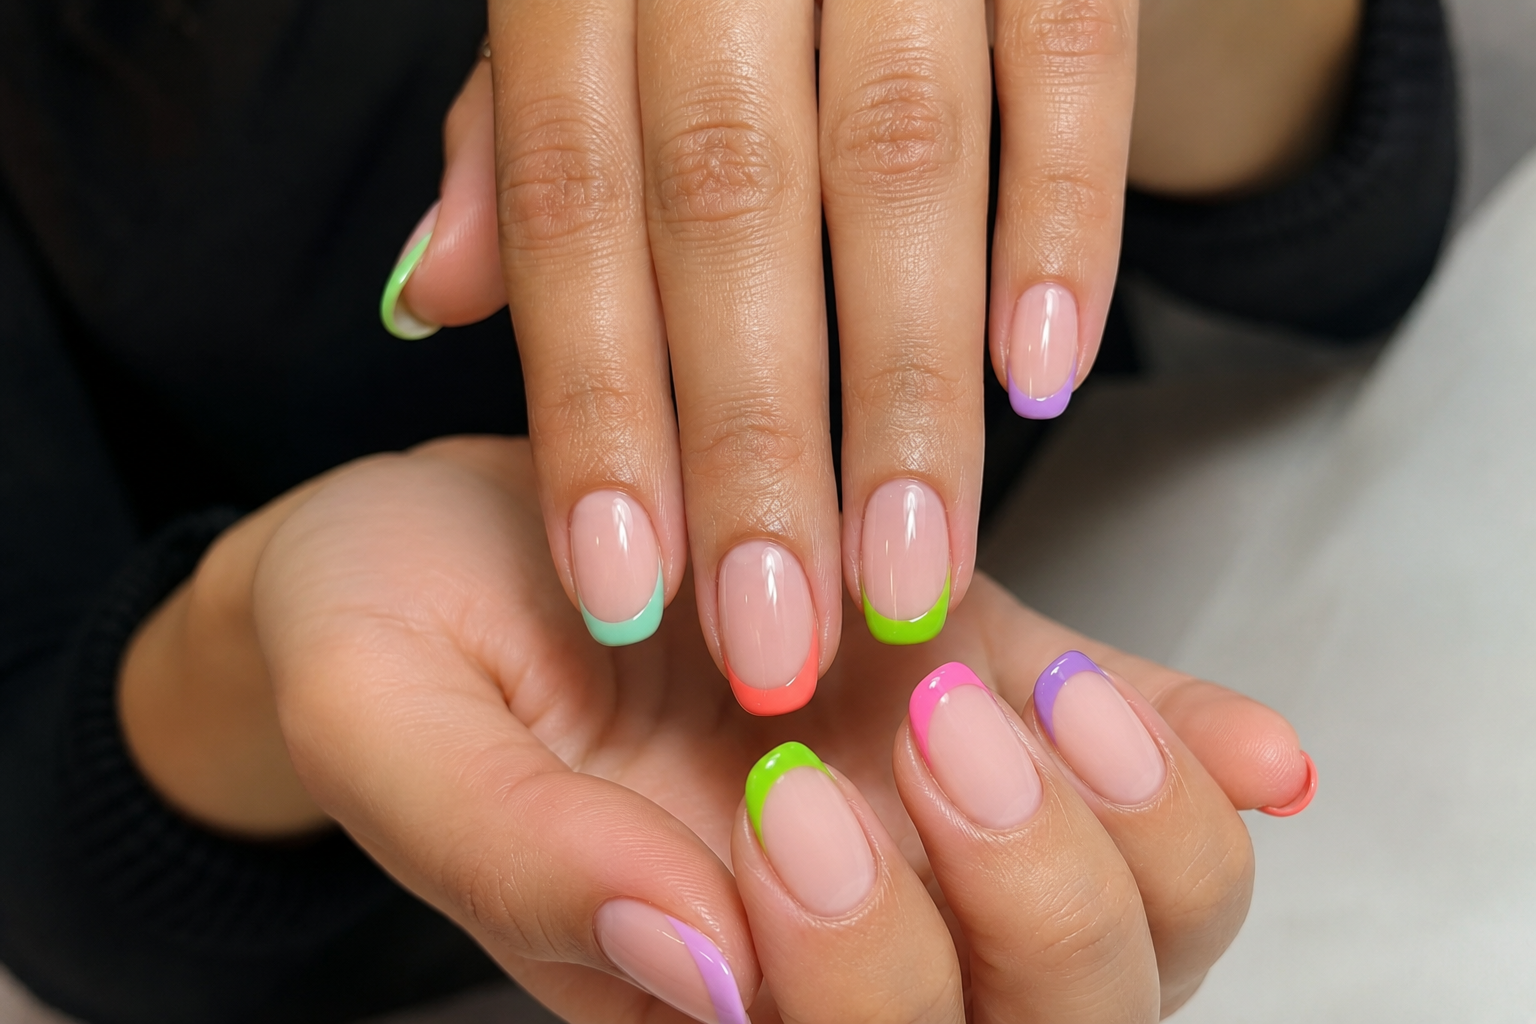
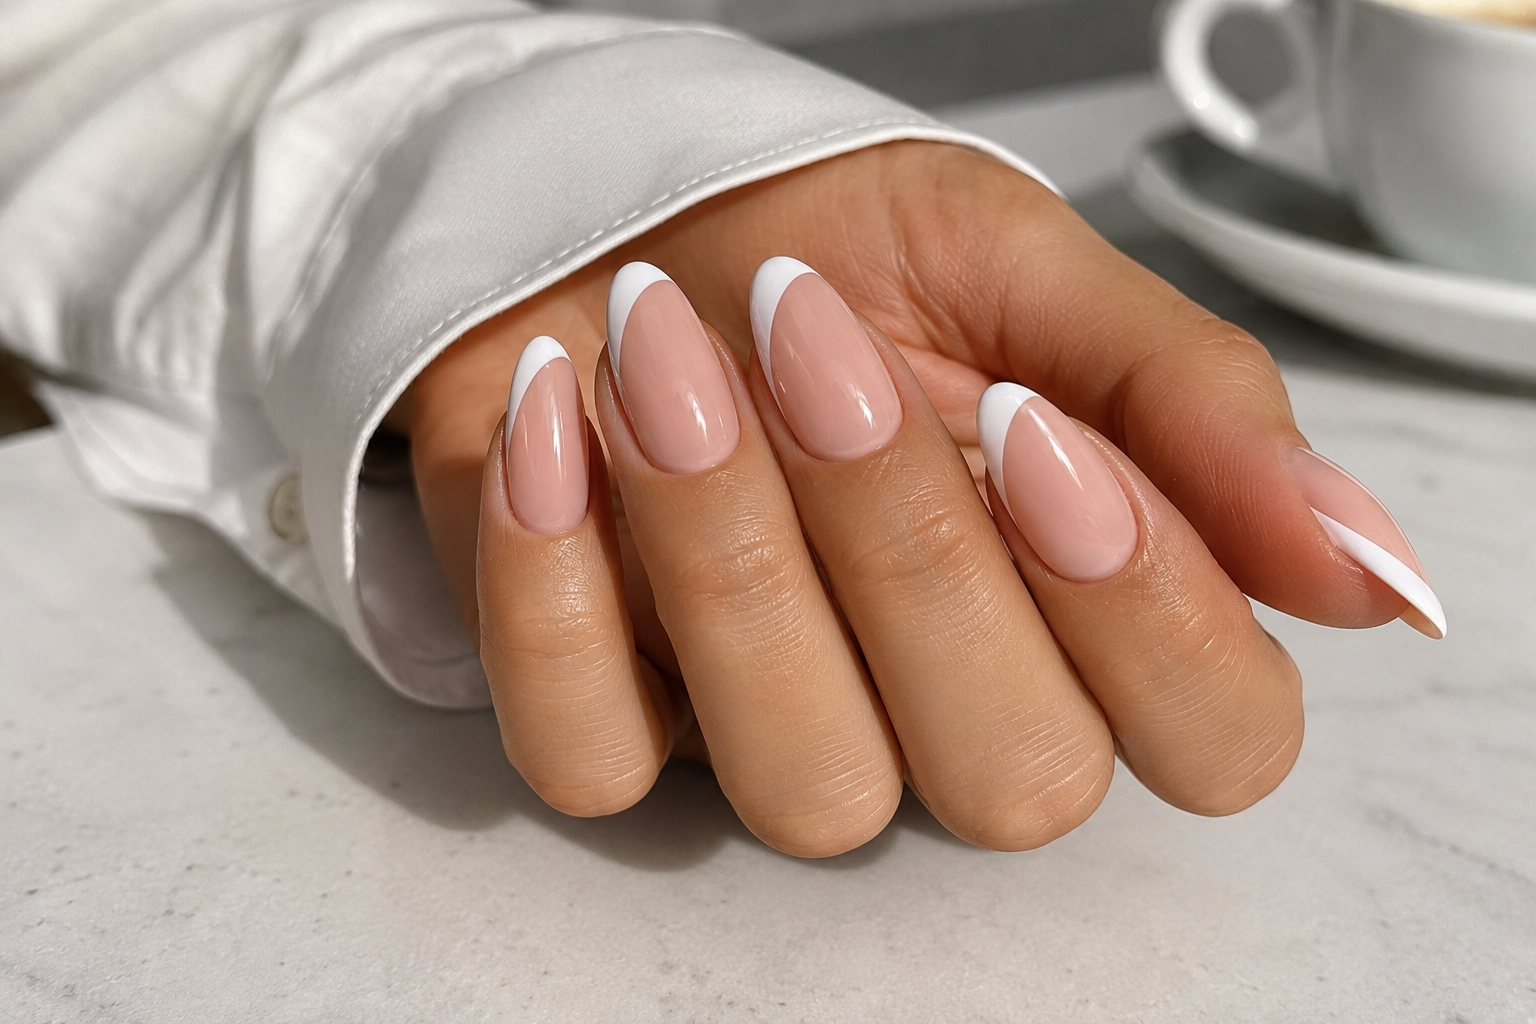
Glitter French Manicure: The Elegant Sparkle That Never Tries Too Hard
A practical Sofia K. technique tutorial on glitter french manicure: the elegant sparkle that never tries too hard.
There is glitter…
…and then there is well-behaved glitter.
The kind that catches the candlelight during dinner, twinkles softly as you hold a champagne glass, and quietly steals the attention without asking for it.
That is the beauty of a Glitter French manicure.
I have always believed glitter should enhance elegance rather than replace it. When used only on the French tip, it creates a beautiful balance between classic sophistication and celebration. It feels luxurious without becoming overwhelming, making it one of my favourite choices for weddings, Christmas parties, birthdays, New Year's Eve, and those evenings when you simply feel like adding a little sparkle to your day.
As fashion designer Giorgio Armani once said:
"Elegance is not about being noticed. It is about being remembered."
A Glitter French manicure follows exactly that philosophy.
It sparkles...
But always with impeccable manners.
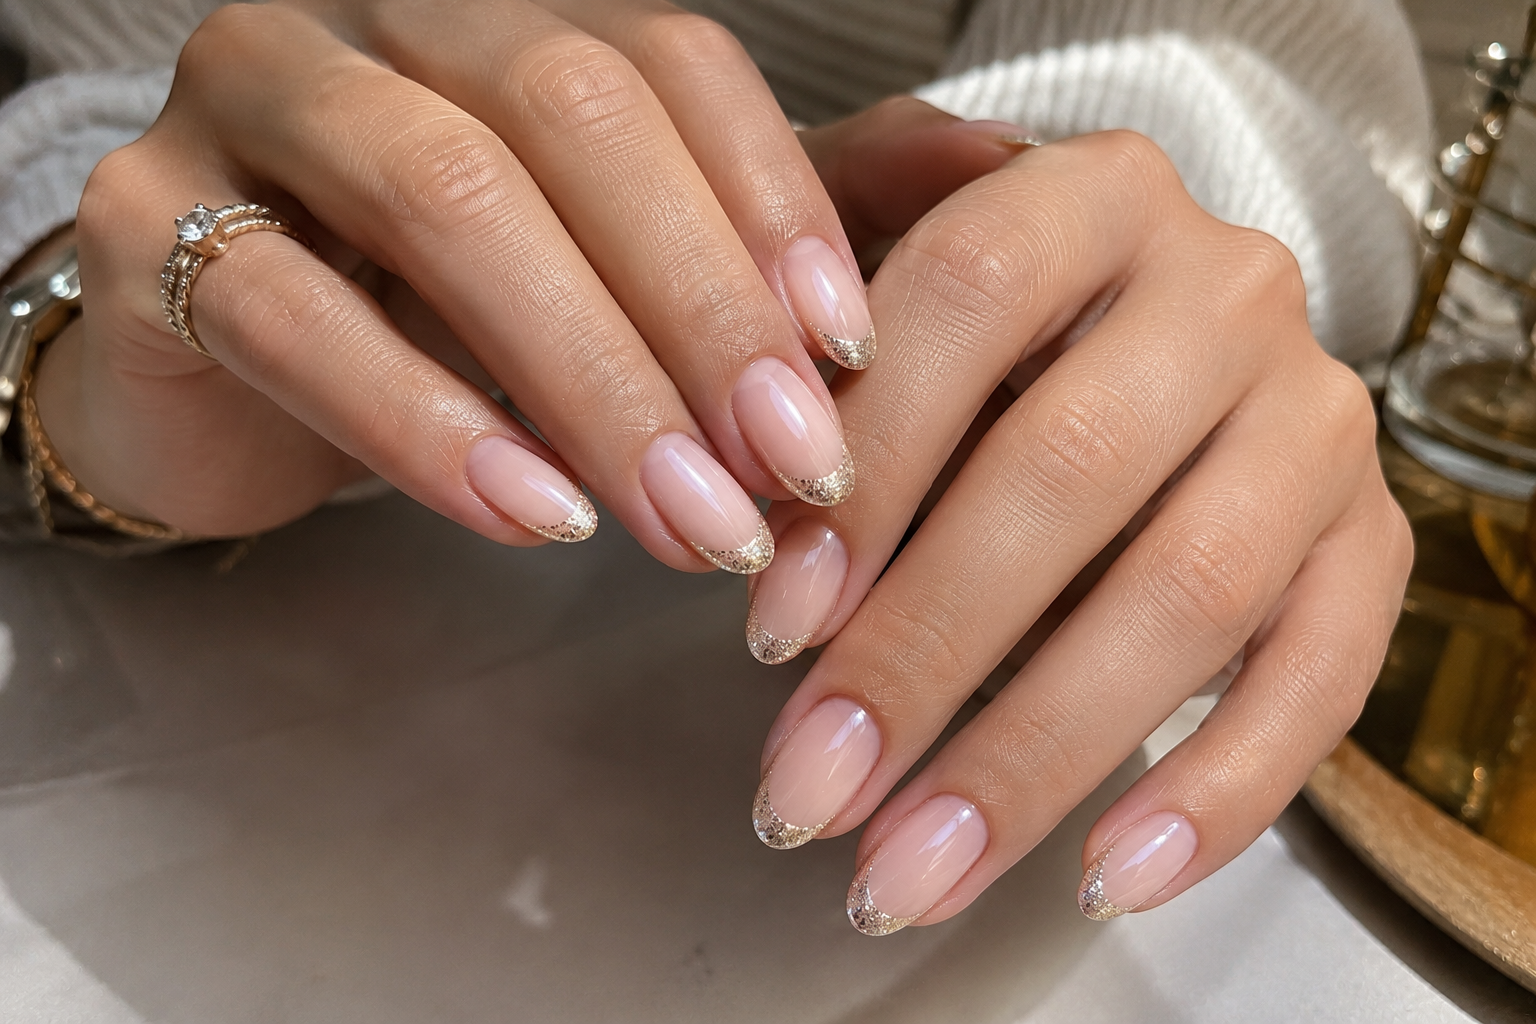
What Is a Glitter French Manicure?
A Glitter French manicure replaces the traditional white French tip with fine glitter or shimmering gel polish.
The natural nude base remains soft and elegant, while the glitter catches the light beautifully as the hands move.
Popular glitter finishes include:
- Fine silver glitter
- Champagne shimmer
- Rose gold glitter
- Soft gold sparkle
- Iridescent glitter
- Pearl shimmer
- Diamond holographic glitter
- White crystal glitter
The finer the glitter particles, the more refined the finished manicure appears.
What You Need
- Nail file (180/240 grit)
- Buffer
- Cuticle pusher
- Nail cleanser
- Lint-free wipes
- Dehydrator
- Primer (if required)
- Base coat
- Sheer nude or soft pink gel
- Glitter gel polish or loose cosmetic glitter
- Fine liner brush
- Flat gel brush (optional)
- Top coat
- Cuticle oil
Step 1 – Prepare the Nails
Luxury begins with preparation.
Shape every nail evenly.
Push back the cuticles, remove non-living tissue, lightly buff the nail plate, and cleanse away dust.
Glitter reflects everything...
Including untidy preparation.
Step 2 – Apply the Base Coat
Apply a thin, even layer of base coat.
Cure if using gel.
Avoid thick application, as it can reduce the crispness of the glitter smile line.
Step 3 – Apply the Natural Base
Choose a soft shade such as:
- Milky nude
- Sheer pink
- Soft beige
- Natural blush
Apply one or two thin coats.
The neutral base allows the glitter to become the elegant focal point without overwhelming the manicure.
Step 4 – Create the Glitter French Tips
Using a fine liner brush:
- Paint a clean French smile line.
- Fill the free edge using glitter gel polish or apply loose glitter into uncured gel.
- Build the glitter gradually rather than applying a thick layer all at once.
Fine glitter creates a jewellery-like finish, while chunky glitter offers a more playful effect.
For a truly elegant result, less is often more.
After all...
We're attending a gala...
Not auditioning to become a disco ball.
Step 5 – Refine the Sparkle
Before curing or sealing, compare every nail.
Check:
- Equal smile line depth.
- Even glitter coverage.
- Matching tip thickness.
- Smooth glitter distribution.
- No empty patches.
The sparkle should appear balanced across every finger.
Imagine they are wearing matching evening gowns.
Nobody should arrive overdressed.
Step 6 – Seal with Top Coat
Apply a generous but controlled layer of glossy top coat.
Float the brush gently across the glitter to create a perfectly smooth finish.
If needed, apply a second top coat after curing to achieve a glass-like surface.
Luxury always feels smooth.
Step 7 – Finish with Cuticle Oil
Massage nourishing cuticle oil around every nail.
Beautiful skin enhances reflective finishes and gives the entire manicure a polished, salon-quality appearance.
A Glitter French should look expensive...
Not simply shiny.
Professional Tips
- Fine cosmetic glitter creates the most sophisticated finish.
- Champagne and rose gold flatter almost every skin tone.
- Apply glitter in thin layers to avoid bulk.
- Keep the smile line crisp before adding sparkle.
- Seal loose glitter thoroughly with top coat.
- Use high-quality glitter that reflects light evenly rather than appearing dull.
Common Mistakes
- Using glitter particles that are too large.
- Uneven glitter density.
- Thick, bulky French tips.
- Glitter spreading beyond the smile line.
- Rough surfaces after curing.
- Forgetting to smooth the glitter before sealing.
And perhaps the greatest temptation...
Thinking,
"Maybe just a little more glitter..."
No.
Walk away from the glitter pot.
You were elegant five seconds ago.
Stay elegant.
Interesting Facts
- Glitter French manicures became especially popular during the late 1990s and early 2000s as salons introduced more decorative alternatives to the Classic French manicure.
- Fine cosmetic glitter reflects light differently from standard craft glitter, producing a smoother and more luxurious sparkle.
- Champagne and pearl glitter are among the most requested choices for bridal French manicures because they complement wedding jewellery without overpowering the overall look.
- Many luxury nail artists prefer ultra-fine glitter because it creates a sophisticated shimmer rather than an obvious sparkle.
- Glitter French designs remain one of the most popular festive manicure choices during the Christmas and New Year season thanks to their timeless elegance.
Final Thoughts
The Glitter French manicure proves that sparkle can be elegant when used with restraint. By limiting the shimmer to the French tip, the design keeps the sophistication of a classic manicure while adding just enough brilliance to feel celebratory.
Whether you're walking into a wedding, raising a glass on New Year's Eve, attending a black-tie event, or simply treating yourself because life deserves beautiful moments, the Glitter French always feels appropriate.
Because true luxury isn't measured by how much something sparkles...
It's measured by how effortlessly it sparkles. ✨🥂